How to Use a Candle Warmer Lamp: Better Scent, Without Smoke

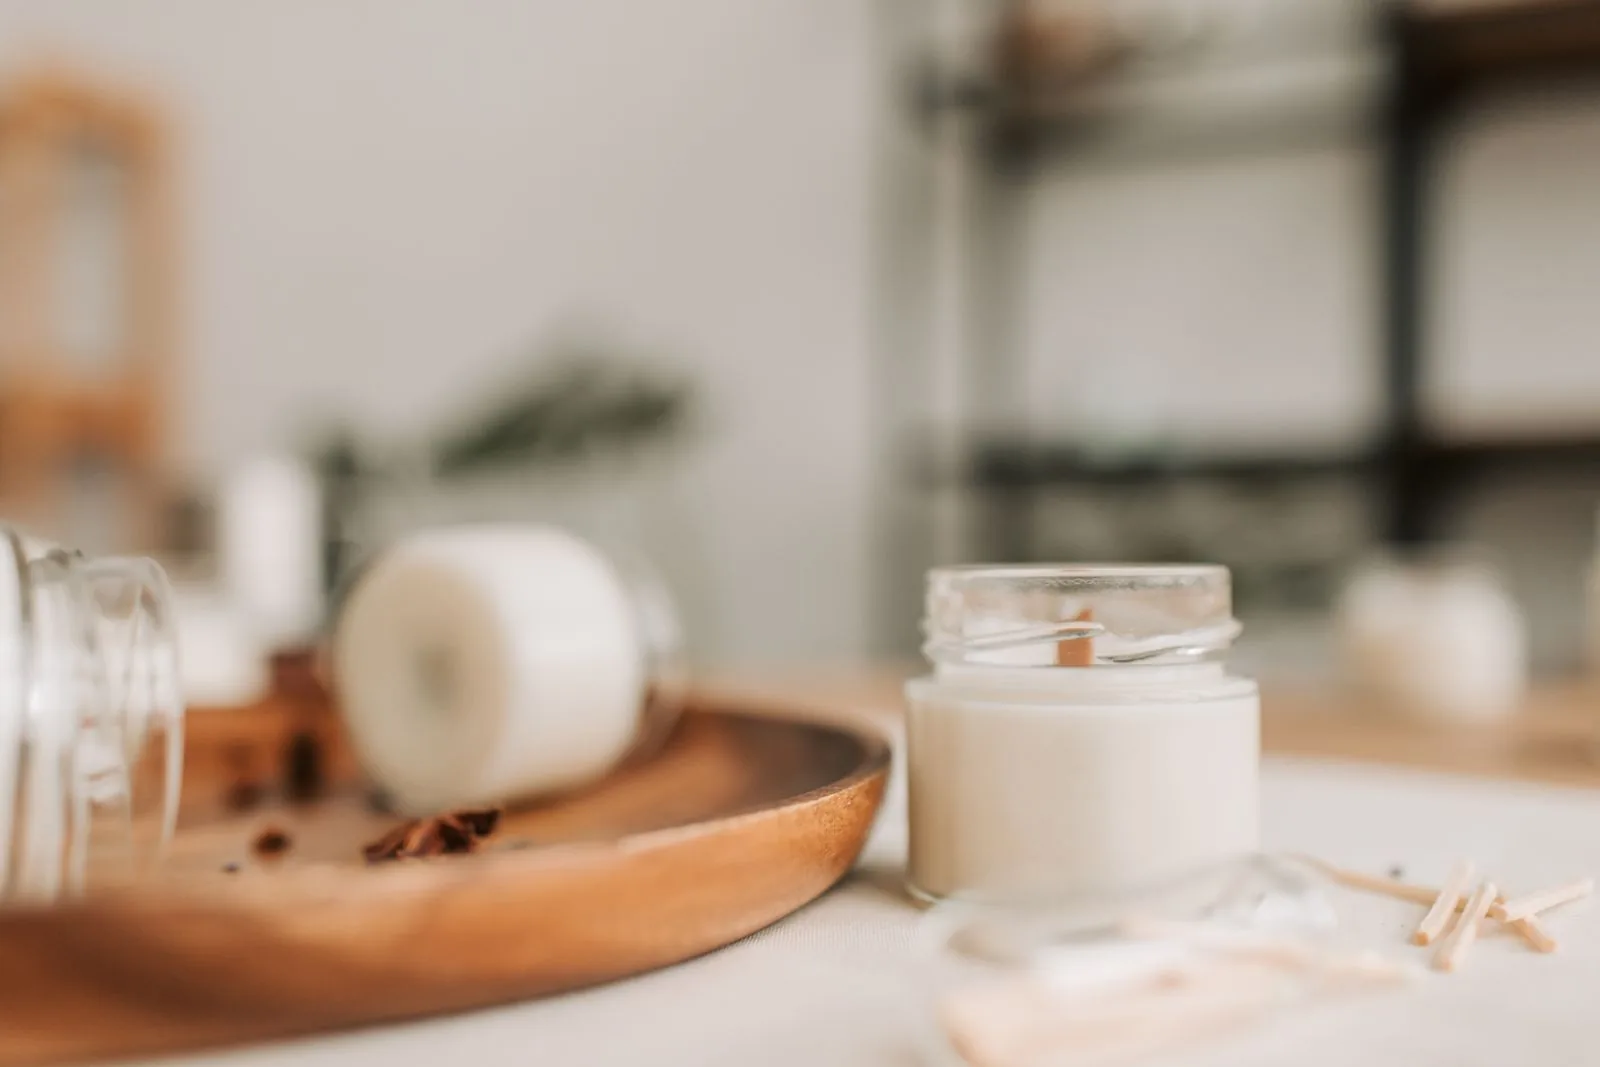
A candle warmer lamp heats your candle from above, releasing its fragrance without lighting the wick. You get a warm glow and your favorite scent without the puff of smoke that comes with blowing out a candle.
The quick answer
- Remove the lid and center a suitable candle jar beneath the shade on a clear, stable surface.
- Use enough heat to melt the surface wax, then lower the setting once the fragrance is strong enough, if the lamp allows it.
- Keep the wick unlit and let the candle cool before moving it.
That makes a warmer a useful little addition to an evening spent reading, catching up on a show, or getting through the last few emails. The candle gets used, and there’s no flame to tend.
The part that takes a little practice is finding the right setting. How much wax should melt? Why does the lamp look bright while the candle barely smells? And what happens when the jar still looks full but the fragrance has faded?
Here’s how to get your setup working comfortably, from the first switch-on to refreshing the wax.
How to Use a Candle Warmer Lamp in 6 Simple Steps
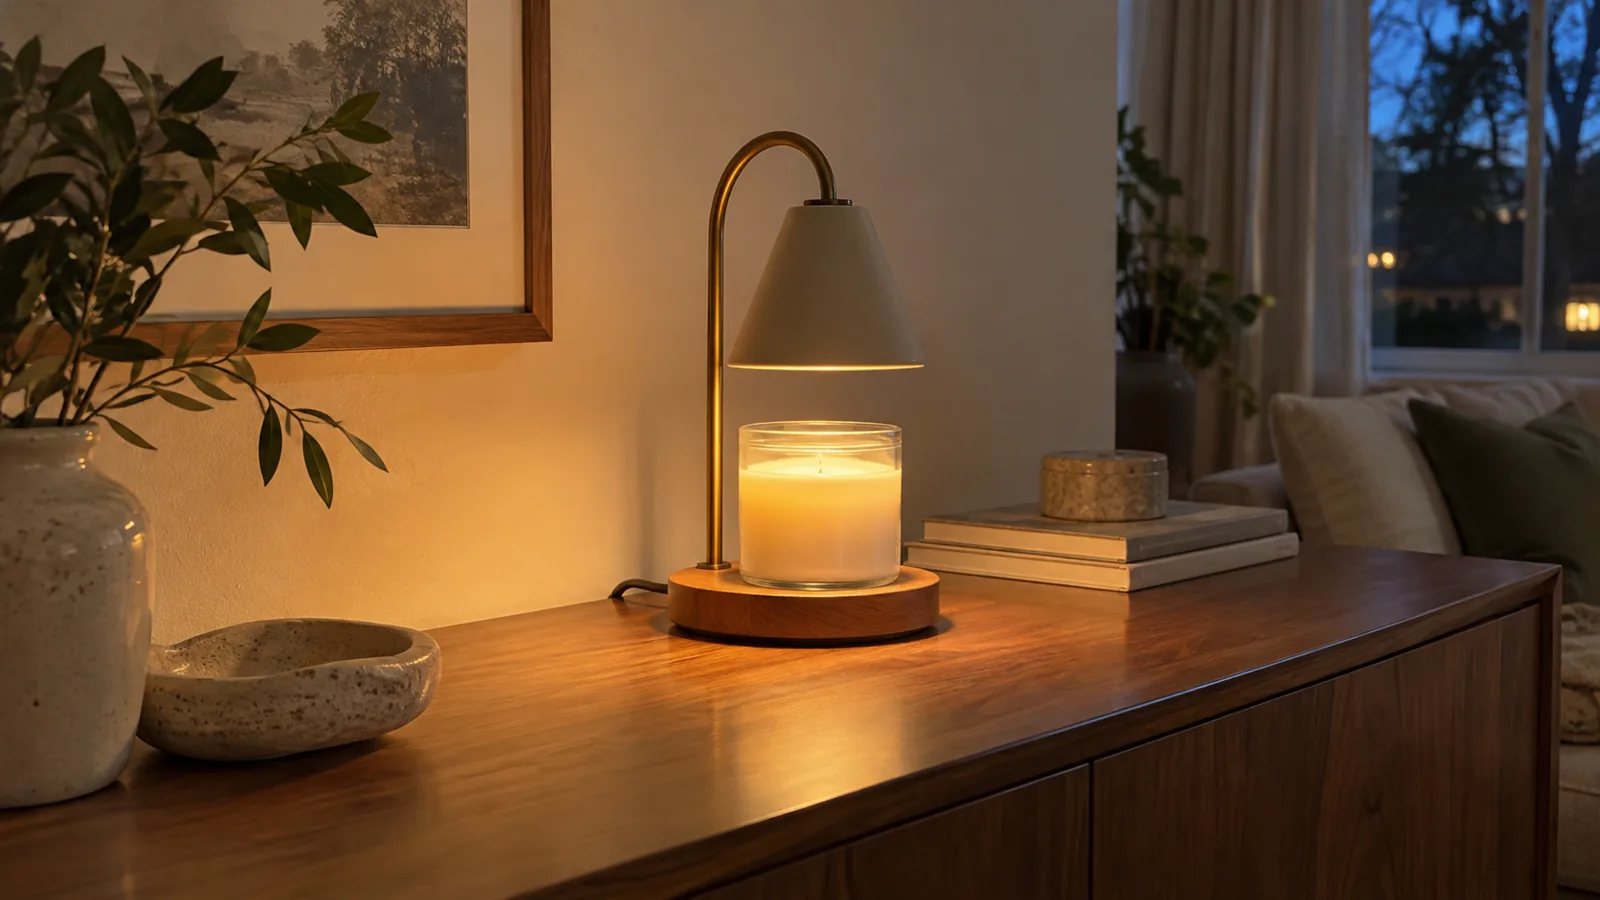
A good first session comes down to placement, suitable heat, and time to cool afterward. You don’t need extra accessories to get going.
Before you switch it on:
- The lamp is fully assembled with its specified warming bulb.
- The candle’s container is intact and suitable for warming.
- The jar fits securely beneath the shade.
- The surface is level, heat-resistant, and clear of loose fabric.
- The cord is out of the way, with the controls easy to reach.
1. Give the Lamp a Stable, Clear Spot
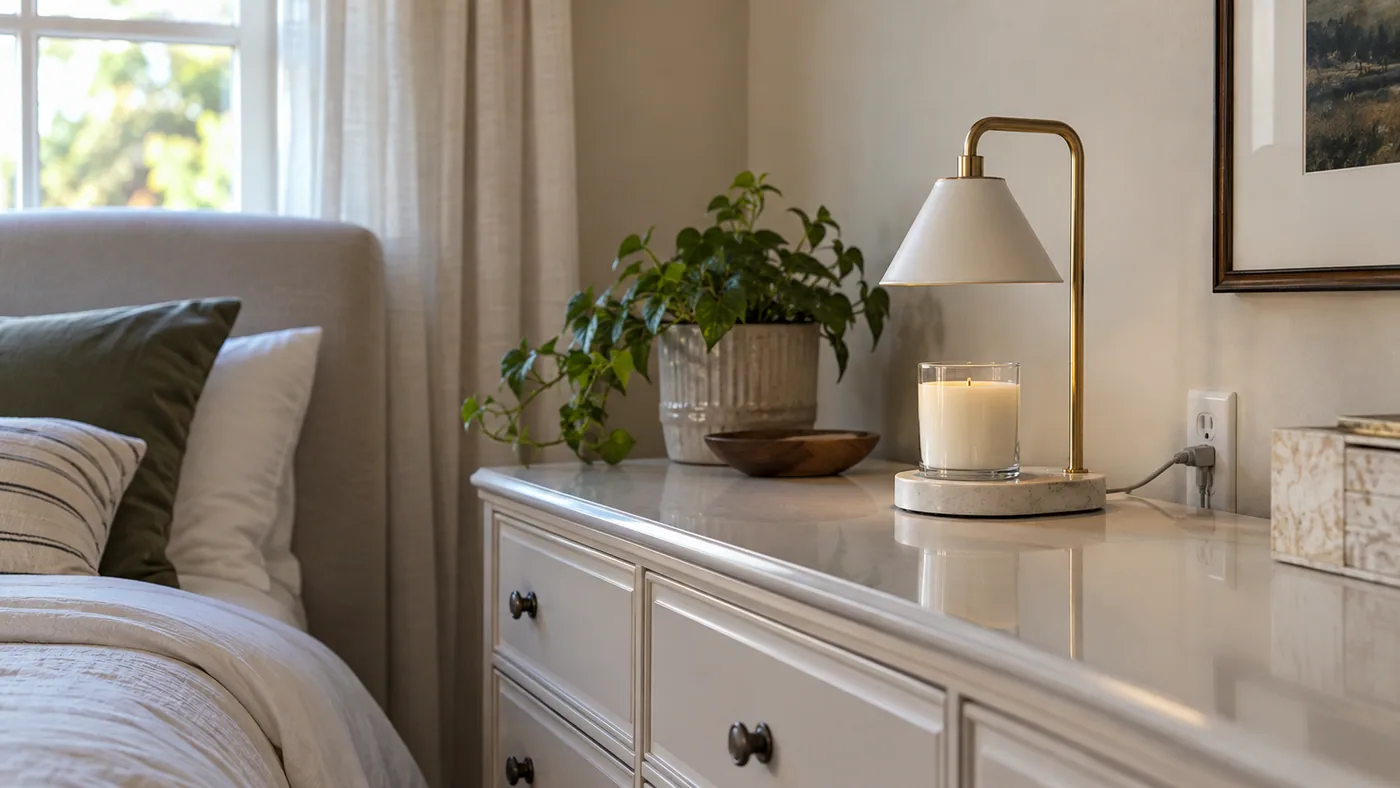
Place the warmer on a level, heat-resistant surface away from curtains, loose paper, and table edges.
That nightstand already holding your phone, water glass, and three unfinished books might need a small rearrangement. Give the lamp a space where reaching for something else won’t knock the candle.
Keep it beyond the reach of children and pets, including anywhere a cat regularly jumps. A cable hanging over the edge gives someone something to pull.
For a bedside setup, our guide to hiding bedroom cords while keeping chargers accessible can help tidy the surrounding cables. Keep the warmer’s switch accessible and its cord clear of the heated area.
2. Take Off the Lid and Leave the Wick Unlit
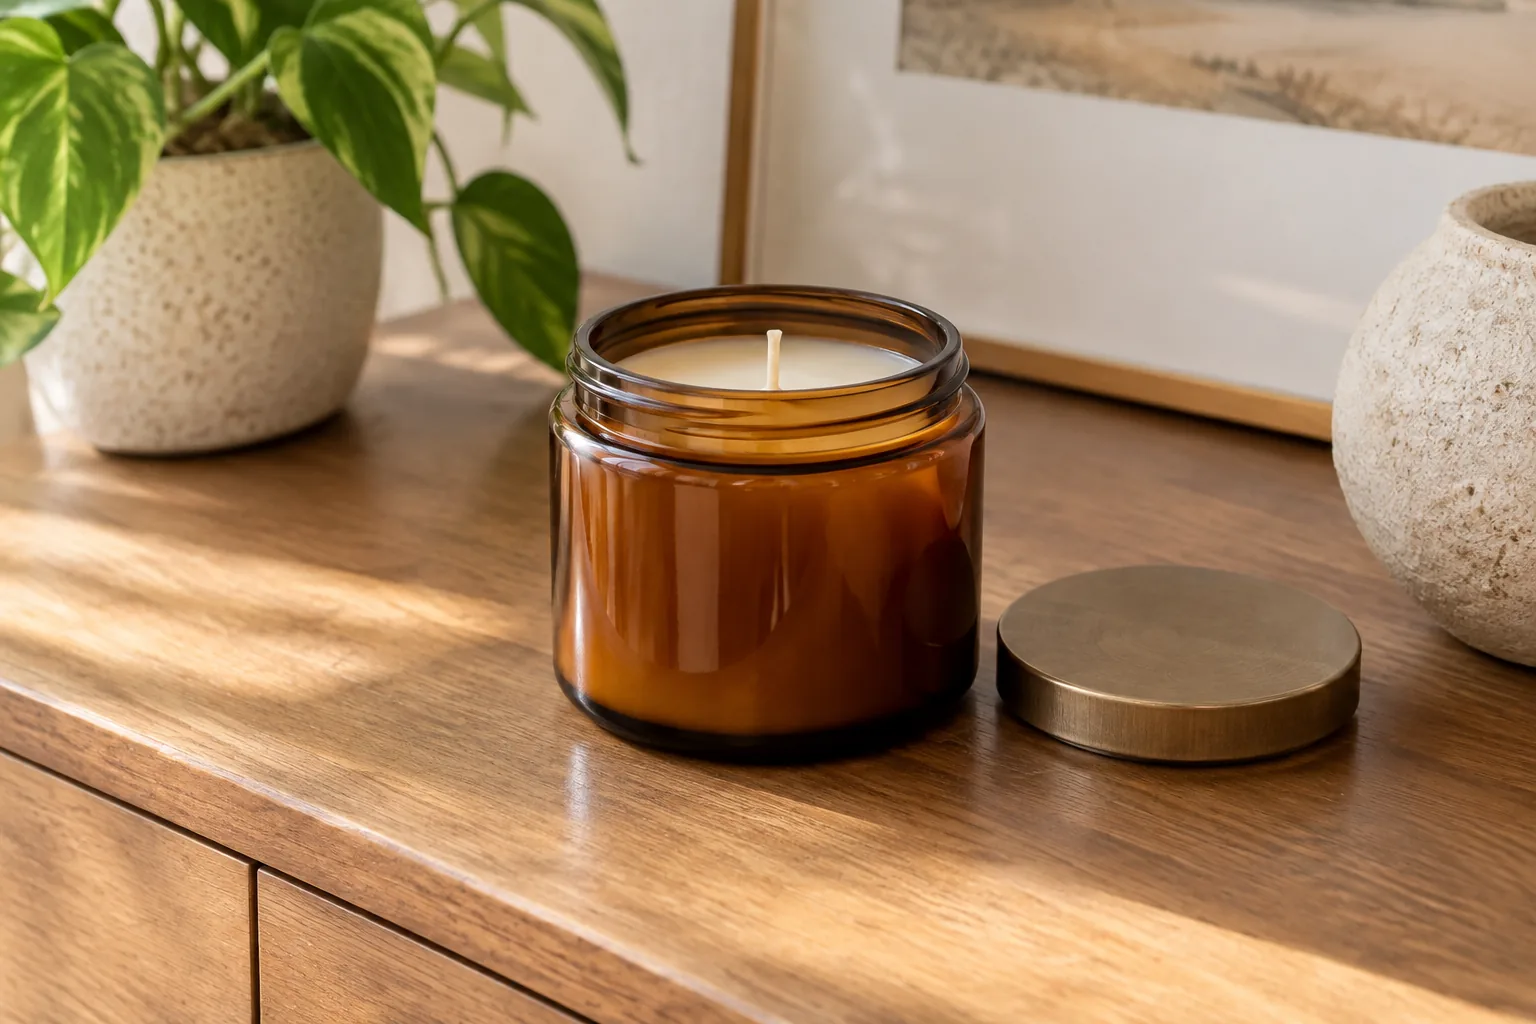
The warming bulb supplies the heat, so leave the candle’s wick unlit.
Remove the lid and any loose packaging, then place the jar flat on the base. The container should have no cracks or chips, and it should sit securely without hanging over the edge.
You don’t need to light the candle briefly to get it going. The lamp does that work.
3. Center the Candle Beneath the Shade
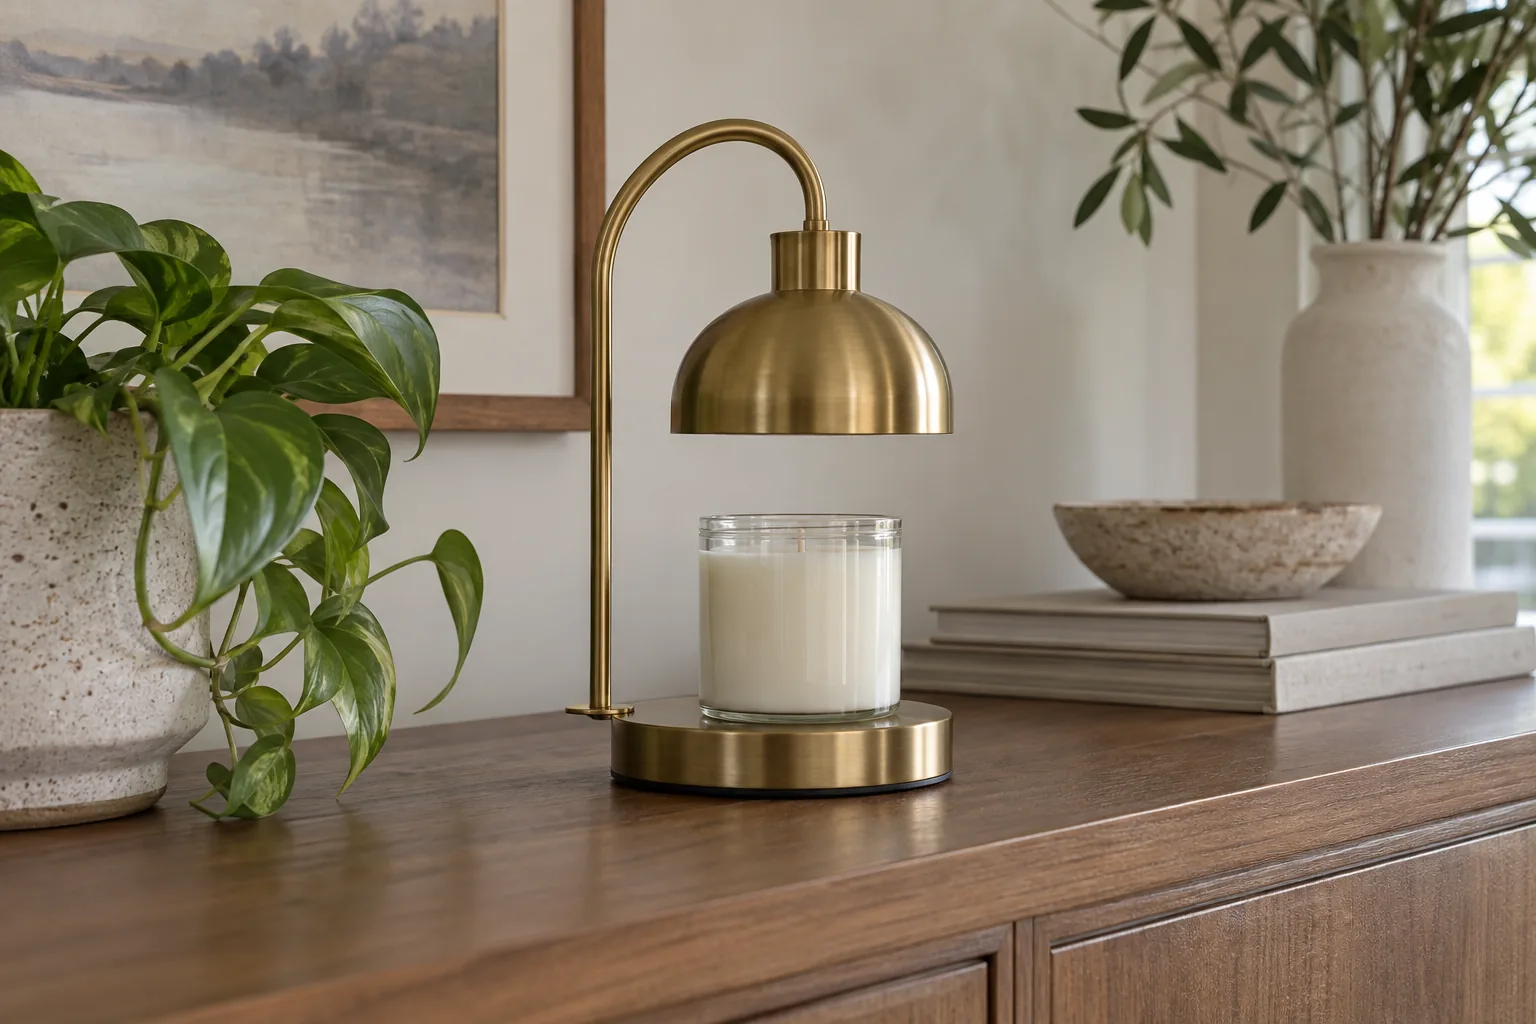
Position the candle directly beneath the bulb, leaving the clearance required for your lamp.
An off-center jar can receive uneven heat. If one little patch melts while the rest stays solid, alignment is one of the easiest things to correct.
With an adjustable lamp, set the height before switching it on. A tall jar needs enough room beneath the shade; a shorter candle may need a different position within the lamp’s permitted range.
There isn’t one bulb-to-wax distance that suits every design. Use the clearance stated for your model, and avoid raising the candle on books or improvised stands.
4. Set the Brightness and Timer
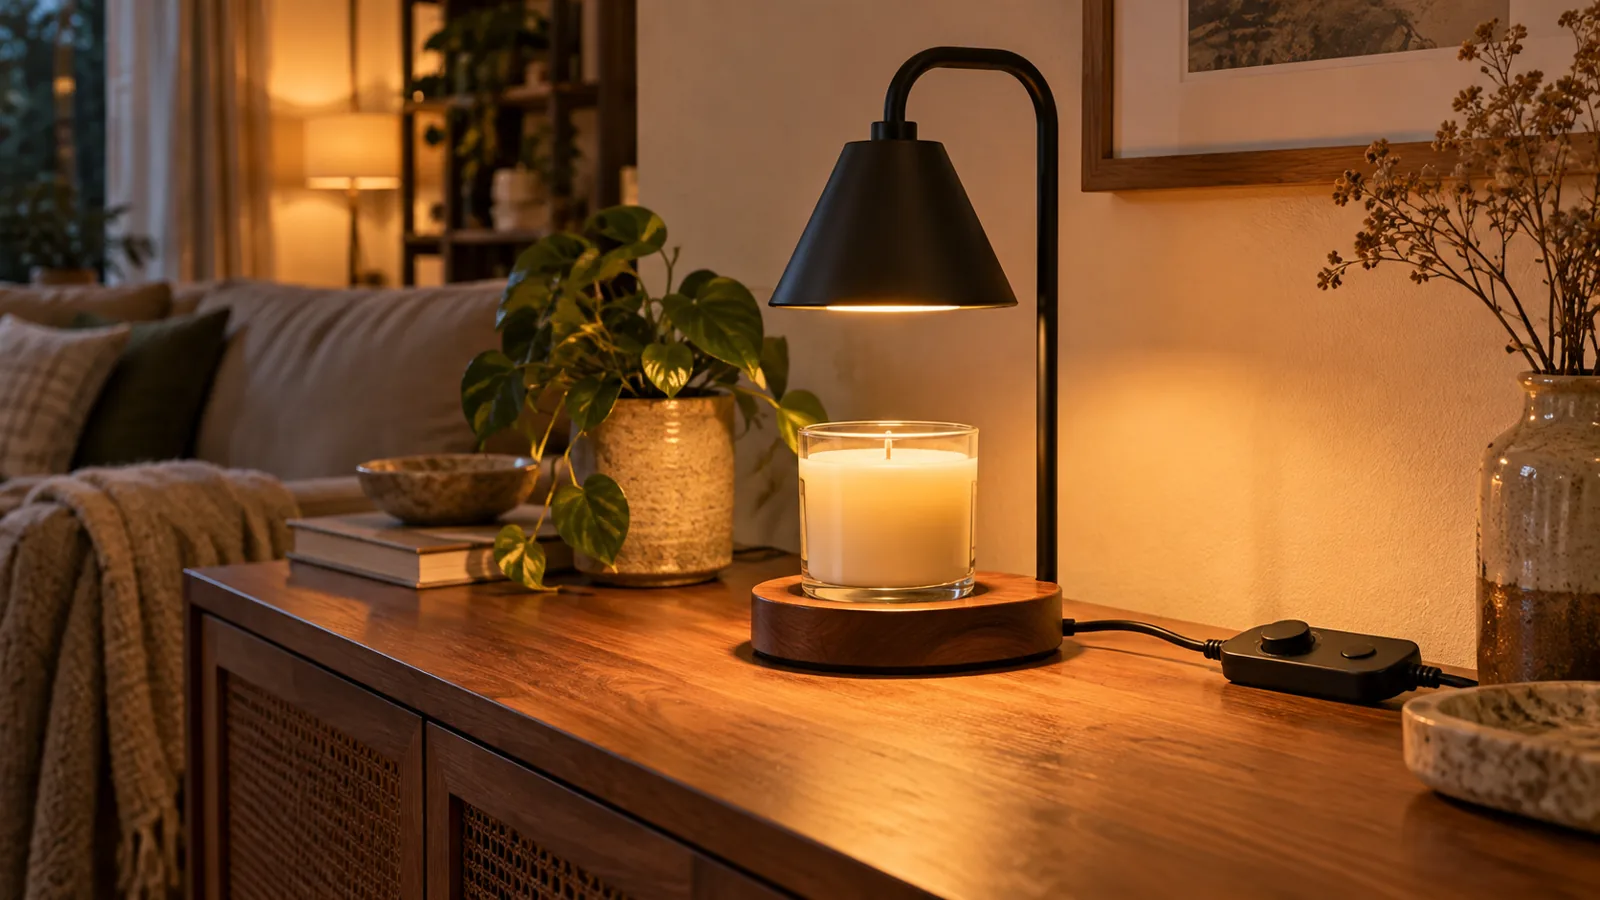
On a lamp with a dimmable warming bulb, the brightness setting also changes the heat.
Use the initial setting specified for your lamp, then give the wax time to respond. Turning the dial every minute makes it harder to tell which setting actually works.
If there’s a timer, choose a session that fits the time you’ll be around. Planning to read for an hour? You can switch the lamp off when you finish, even if its shortest timer runs longer.
The longest timer option is not a recommended runtime. Stay within the lamp’s operating limit and turn it off before leaving or going to sleep.
5. Let the Surface Wax Melt, Then Adjust
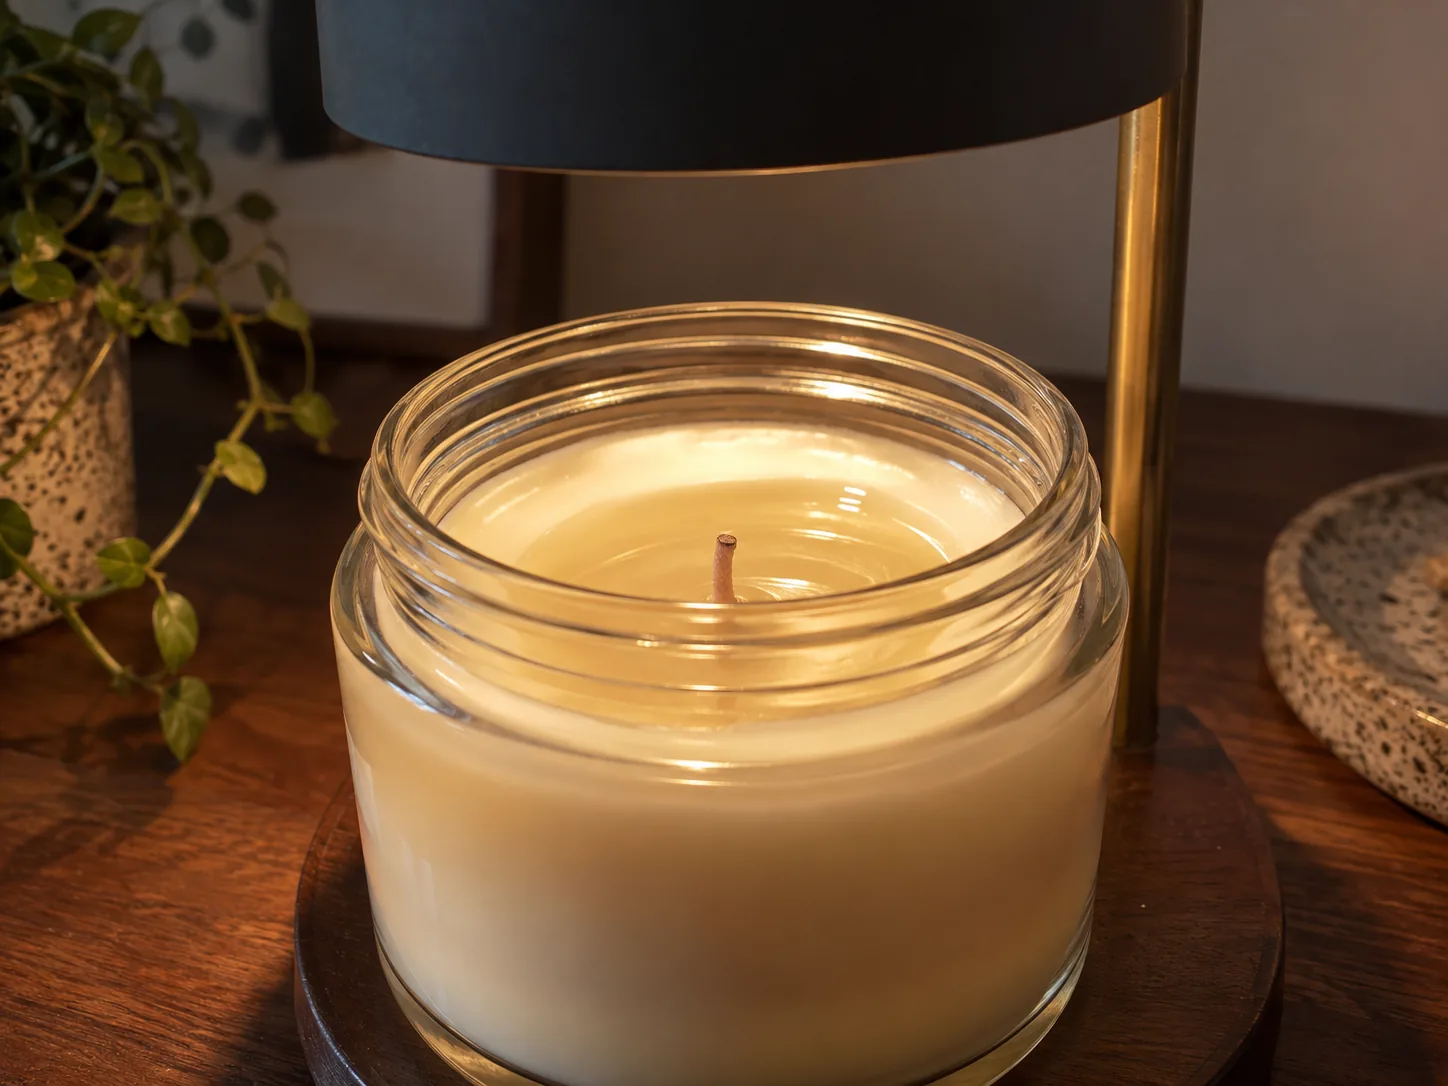
Wait for the surface wax to soften and melt, then adjust the heat to a comfortable level of fragrance.
You’ll usually see a glossy patch develop beneath the bulb before more of the surface becomes liquid. Let that happen without constantly moving the jar or changing the controls.
Once you can comfortably smell the candle where you’re sitting, try a lower setting. If the lamp maintains enough warmth and fragrance there, you’ve found a useful everyday setting.
A small bedroom may feel pleasantly scented sooner than an open living room. There’s no need to make both rooms smell equally strong.
6. Switch It Off and Let Everything Cool
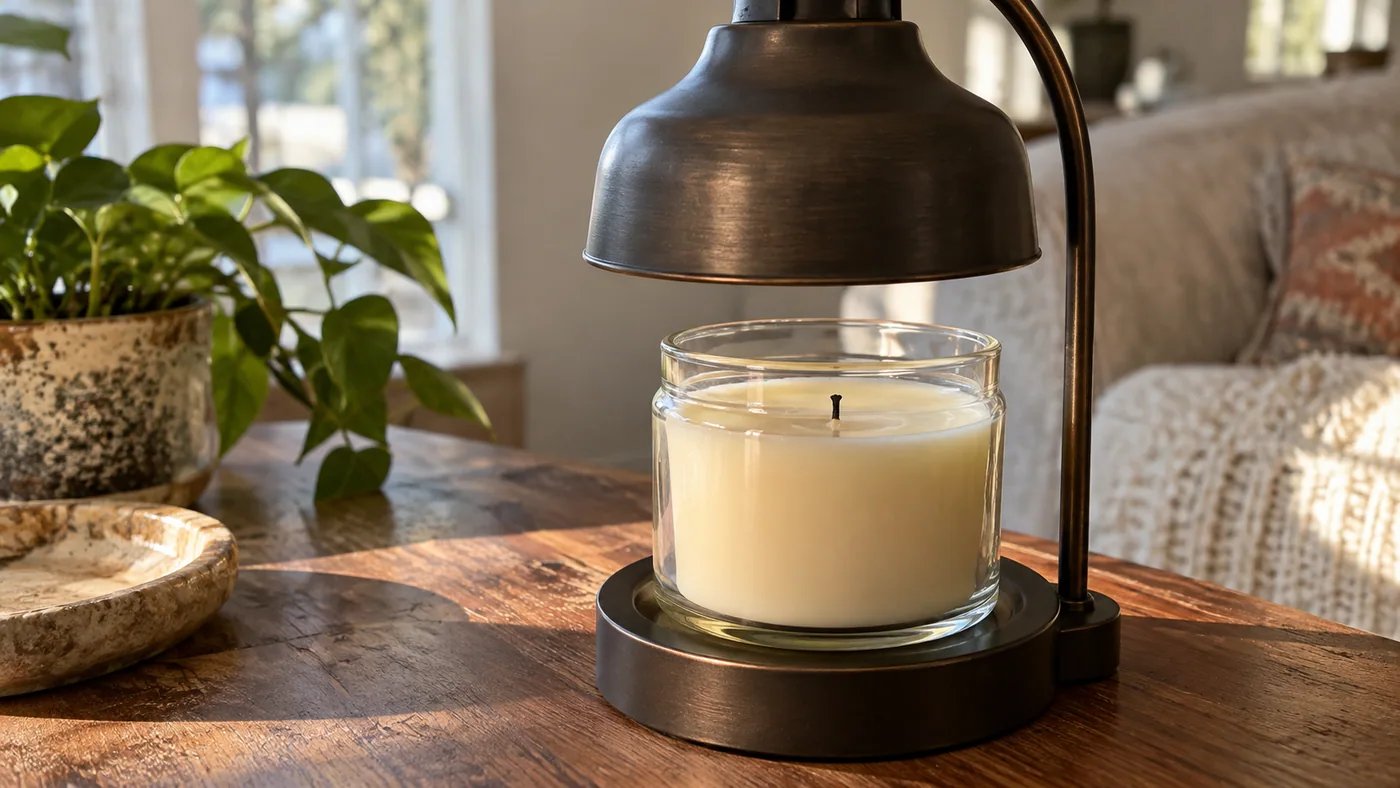
Switch off, unplug when finished, and let the lamp and candle cool before moving them.
For ordinary handling, wait until the wax has solidified again. A jar that looks easy to pick up can still hold hot liquid wax.
Leave cleaning, bulb changes, and rearranging the lamp until everything has cooled. Tomorrow’s bookshelf styling can wait.
How Long Before You Can Smell the Candle?
There’s no single warm-up time that applies to every lamp and candle. The first patch of melted wax and a room that smells noticeably different are two separate milestones.
Several things affect the wait:
- Bulb output and brightness: These influence how much heat reaches the wax.
- Lamp height: The distance between bulb and candle affects warming.
- Candle size and wax blend: Different candles respond differently.
- Fragrance and room size: A delicate scent in an open room can be harder to notice.
If you’ve just switched it on, give it time within the lamp’s recommended session length. If the wax remains solid throughout normal use, move on to the troubleshooting section below.
You don’t need to melt the whole candle to enjoy its fragrance. A lamp warms from above, so surface melting is expected.
Getting the Heat Right: What the Dimmer Actually Does
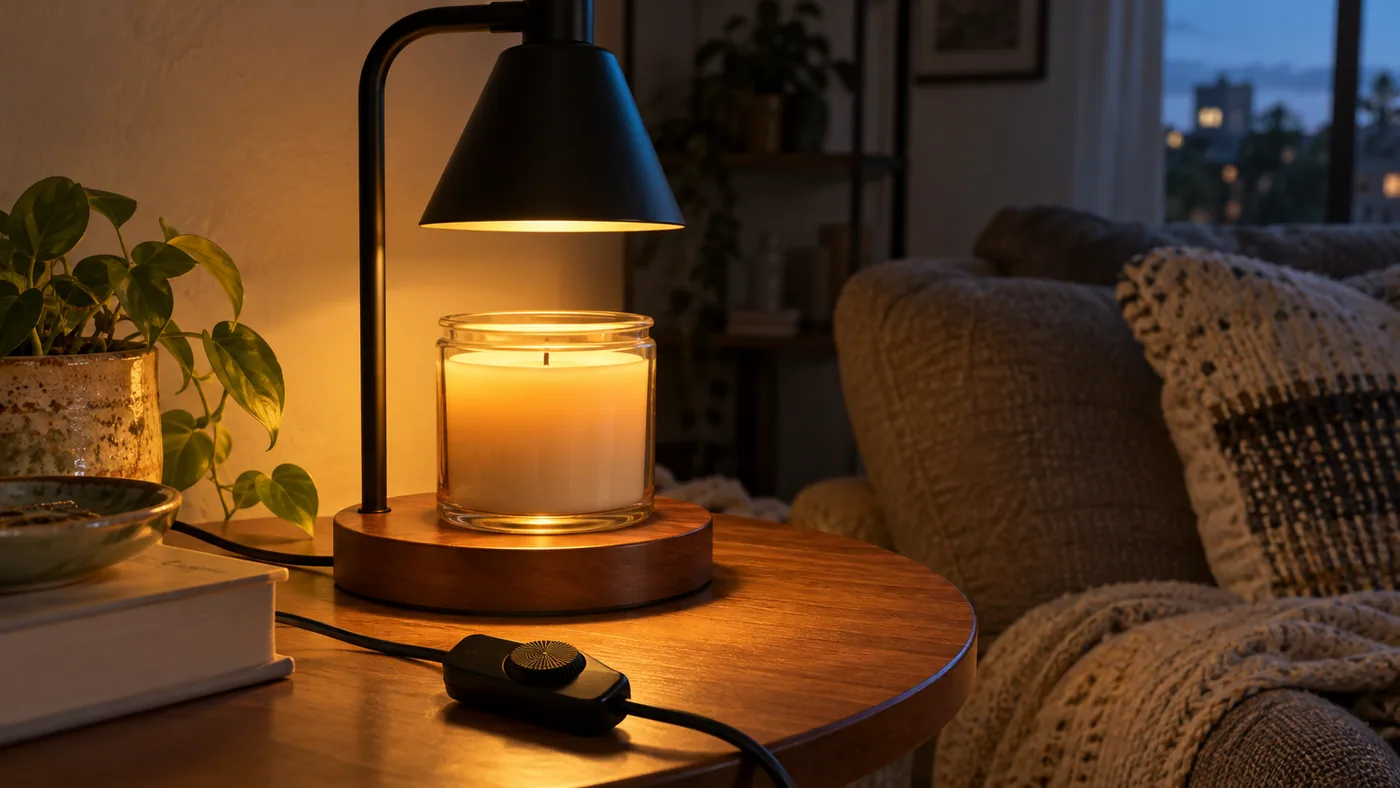
Use enough heat to release the fragrance you enjoy, then keep the setting no higher than necessary.
Think of the dimmer as a heat adjustment that also changes the light. A lower setting can make the glow more comfortable in the evening while reducing the heat reaching the candle.
More Heat Isn’t Always the Fix
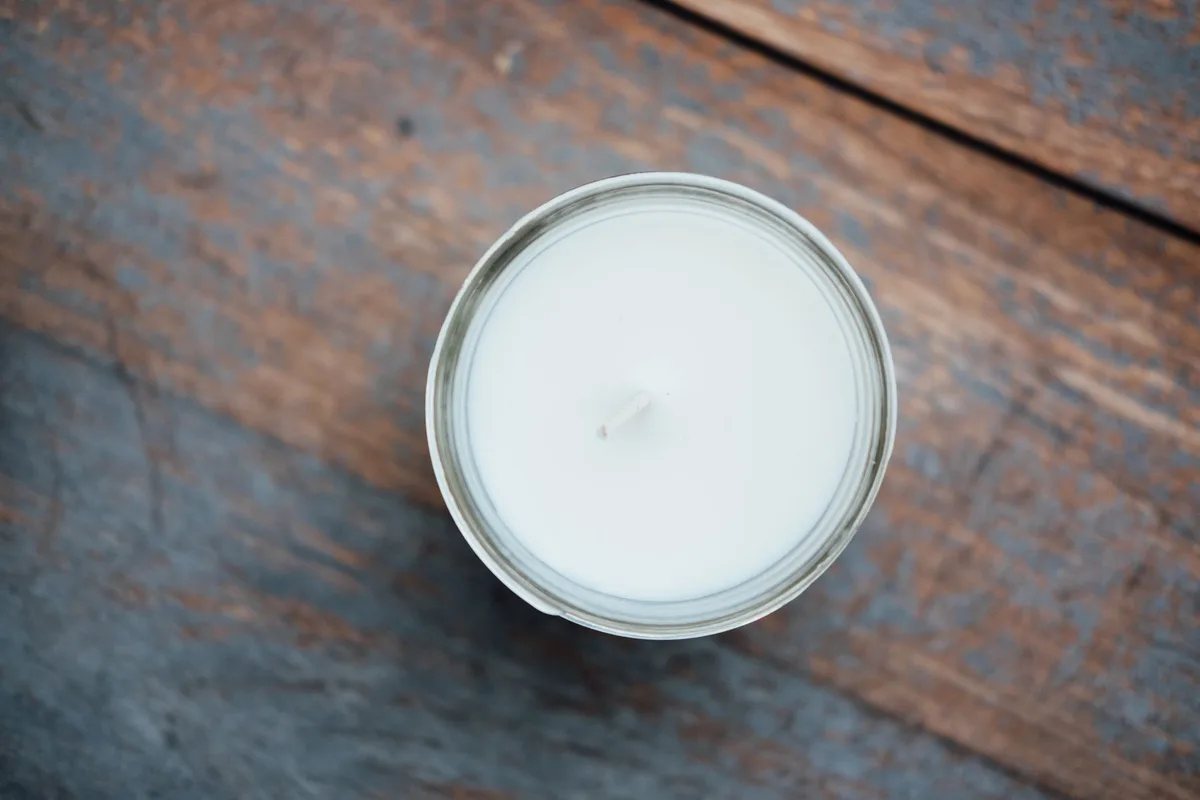
Turning up the heat won’t restore fragrance that has already faded from the wax.
Suppose your candle smelled lovely during its first few sessions. Now the top is liquid, the lamp is working, and the fragrance is faint. Turning the dial higher may simply warm that same layer more intensely.
First work out whether the problem is insufficient melting or wax that has lost much of its scent. Those need different solutions.
Lamp Height Matters, Too
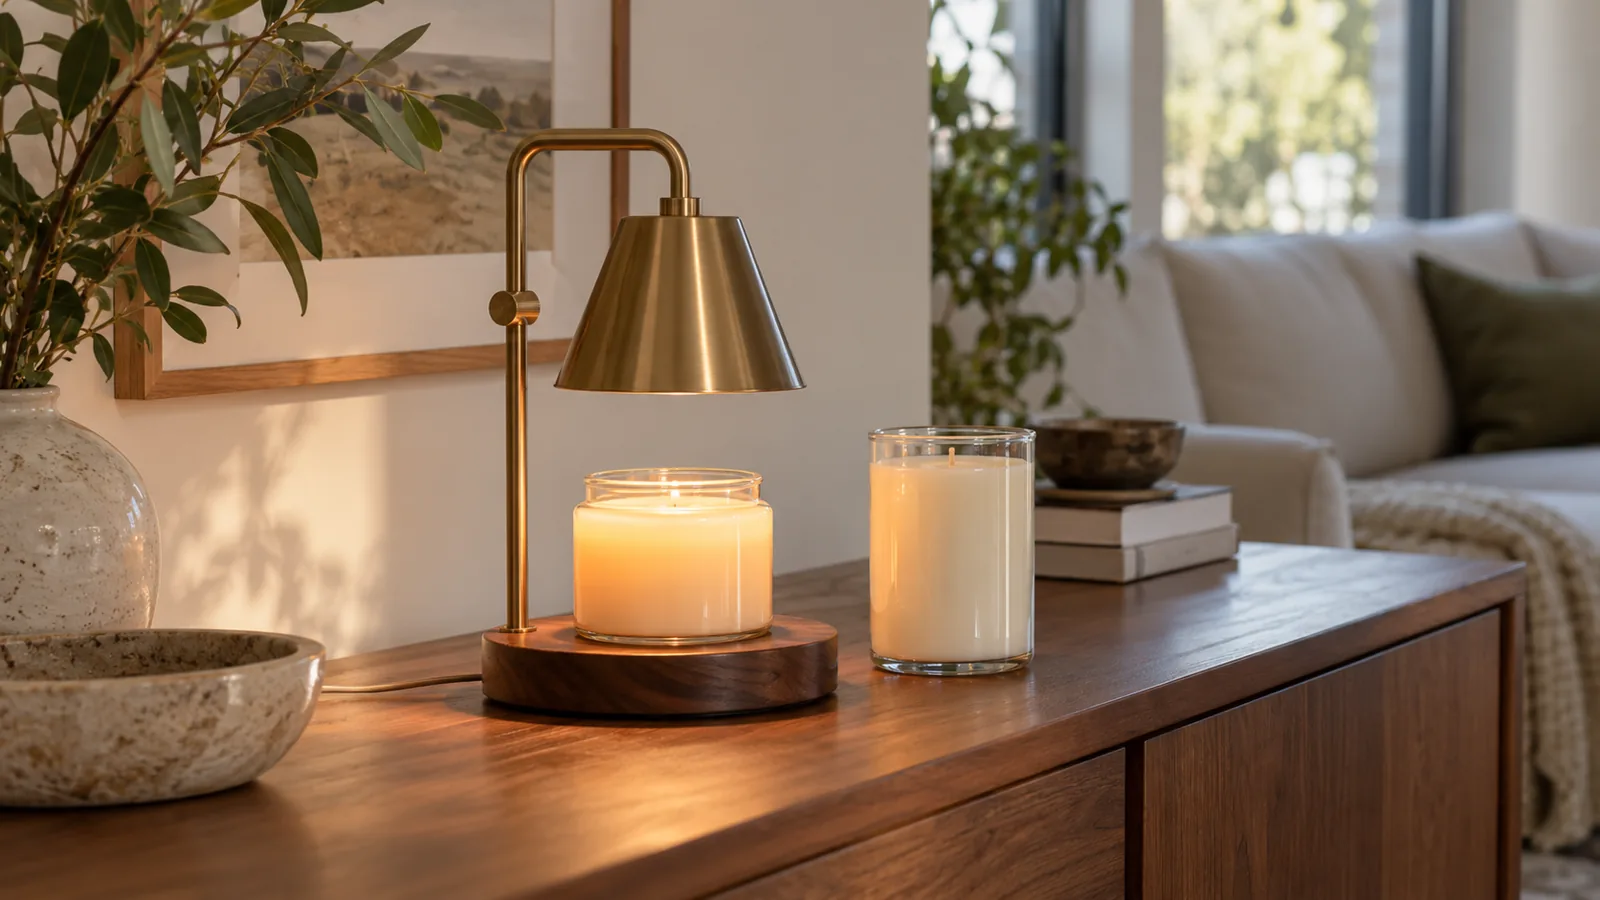
An adjustable head helps accommodate different jars and changes how closely the bulb heats the wax.
The SOKCVSEA Height-Adjustable Candle Warmer Lamp, for example, combines height adjustment with dimming and a timer. That gives you more control when switching between compatible jars of different heights. Check the listed dimensions before buying to make sure your usual candle fits.
Make height changes while the lamp is off and cool. Keep the required clearance, and change one setting at a time so you can tell what helped.
The Lamp Is On. Why Can’t You Smell Much?
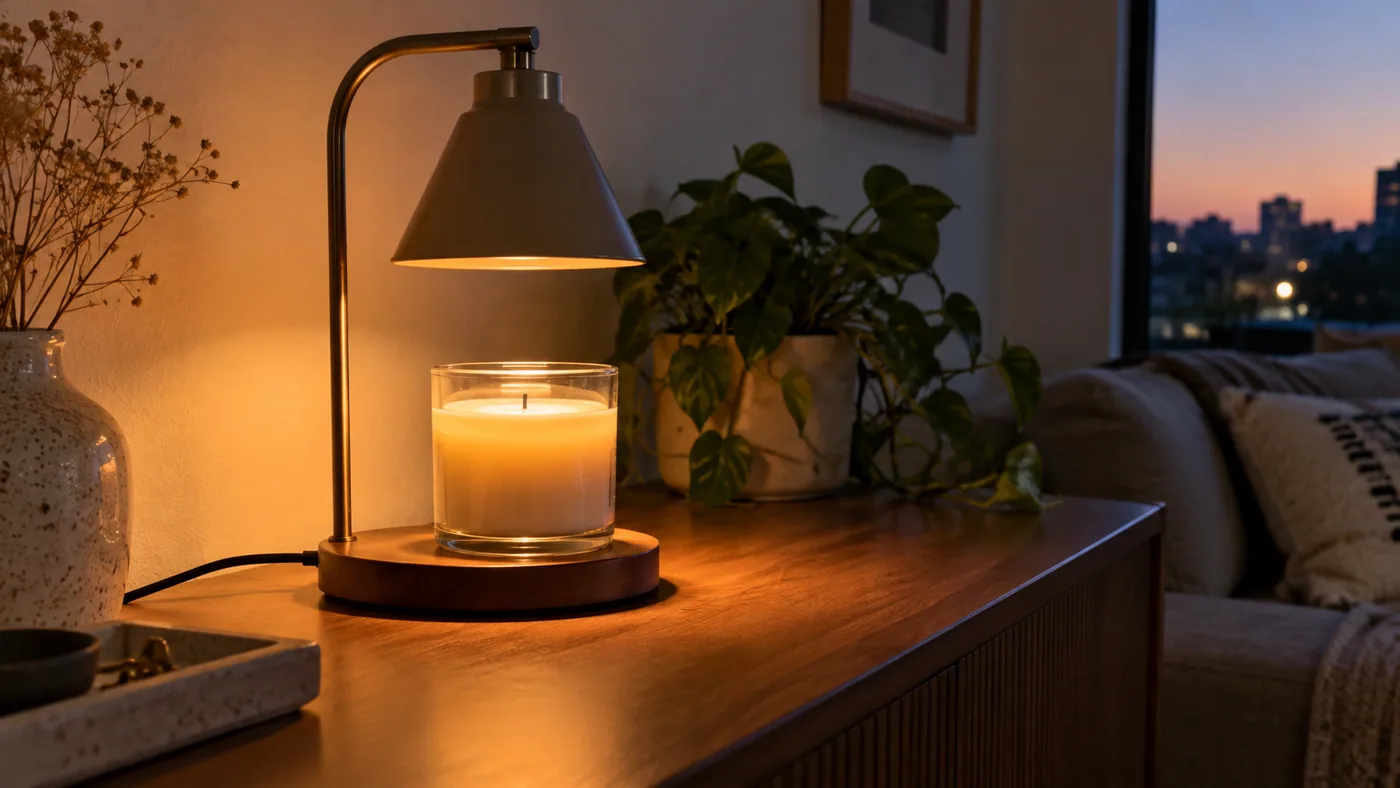
Check whether the surface is melting before deciding what to change. A glowing bulb tells you the light works; it doesn’t explain every fragrance problem.
| What you notice | What to do |
|---|---|
| The bulb glows, but the wax stays solid. | Allow the normal warm-up period, then review the brightness, positioning, and bulb compatibility. A replacement LED may light up without supplying the required heat. |
| Only a small patch melts. | Center the jar beneath the bulb. If it is already centered, the candle may be too wide for that lamp’s warming area. |
| The wax melts, but the scent is faint. | Think about the candle’s fragrance, how often it has been warmed, and the room’s size before increasing the heat. |
| It smelled stronger during earlier sessions. | The warmed surface wax may have lost much of its fragrance. Refreshing that layer may help. |
| The fragrance feels overwhelming. | Lower the heat or switch the warmer off. You don’t have to finish a timer cycle. |
| You notice the scent again after leaving and returning. | Your nose may have become used to it. Avoid turning up the heat purely because the scent feels less noticeable while you stay in the room. |
A little patience helps here. Change one thing, observe the result, then decide whether another adjustment is needed.
Why the Wax Stays but the Scent Fades
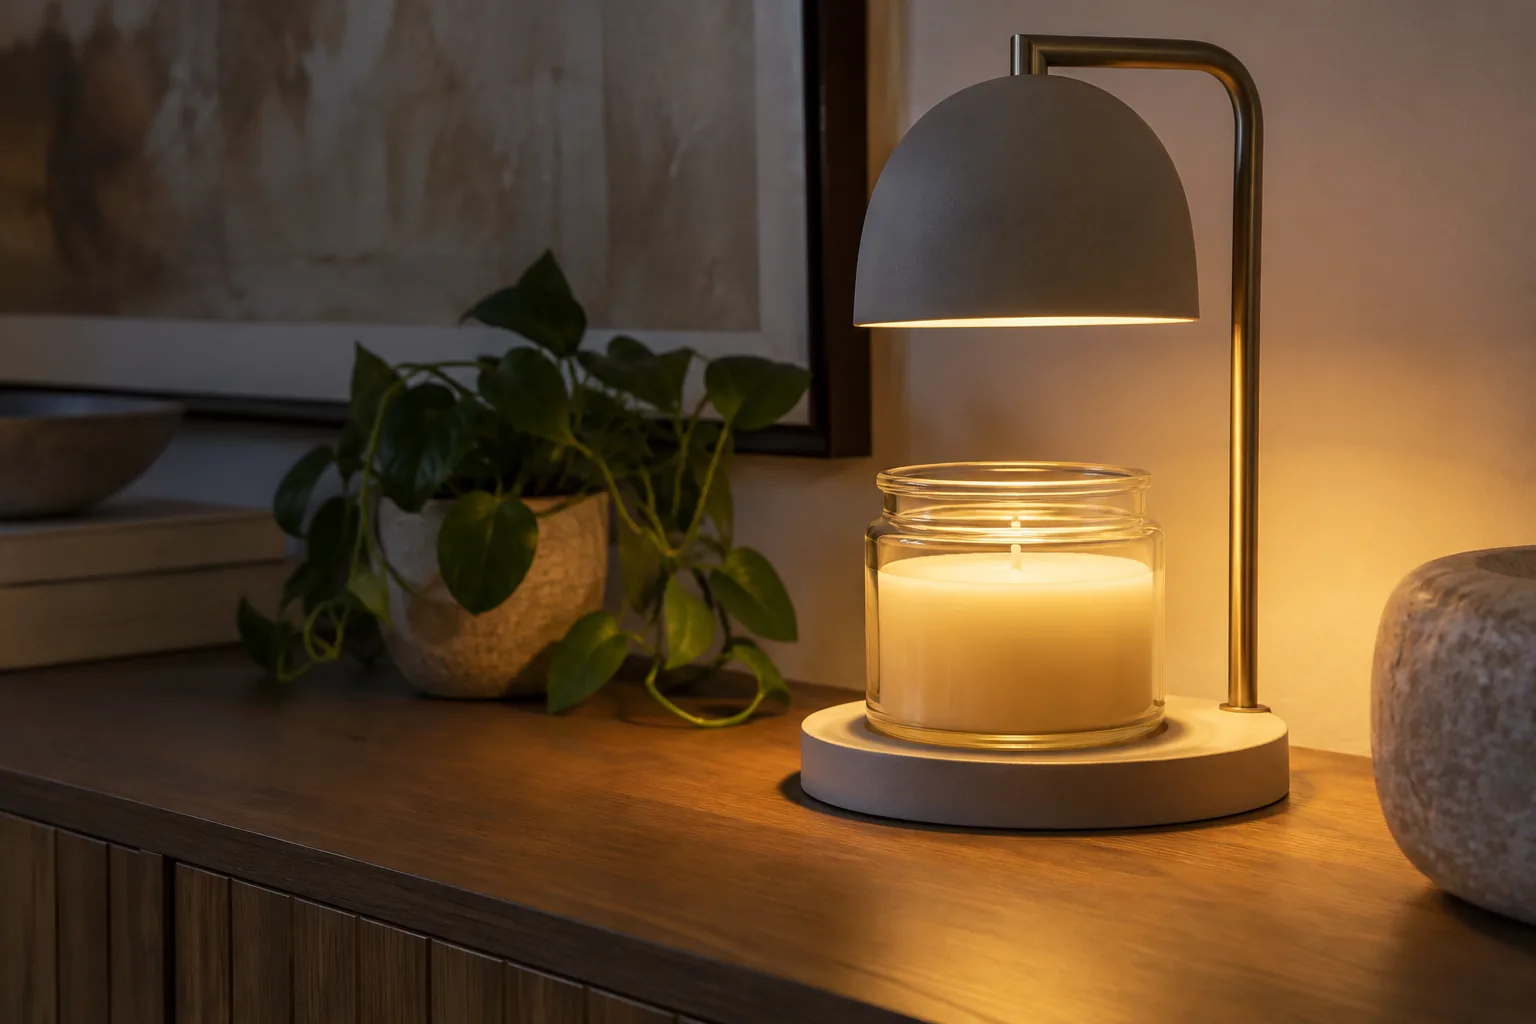
Warming releases fragrance without consuming the wax the way a burning wick does. That’s why the amount of wax left is a poor guide to how much scent remains.
It’s an easy detail to miss. You look at a nearly full jar and expect it to perform like a new candle, even though you’ve warmed the surface repeatedly.
The wax can still melt perfectly well after much of its fragrance has gone.
When Does the Top Layer Need Refreshing?
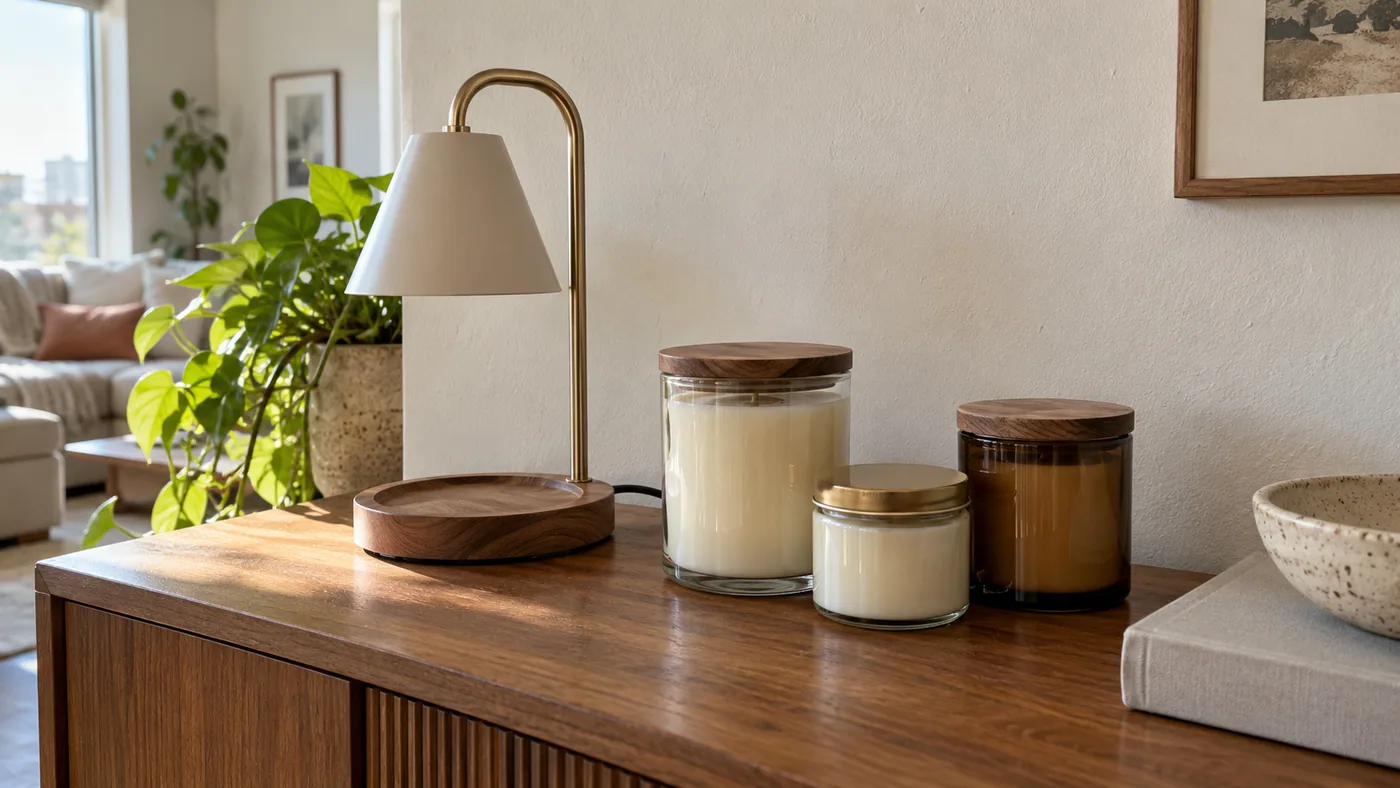
Refresh the surface layer when the candle has become noticeably less fragrant after repeated warming, despite the lamp melting it normally.
There’s no reliable “every three sessions” rule. Session length, heat, wax, and fragrance all affect how quickly the scent fades.
Before removing wax, rule out an unusually low setting or a recent move to a much larger room. Don’t discard good wax just because the candle smells subtler beside the sofa than it did on your desk.
How to Remove Spent Wax Without Making a Mess
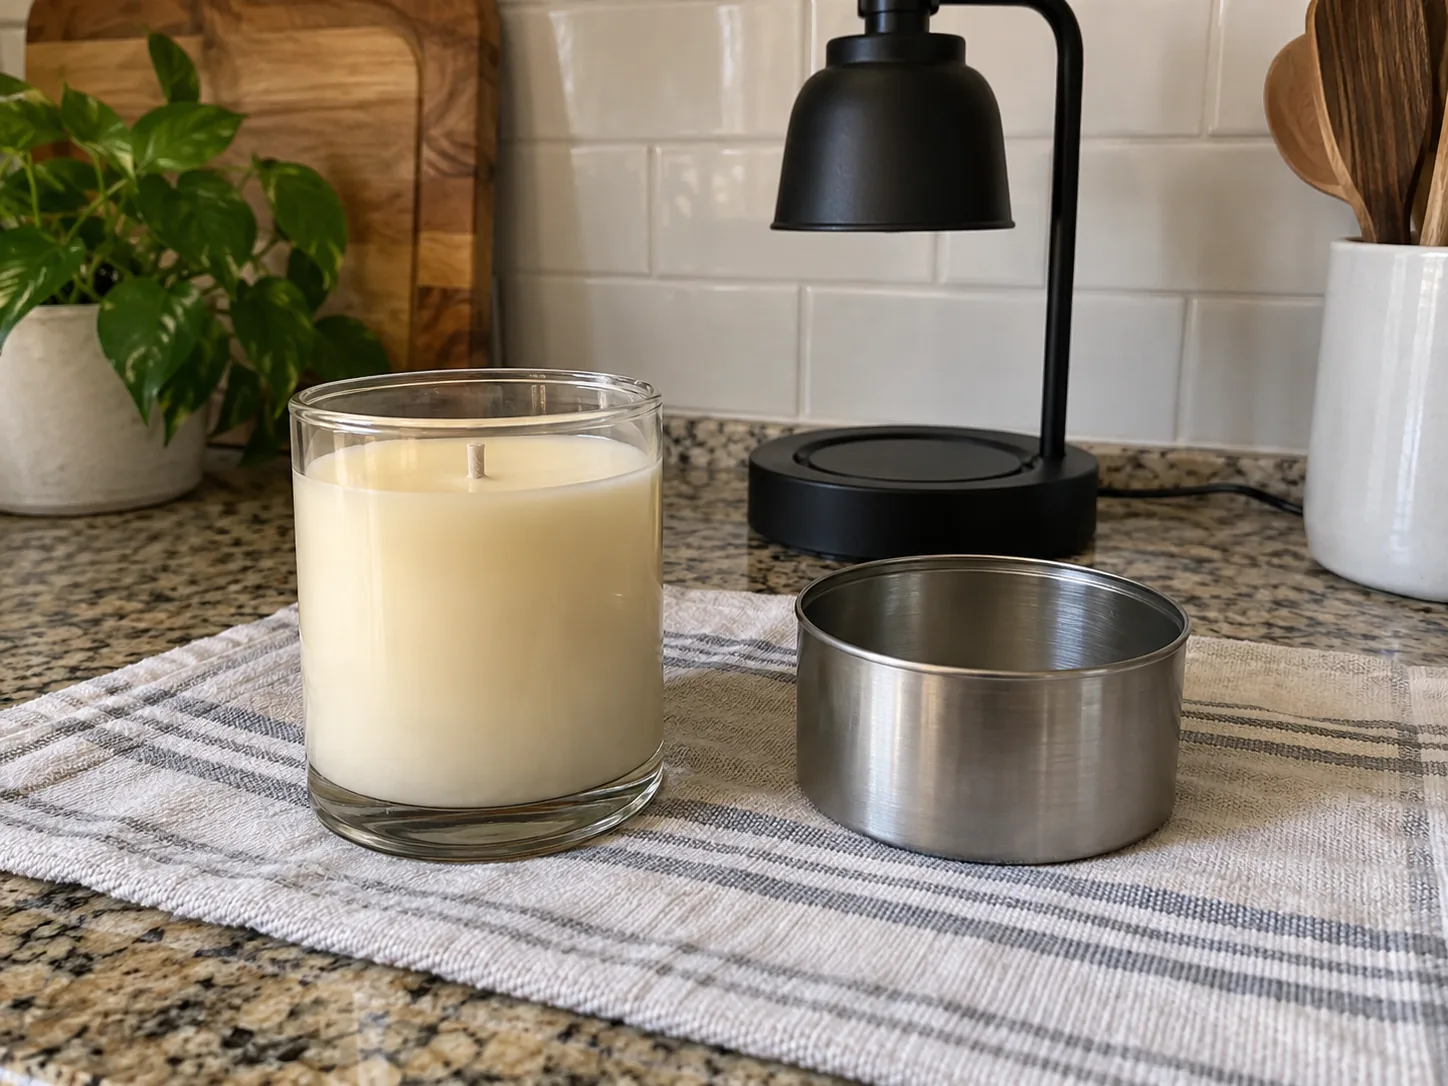
Remove only the spent surface wax using the method permitted by your candle and warmer instructions. You don’t need to empty the jar.
For lamps whose care instructions allow pouring off melted surface wax:
- Prepare an empty, heat-resistant waste container on a protected surface.
- Warm the surface layer, then switch off and unplug the lamp.
- Allow the jar to cool enough for safe handling while the surface wax remains pourable. Use suitable heat protection.
- Carefully pour off a small amount of the spent wax, keeping the remaining candle and wick undisturbed.
- Let the discarded wax solidify before putting it in the trash. Let the candle cool before returning it to normal use.
Candle Warmers Etc. describes this pour-off method in its lamp care instructions.
If the container is awkward to hold or too hot to handle comfortably, leave it in place and let it cool.
Never pour candle wax down a sink or drain. It can harden in the plumbing. Avoid pouring it straight into a plastic trash bag, too.
Small Habits That Make Everyday Use Easier
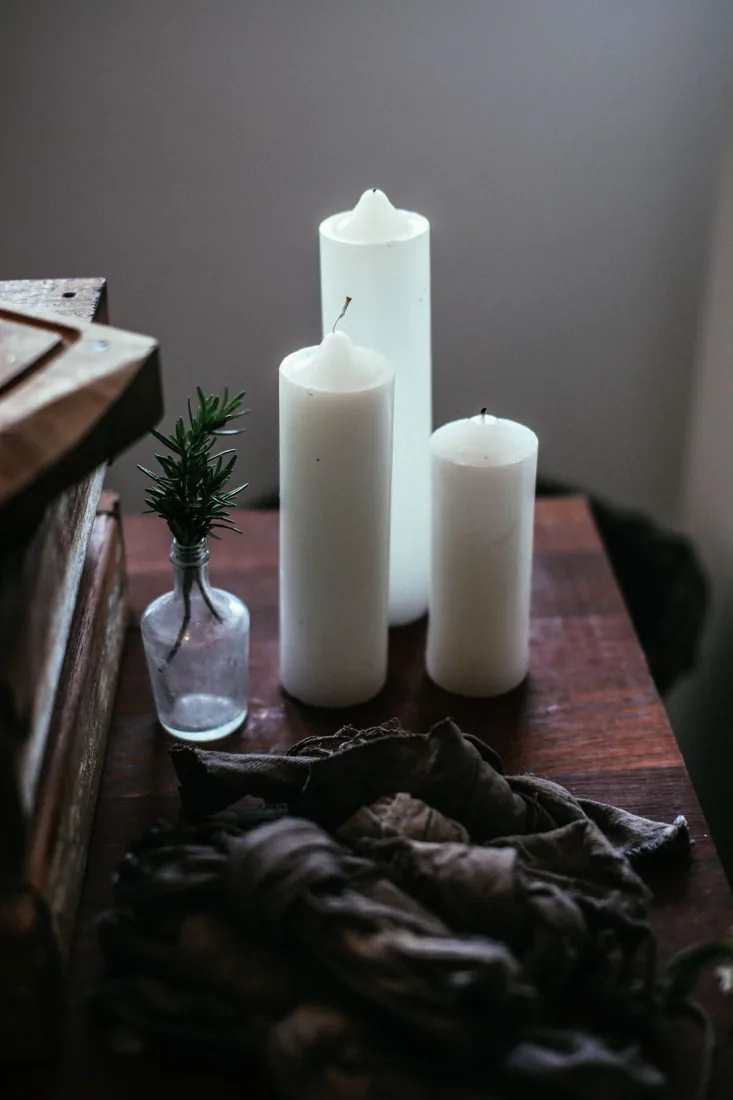
Keep the space clear, use the correct bulb, and switch the warmer off before leaving or going to sleep.
Once those habits become routine, there’s very little to fuss over.
- Keep fabric and paper away. Curtains can move, and a book left beside the shade can become tomorrow’s forgotten clutter.
- Keep the hot parts out of reach. The bulb, shade, jar, and wax can all become hot.
- Let it cool before maintenance. Unplug before cleaning or changing a bulb.
- Match the replacement bulb. The fitting, voltage, wattage, and bulb type all matter.
- Keep electrical parts dry. Don’t immerse the lamp, cord, or controller.
- Stop using damaged equipment. A frayed cord or loose fitting needs attention before another session.
Which Features Are Worth Having?
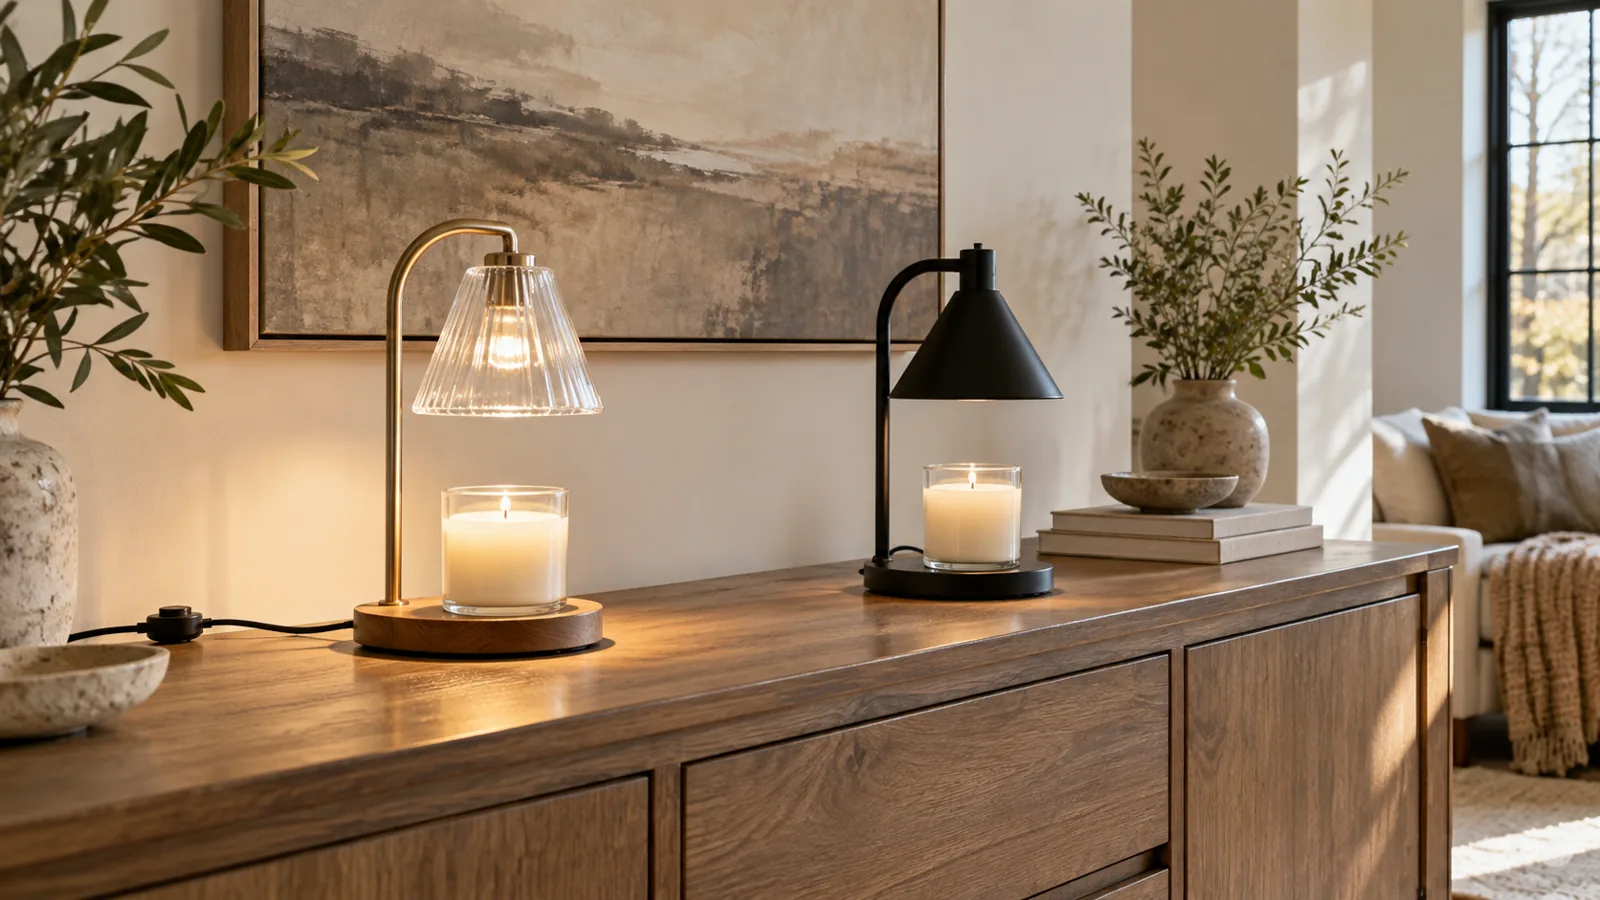
Prioritize candle fit, adjustable heat, and controls you can reach comfortably. A beautiful shade won’t help much if your usual jar won’t fit beneath it.
| Feature | Why it helps |
|---|---|
| Dimmer | Lets you adjust warming intensity and the brightness of the glow. |
| Adjustable height | Gives you more flexibility with compatible jars of different heights. |
| Timer | Switches the lamp off after a selected session. |
| Stable base | Gives the candle a secure place to sit. |
| Clearly specified replacement bulb | Makes replacement simpler when the original bulb wears out. |
For an everyday option, Luzdiosa with Timer is our overall pick in the buying guide. If you regularly switch between different jar sizes, SOKCVSEA Height-Adjustable is the more flexible choice.
You’ll find those picks and their tradeoffs in 7 Best Candle Warmer Lamps for a Home That Smells as Good as It Looks.
Already have a warmer that fits your candle and works well? There’s no need to replace it just to gain another setting.
Candle Warmer Lamp FAQs
Most everyday questions come down to candle fit, heat, and how the wax changes with use. Here are the details that tend to cause confusion.
Can You Use a Regular Jar Candle Under a Warmer Lamp?
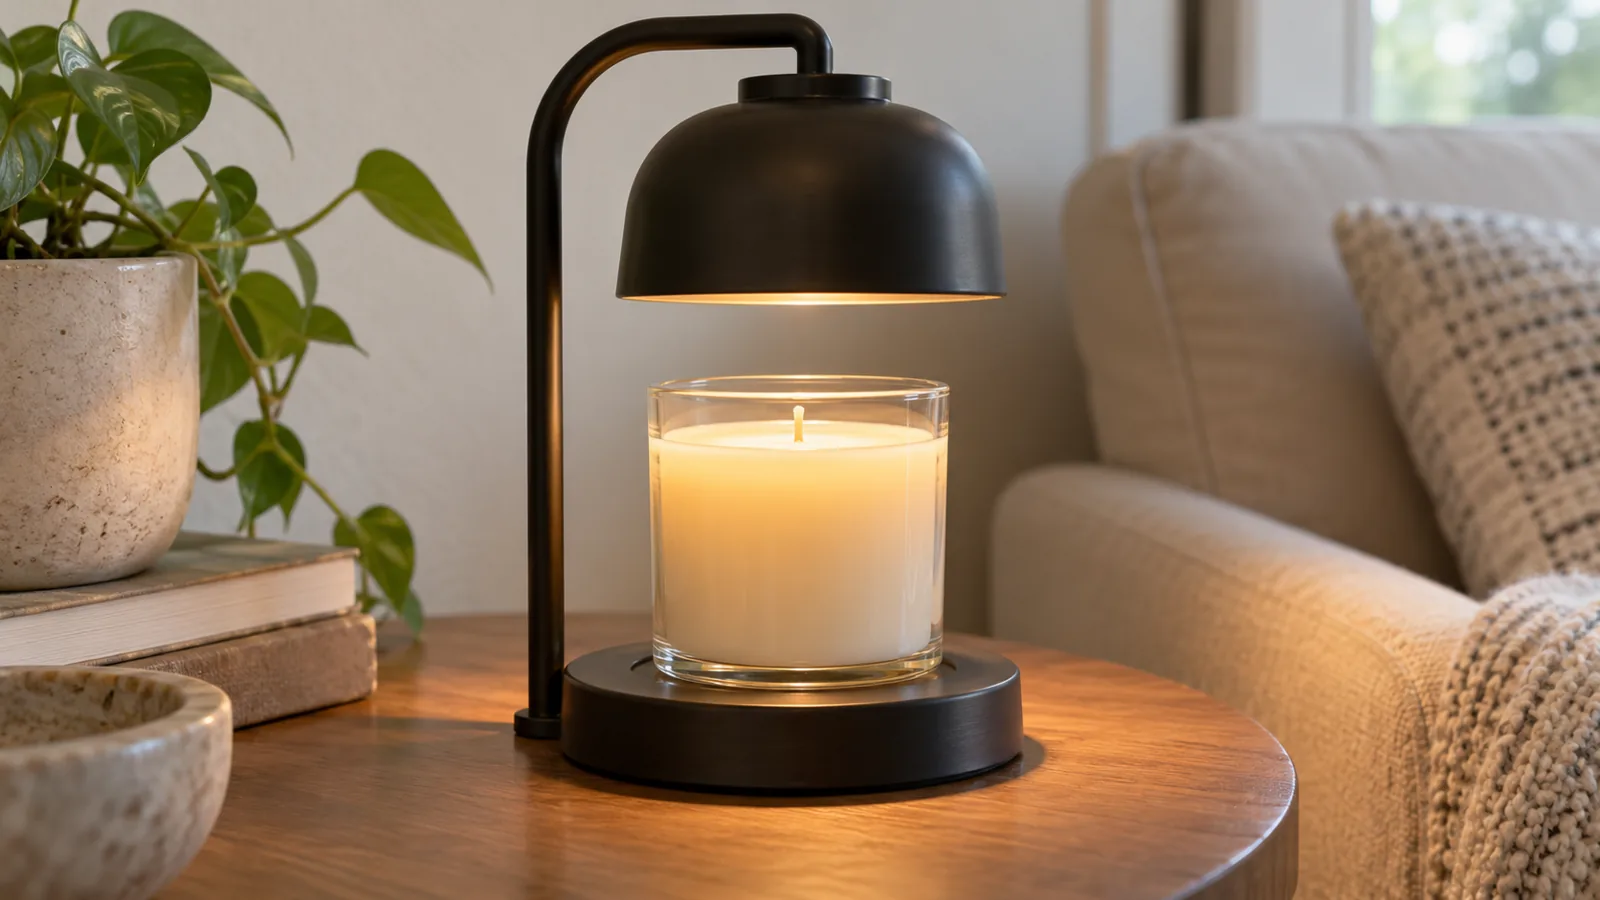
Many regular scented jar candles work with warmer lamps, provided the container is suitable and fits correctly.
Use an intact, heat-resistant candle container that sits securely on the base and leaves the required clearance beneath the shade. A tall jar wedged under the bulb or a wide container hanging over the base is a poor fit.
Should You Light the Wick While the Warmer Is On?
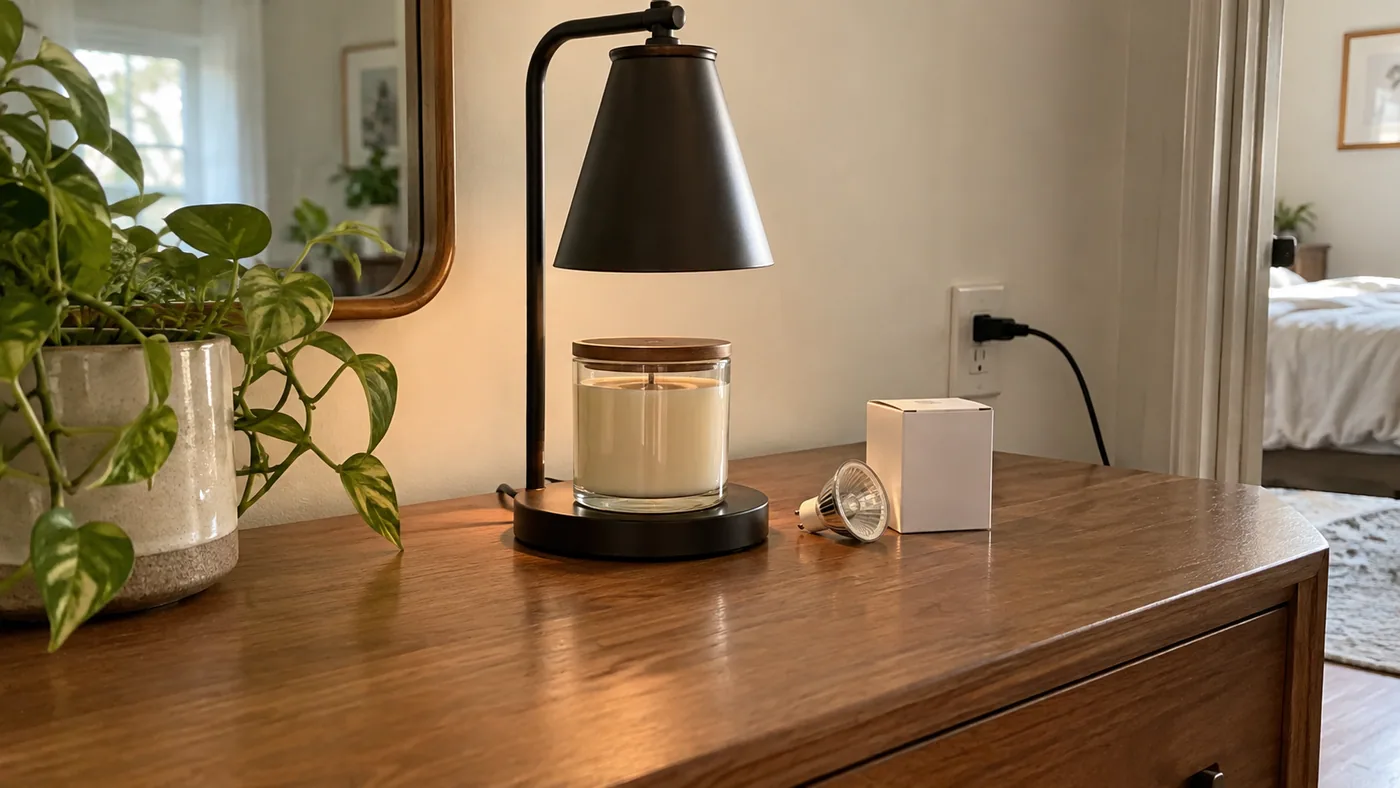
No. Leave the wick unlit while the lamp warms the candle.
The bulb supplies the heat. Lighting the wick adds another heat source and an open flame to a setup intended for warming.
Can You Leave a Candle Warmer Lamp On Overnight?
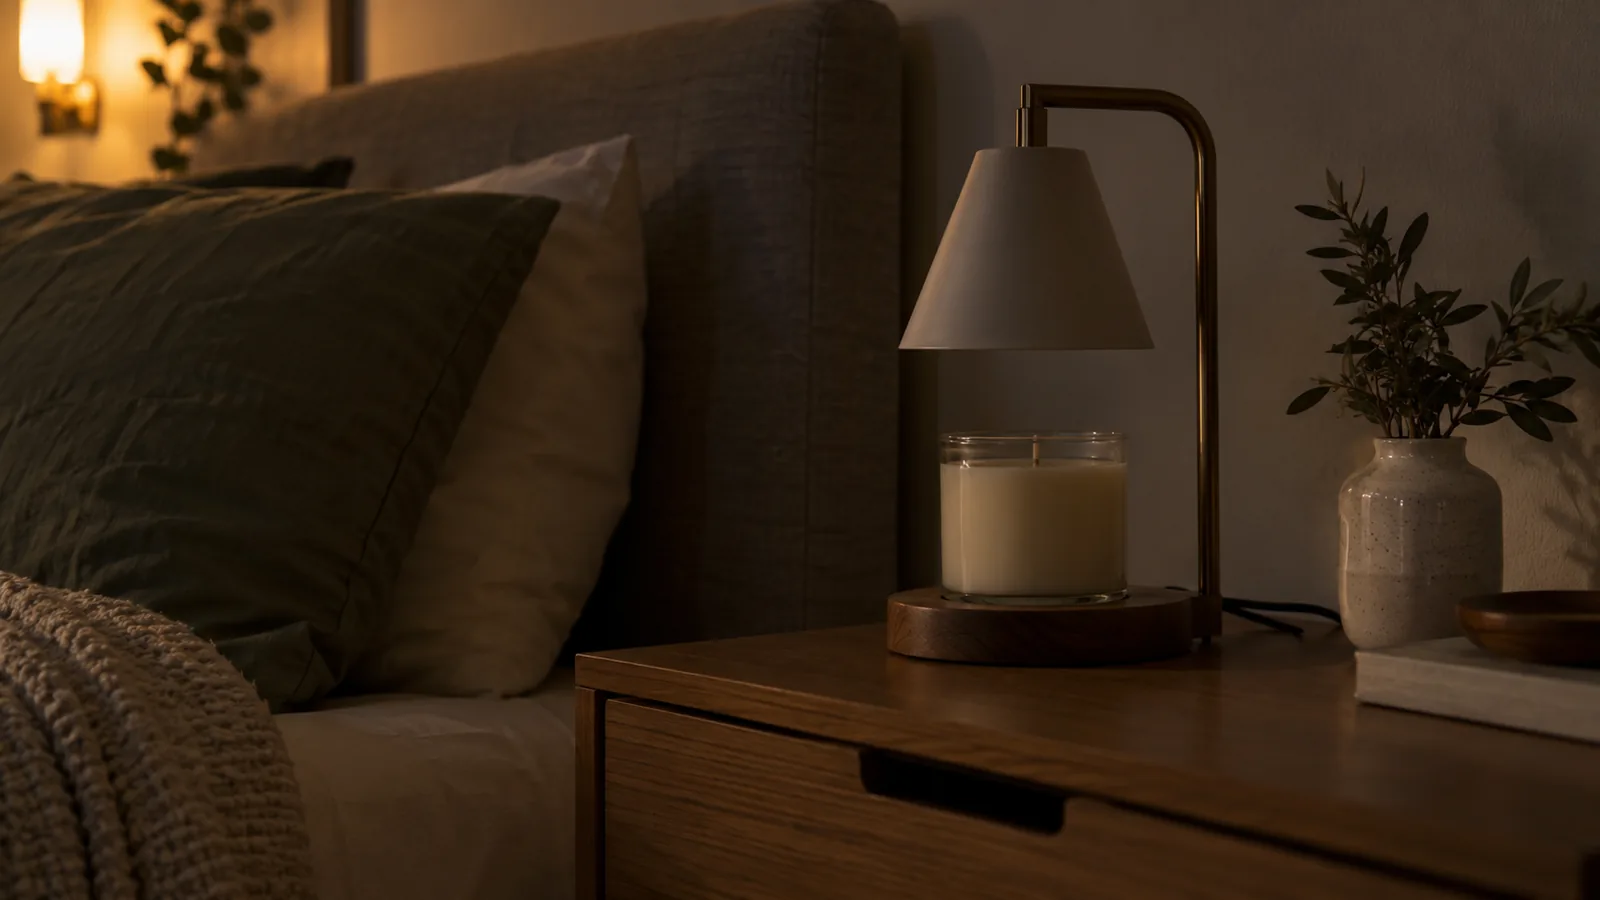
Switch it off before going to sleep.
Even without a flame, the lamp produces heat and the candle holds hot wax. An automatic timer doesn’t change that. Enjoy it while you’re awake, then turn it off when you’re ready for bed.
Can You Burn the Candle After Warming It?
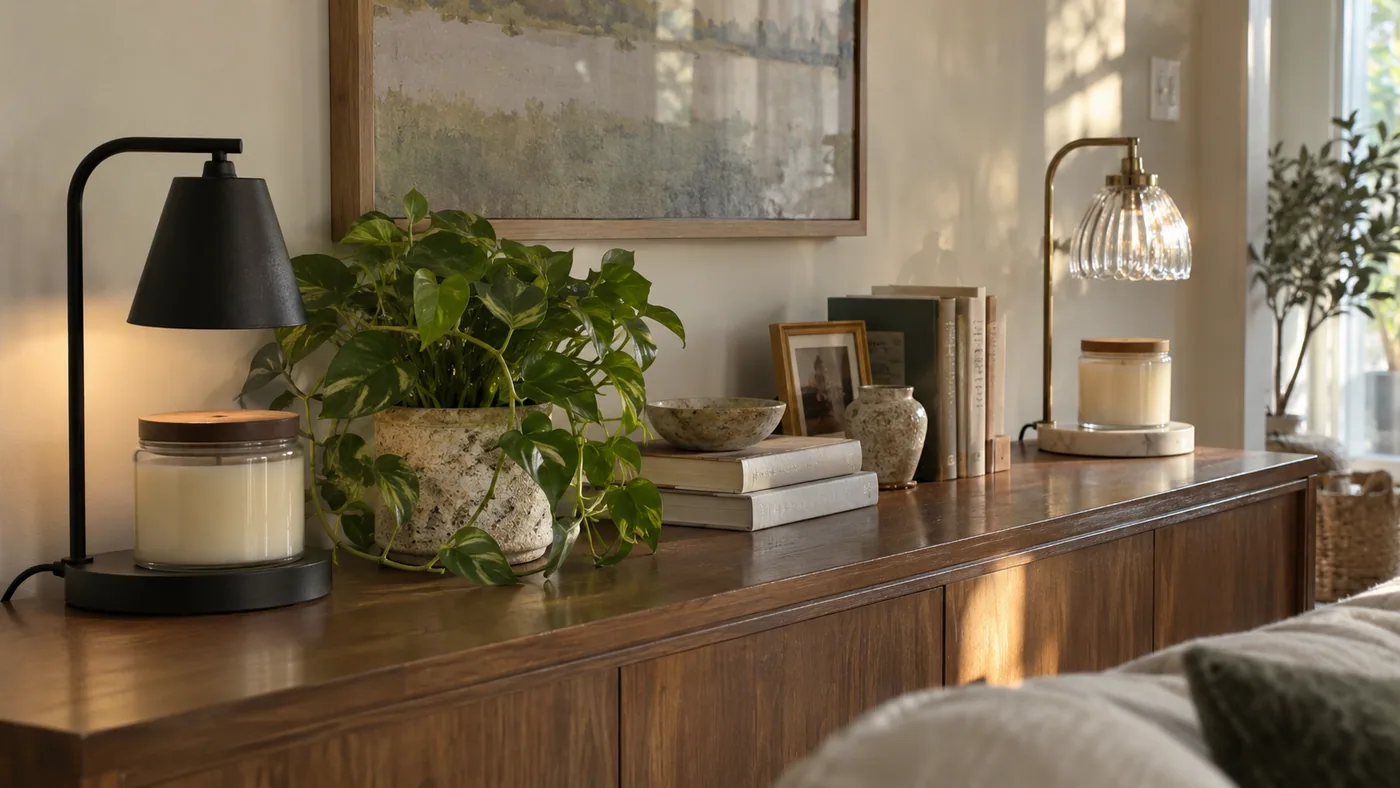
Only if the candle and warmer instructions allow it, and the wick remains suitable for burning.
Some warmer instructions explicitly advise against relighting a warmed candle. Removing wax can also change how much wick is exposed.
For an easy routine, dedicate a candle to warming once you begin removing its spent surface wax. Keep a separate candle for occasions when you want a flame.
Can You Use Wax Melts Under a Candle Warmer Lamp?
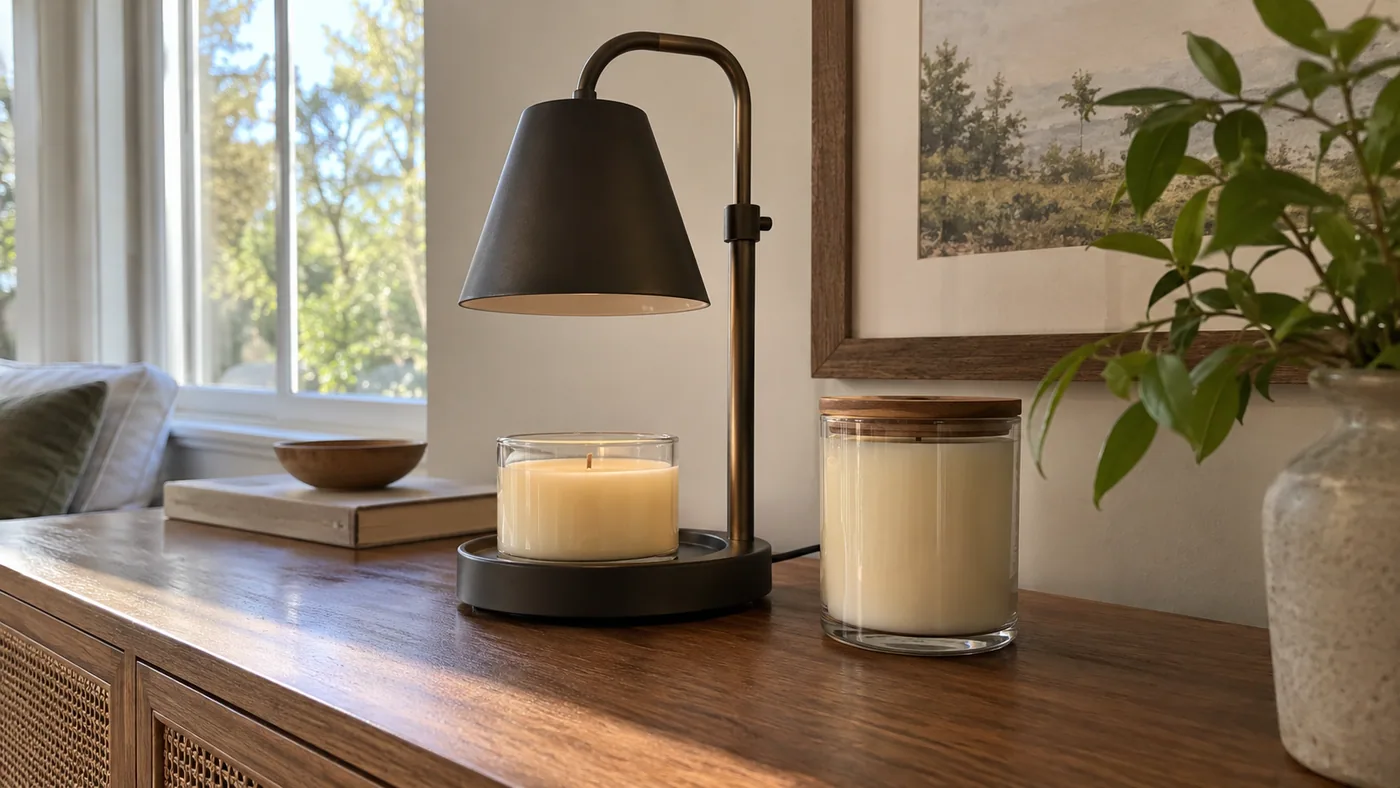
Yes, if the lamp is approved for wax melts and you use a compatible heat-resistant container.
Never place them directly on a wooden or metal base. A lamp designed around jar candles may not accommodate a wax-melt dish properly, so this feature depends on the model.
Can an LED Bulb Replace the Warming Bulb?
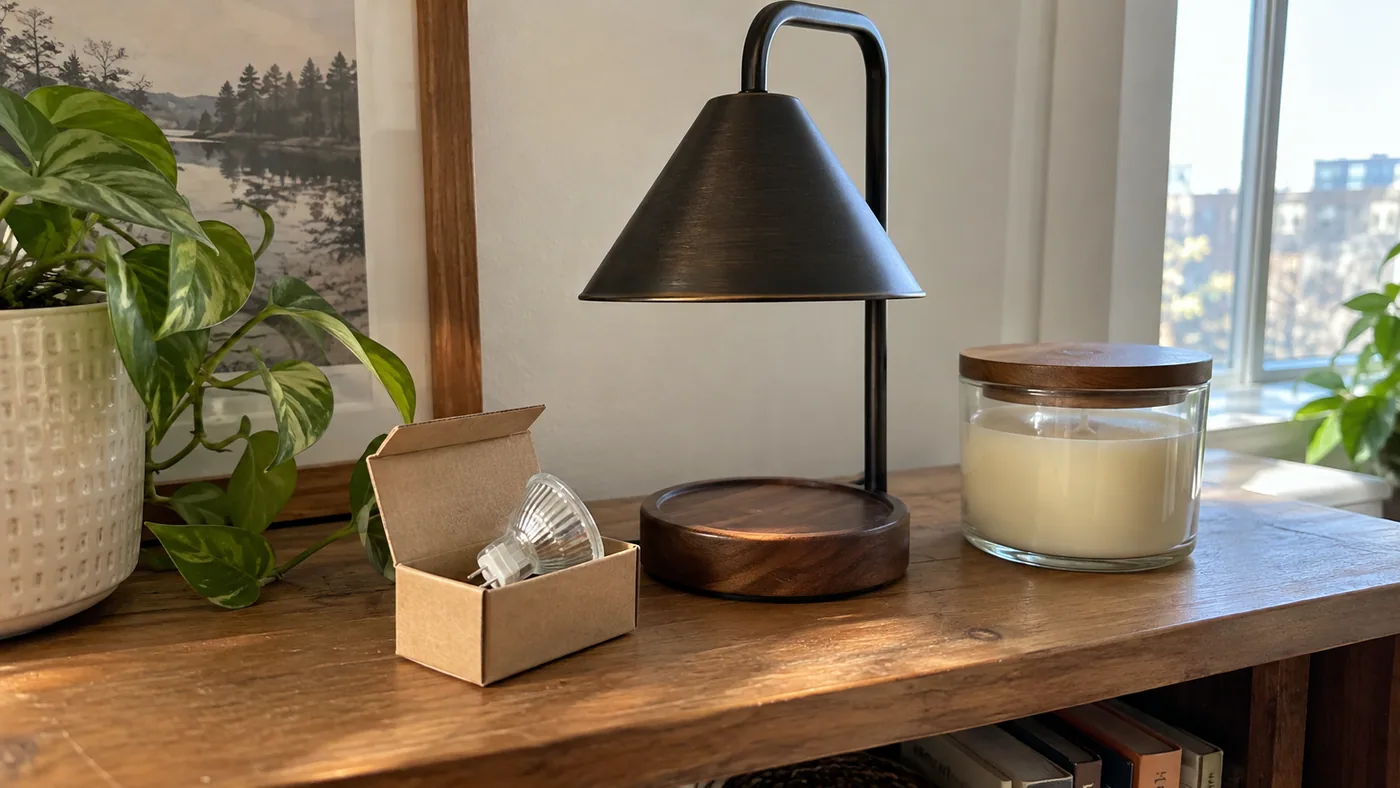
An ordinary LED is not a suitable substitute for a lamp’s specified warming bulb.
It may fit the socket and illuminate the shade while leaving the wax solid. Match the required bulb type, voltage, and wattage rather than choosing by fitting alone.
How Many Times Can You Warm the Same Candle?
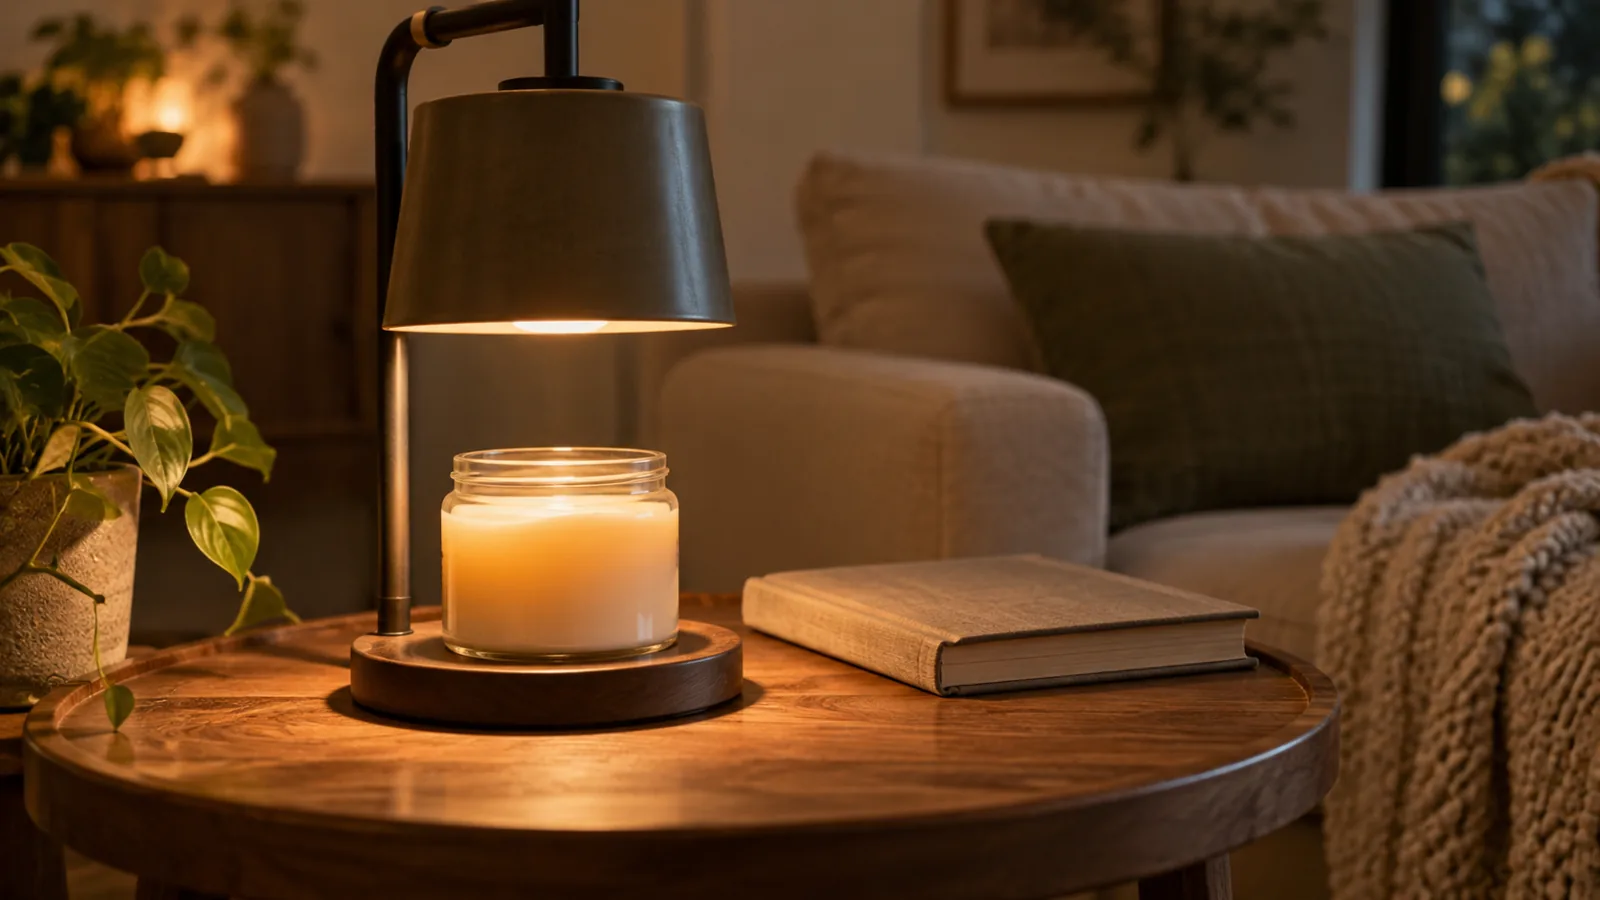
You can warm it repeatedly while it still releases a fragrance you enjoy and remains in good condition.
There’s no fixed session count. A long session at higher heat and a brief session at a gentler setting won’t use the fragrance at the same pace.
Let scent performance guide you, and refresh spent surface wax when needed.
Can a Candle Warmer Help With Tunneling?
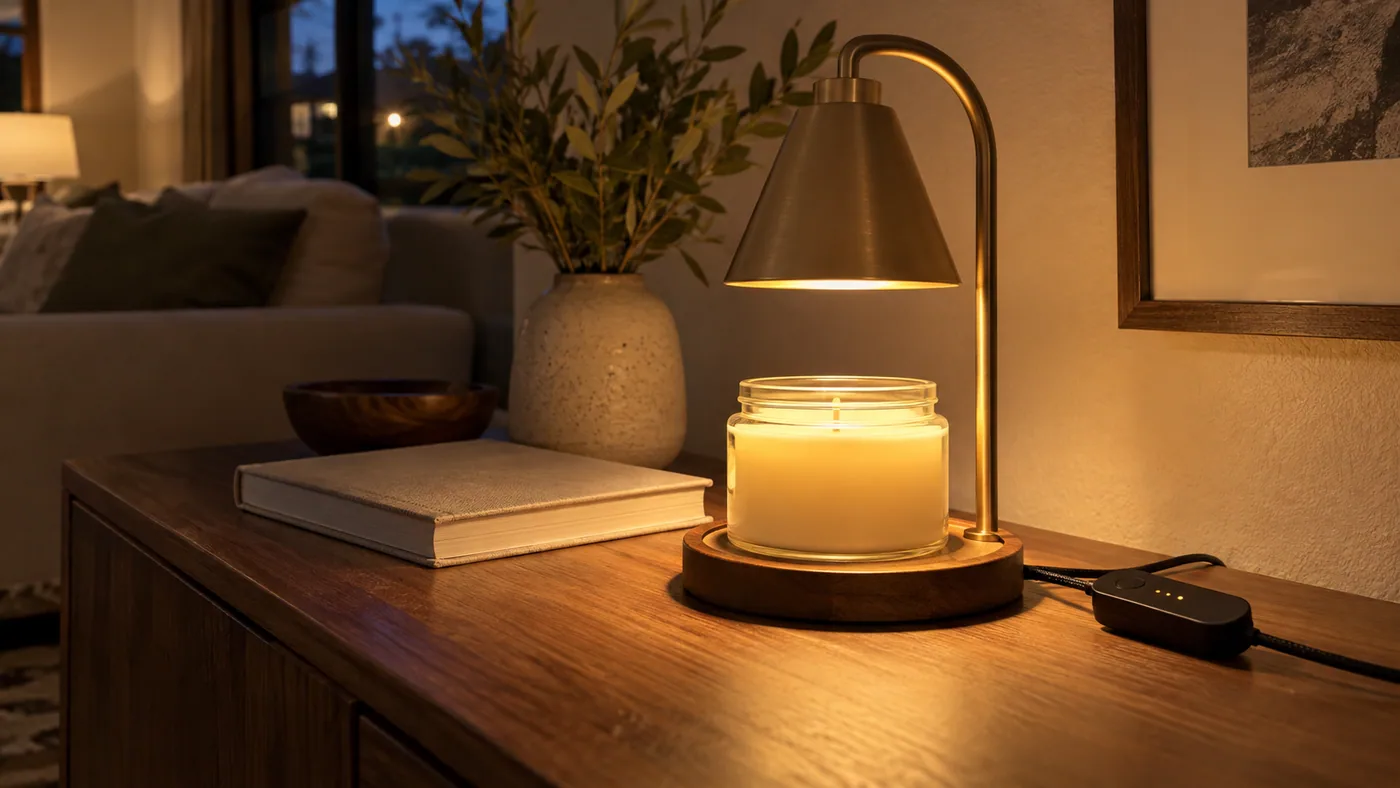
A warmer may help melt uneven surface wax, provided its warming area reaches it.
That can be useful when a candle has developed a hollow around the wick. A very wide jar may still leave wax at the edges beyond the lamp’s effective warming area.
Even if the surface becomes level, that doesn’t repair a damaged wick or automatically make the candle suitable for burning again.
Find the Setting You’ll Use Again
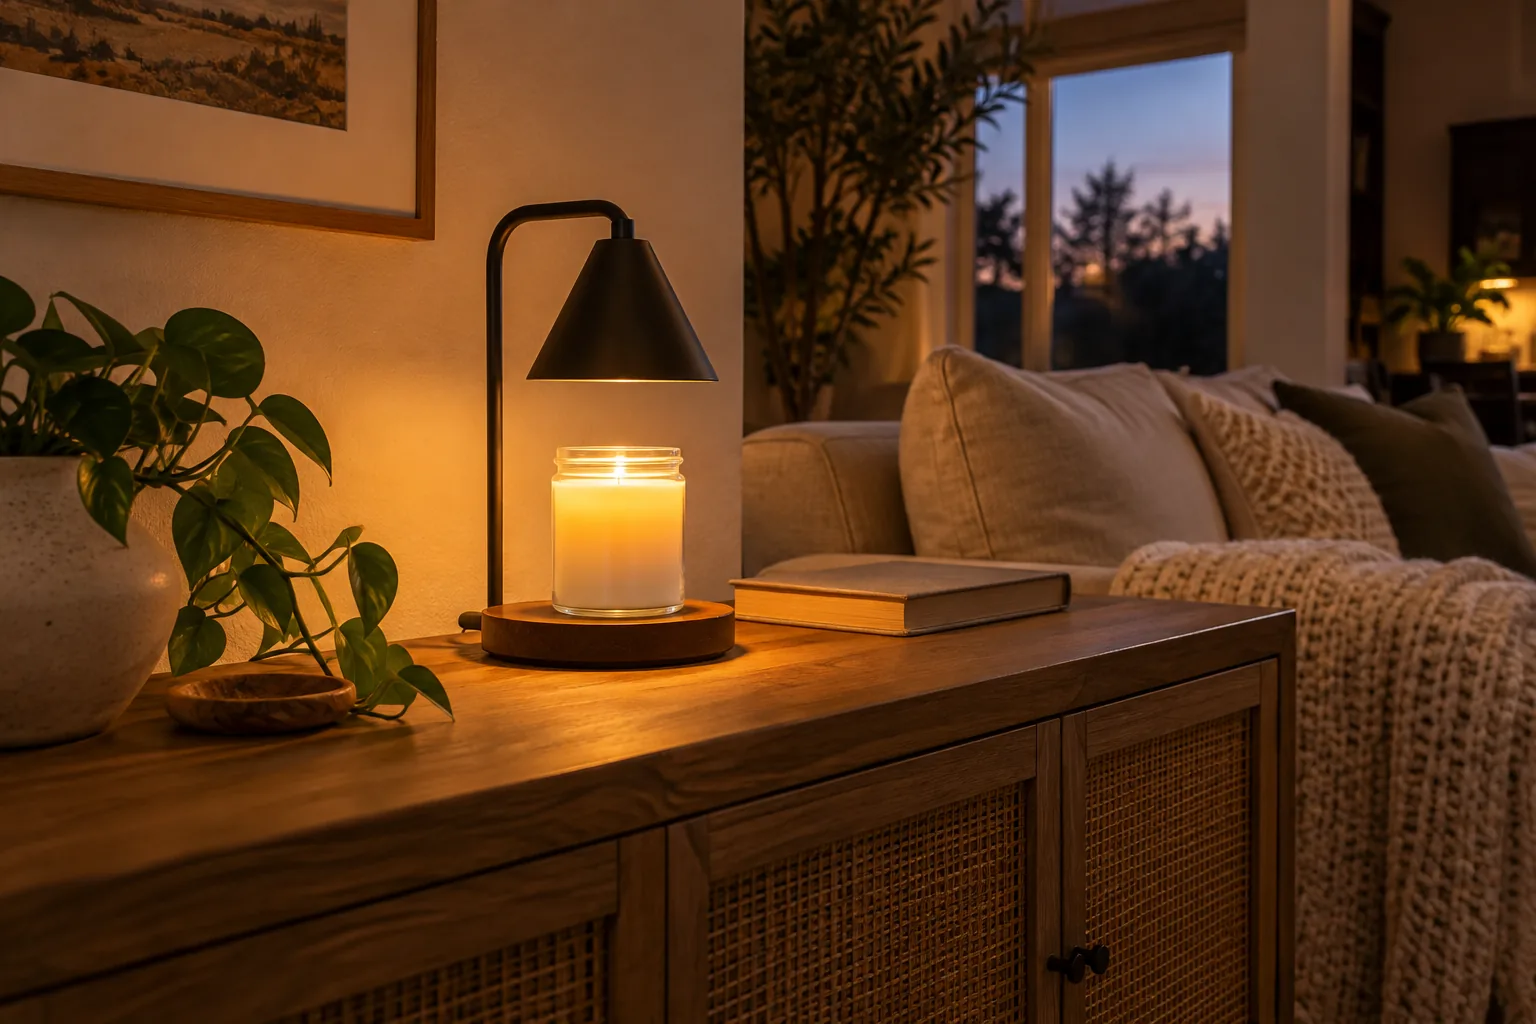
Center the candle, give it enough heat to release its scent, and let everything cool when you’re done.
After a few sessions with the same jar, you’ll have a better feel for the setting that suits your room. You can settle into your book or finish that episode without spending the evening adjusting a dial.
And when the fragrance begins to fade, look at the wax before reaching for more heat. Sometimes a small refresh is all that favorite candle needs.