Tired of seeing wires below the TV and tangled chargers beside the bed? Hiding cords and cables makes a room look tidier. It also makes cleaning easier.
Most rooms need a few clips, somewhere for the power strip, and a cover for exposed cables. The trick is hiding the mess while keeping your chargers and switches easy to reach.
Here’s the quick answer:
The quick answer
- Behind furniture: Clips hold cords along hidden edges.
- On walls: Paintable covers hide exposed wires.
- Under desks: A tray holds the power strip and adapters.
- Between devices: Reusable ties or sleeves gather loose cables.
- Beside chargers: Cable holders stop unplugged ends from falling.
Here’s how those fixes work around the house.
1. Which Fix Does Your Cable Mess Need?
The right fix depends on what needs hiding. Clips hold cords in place. Covers hide visible runs. Trays support power strips and adapters.
| The problem | The useful fix |
|---|---|
| A lamp cord hanging behind furniture | Cable clips |
| Several cables following the same route | Reusable ties or a sleeve |
| Wires running down a wall | A paintable cord cover |
| A power strip beneath your feet | An under-desk tray |
| A charger falling behind the nightstand | A cable-end holder |
| A bulky plug behind furniture | A low-profile plug with enough clearance |
| A temporary cable crossing an exposed floor | A purpose-built floor cord cover |
Before attaching anything, sort out what’s already there:
- Match each cable to its device.
- Remove leads you no longer use.
- Replace damaged cords.
- Put devices where you normally use them.
- Leave enough cable to move each device comfortably.
That last point is easy to miss. A charger may reach your laptop directly but fall short once it runs behind the desk.
For spare charging and data cables, VELCRO ONE-WRAP Cable Ties are useful. The pack contains 100 reusable, 8-inch ties. They open easily when you need to move a device or add another cable.
Loose loops are enough. The tie should hold the cable without squeezing it or creating sharp bends.
2. Living Room: TV Wires Without the Dangling Mess
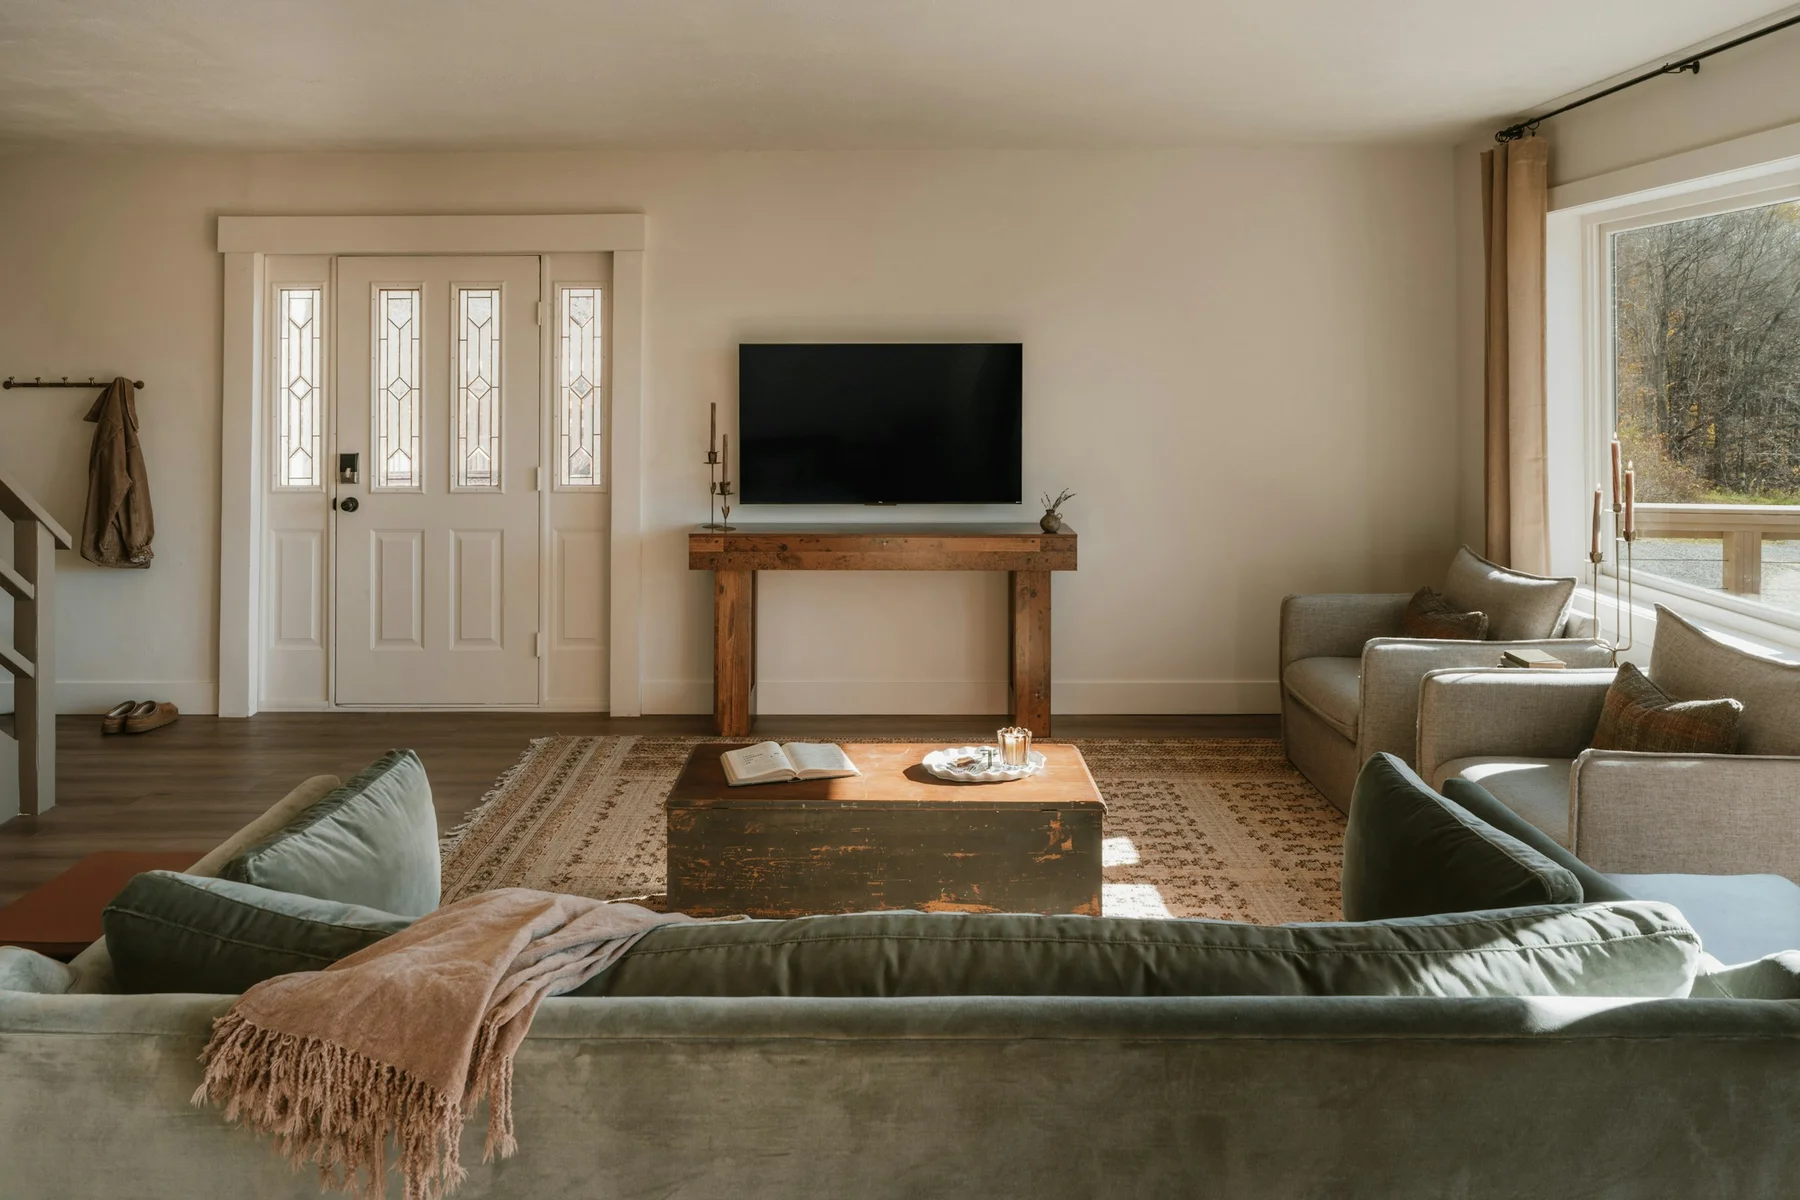
TV cables are easier to hide when they follow one route toward the media console. Behind the furniture, separate groups keep the connections manageable.
A Wall-Mounted TV
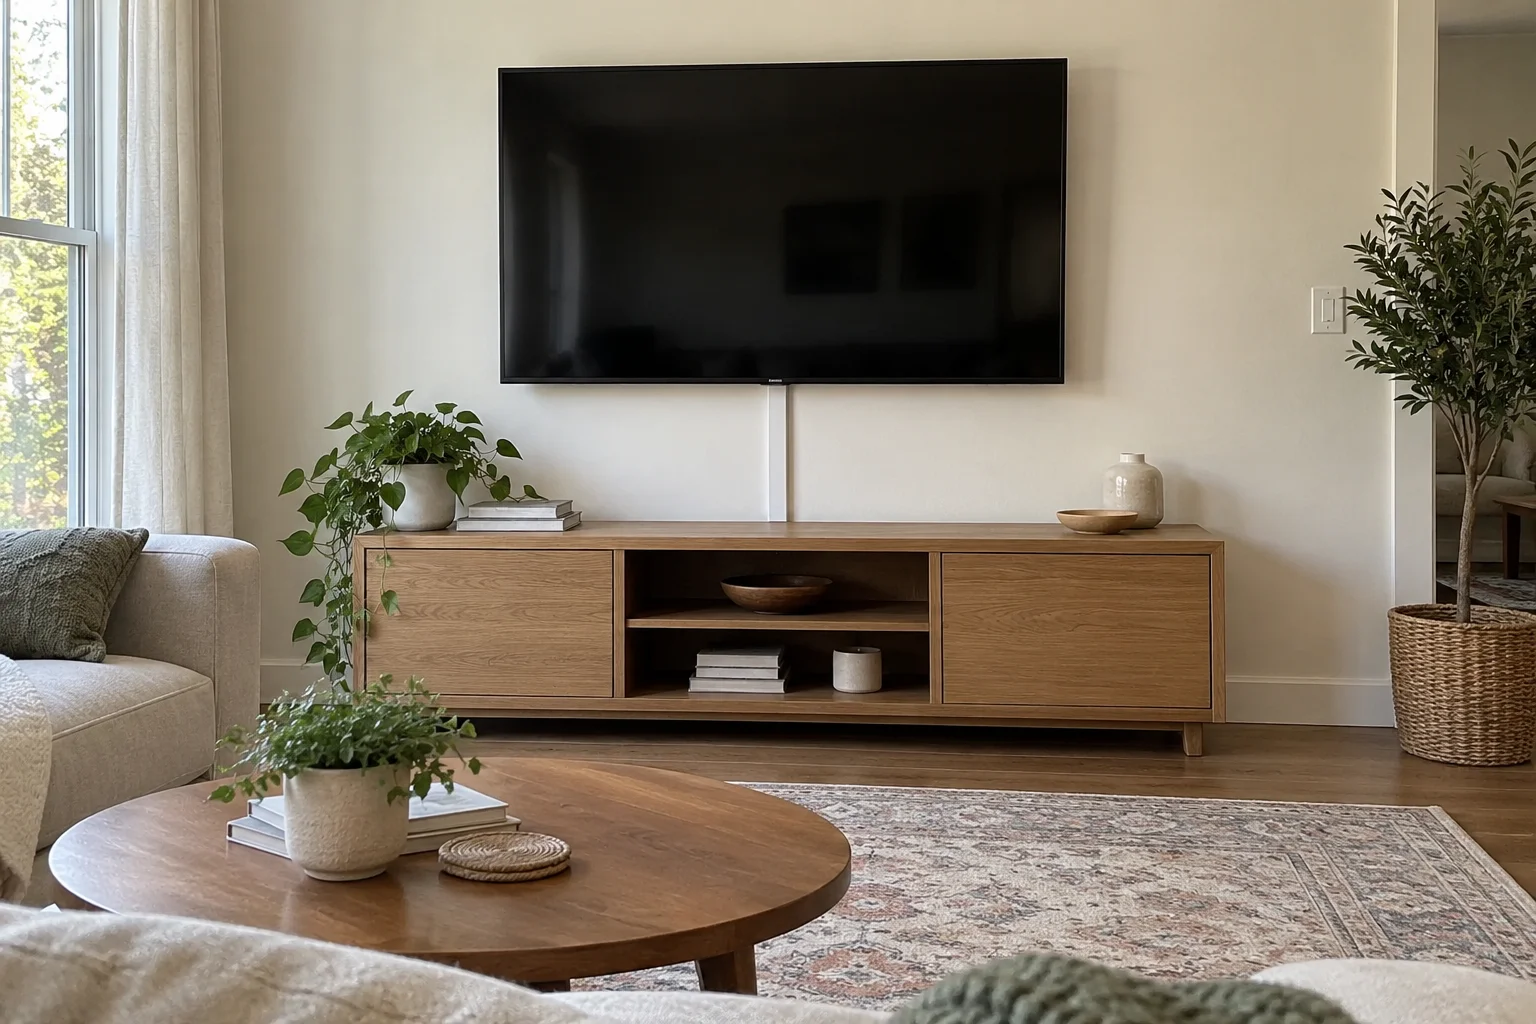
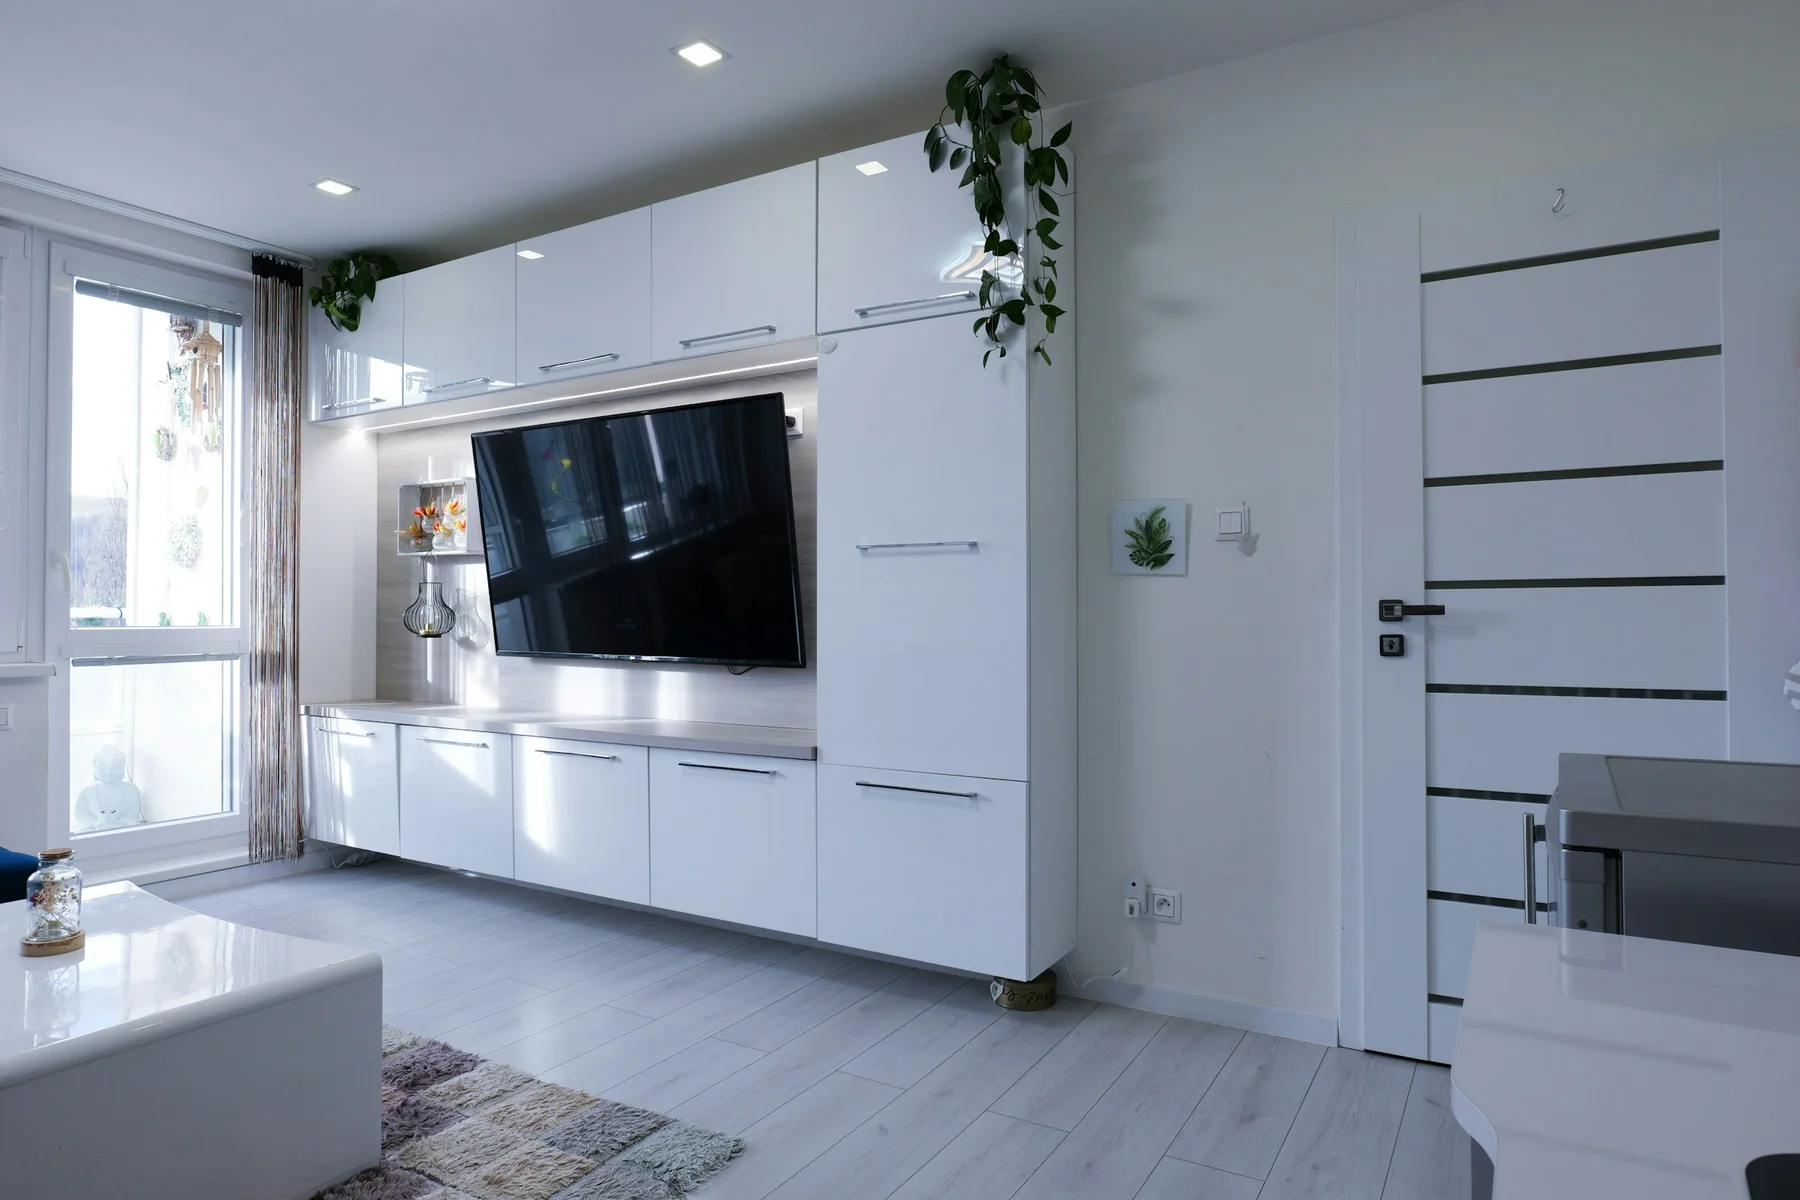
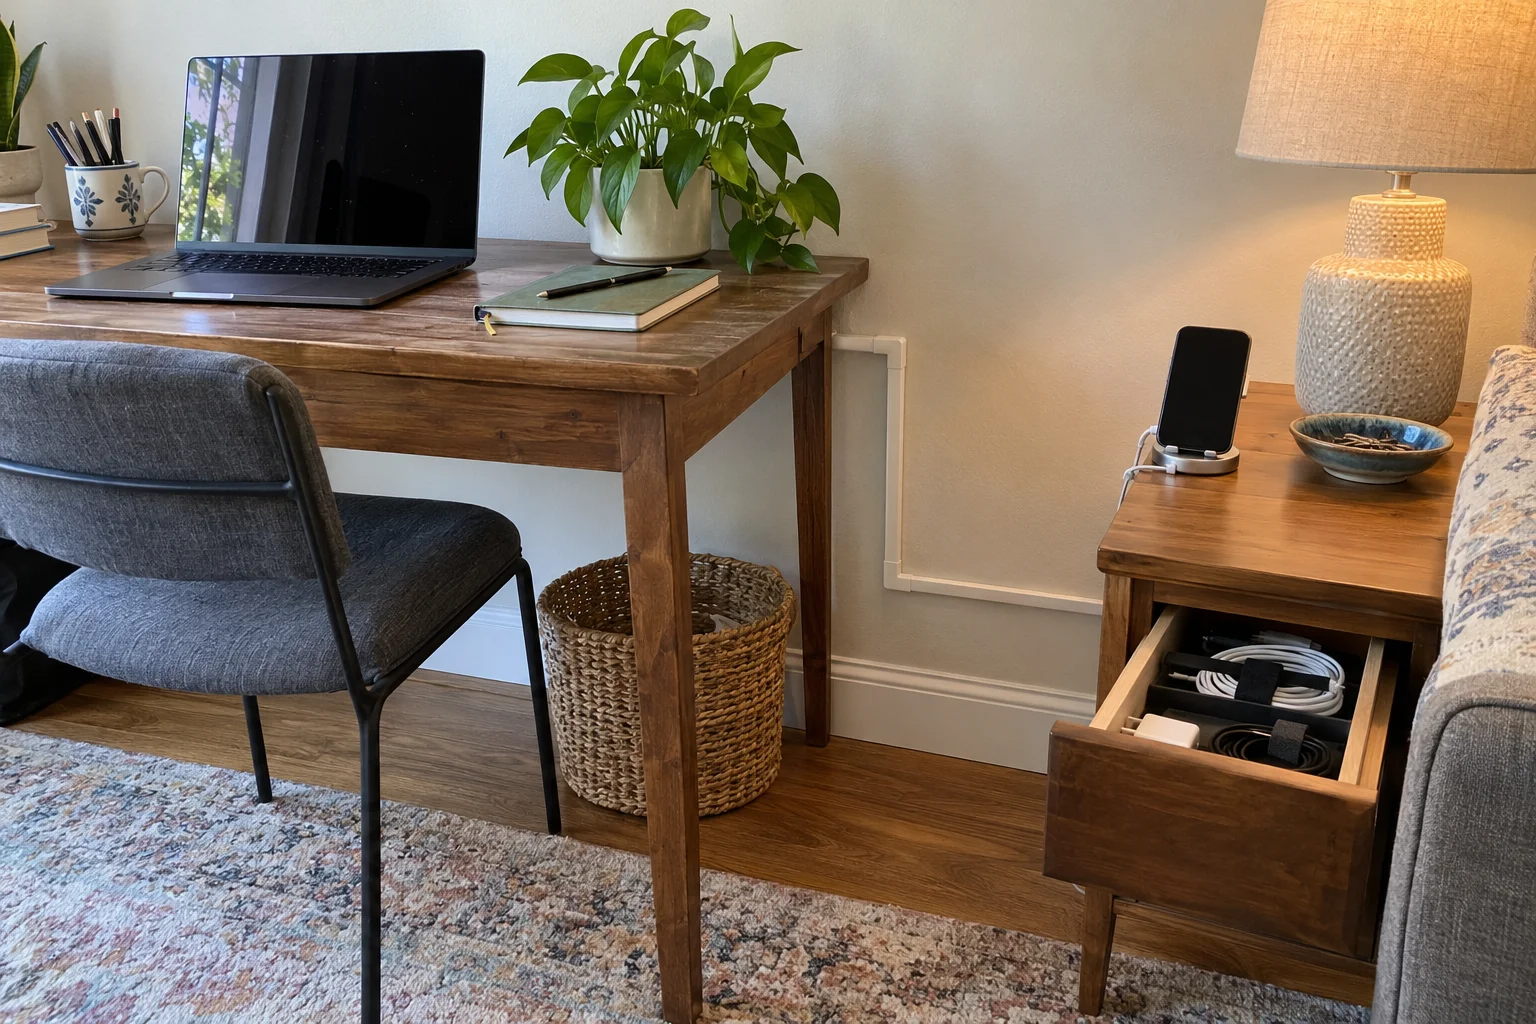
A surface cord cover is usually the easiest way to hide wires below a wall-mounted TV.
The Delamu Cord Hider Kit has removable covers that snap over the cables. It contains 157 inches of channel, divided into sections you can cut and arrange along the wall. It can also be painted to match the surface behind it.
A straight run down from the TV usually looks neatest. If the outlet sits farther to one side, continue the route along the baseboard.
The cover needs enough room for the cables without forcing them together. Its lid should close without pressing against the wires.
For cables hidden inside the wall, a properly installed in-wall power system or an electrician-installed outlet is needed. Openings for HDMI and other low-voltage cables do not provide an in-wall power connection.
Behind the Media Console
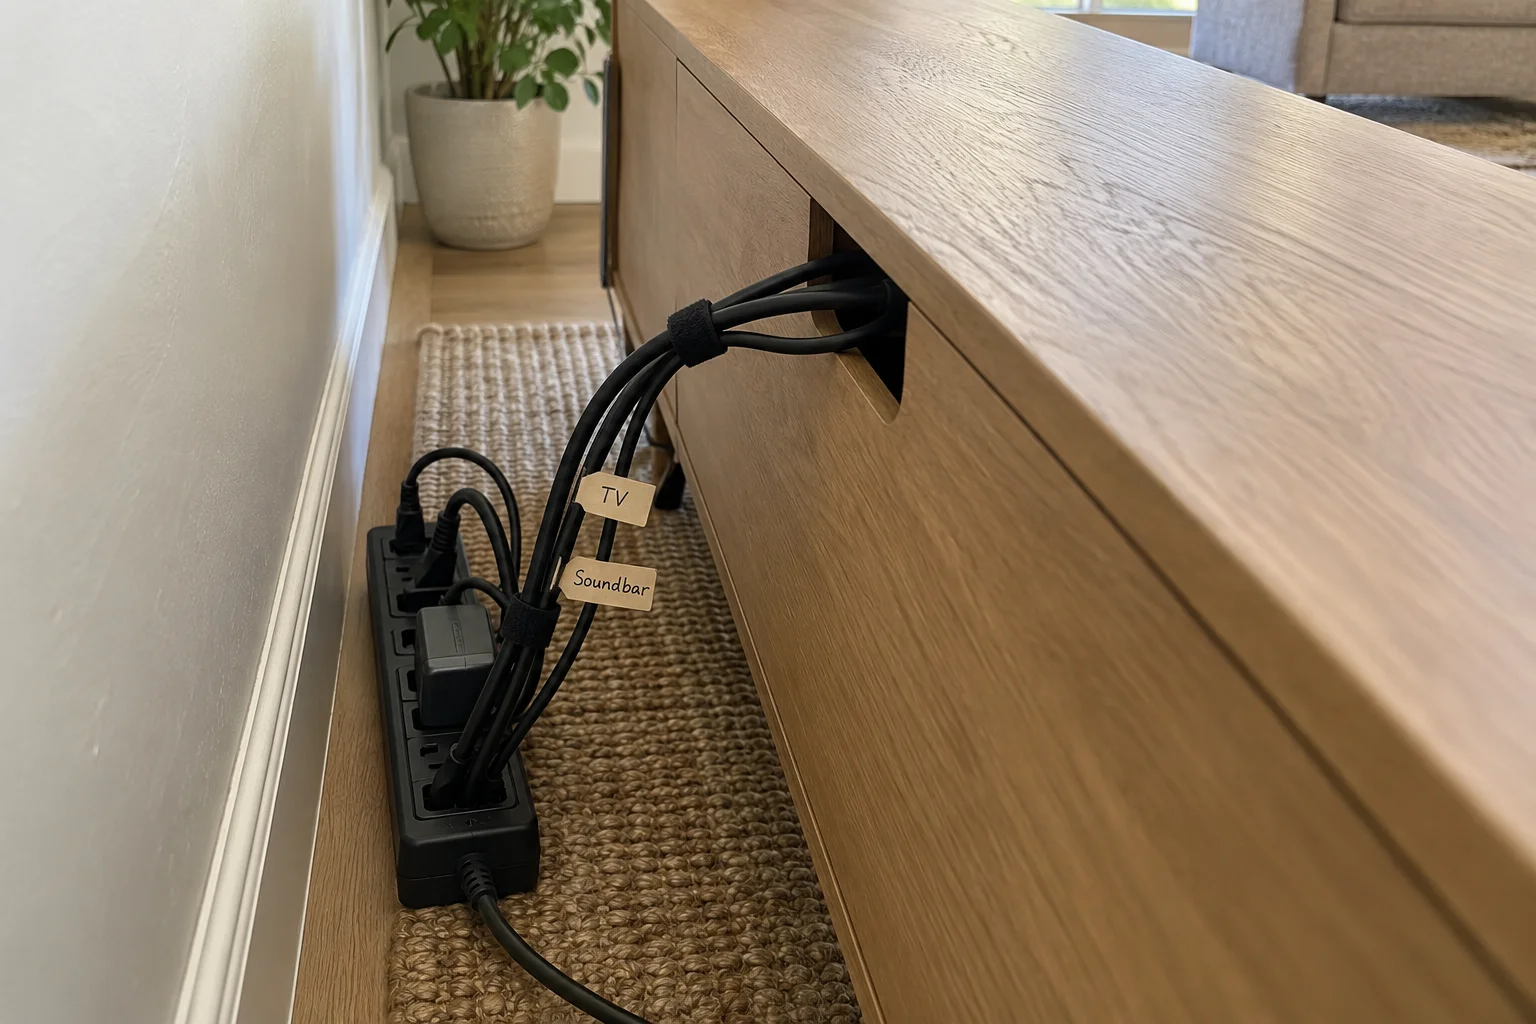
Labeled plugs and loose cable groups make the back of a TV stand easier to manage.
You’ve probably unplugged the wrong device at least once. A small label marked “TV,” “console,” or “soundbar” saves the guessing.
Use reusable ties to gather cables that travel together. Guide them through the furniture’s existing openings, leaving enough slack to pull a device forward.
A cable sleeve can cover a larger bundle. An opening sleeve is useful because you can remove one cable without pulling everything apart.
Power strips and adapters still need airflow and access. If you use a cable-management box, leave space inside and keep its openings clear. Avoid hiding powered equipment beneath blankets or inside a crowded decorative basket.
Lamps Beside Sofas and Reading Chairs
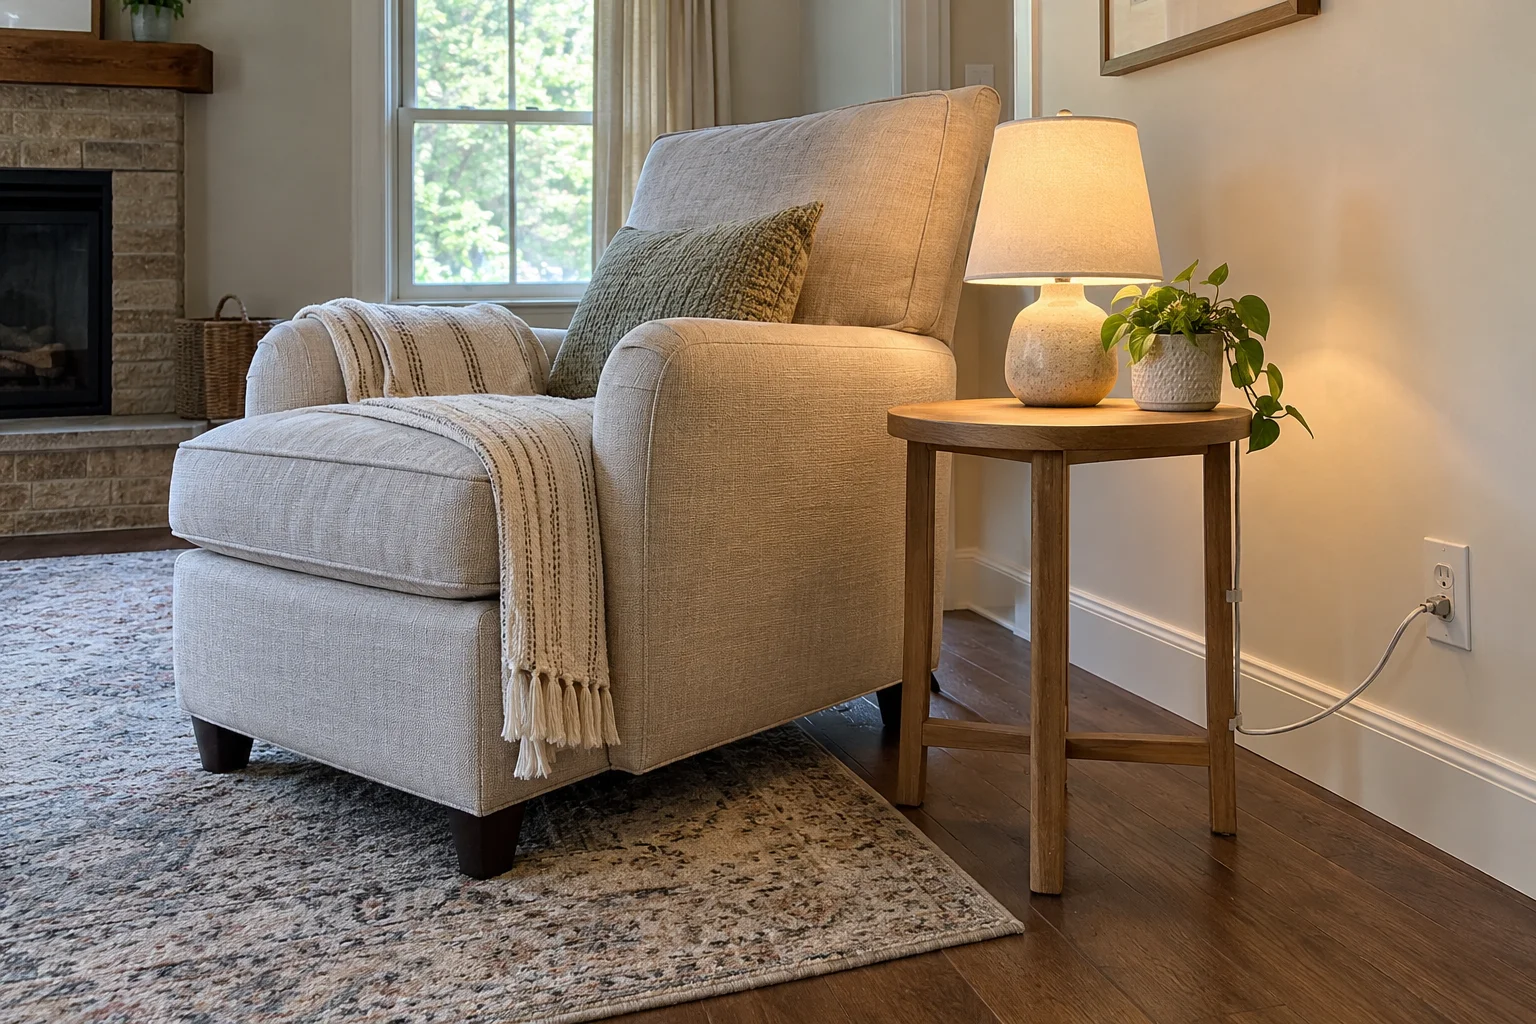
The back edge and rear leg of a table can hide most of a lamp cord.
Guide the cable along those edges with clips instead of letting it hang through the open space underneath.
If the cord crosses the path to the sofa, try the lamp on the other side of the table. Moving the chair and lamp closer to an outlet may solve the problem completely.
For a permanent reading spot in the middle of the room, an electrician-installed floor outlet provides power nearby.
Our guide to living room design mistakes explains common mistakes to avoid, such as oversized sofas, blocked walkways, and tables too far from your seat.
3. Home Office: A Clear Desk, Above and Below
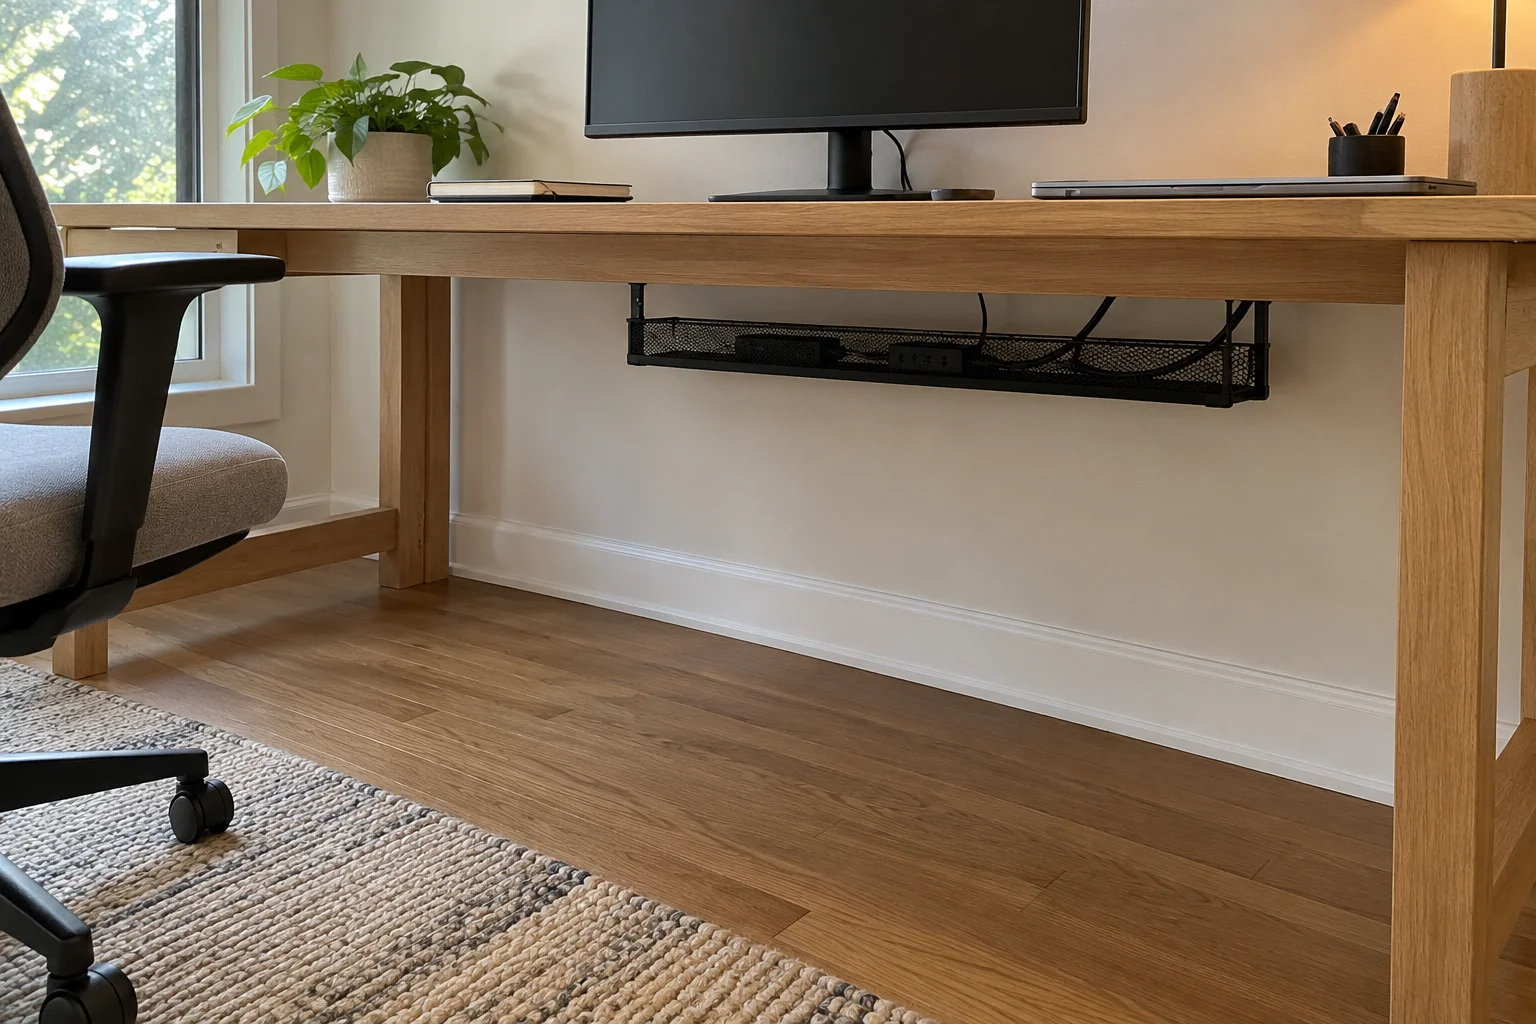
Most desks need a tray for the power strip and a few holders for loose cables. The adapters on the floor and the chargers hanging over the edge are usually the biggest problems.
The Power Strip Under Your Desk
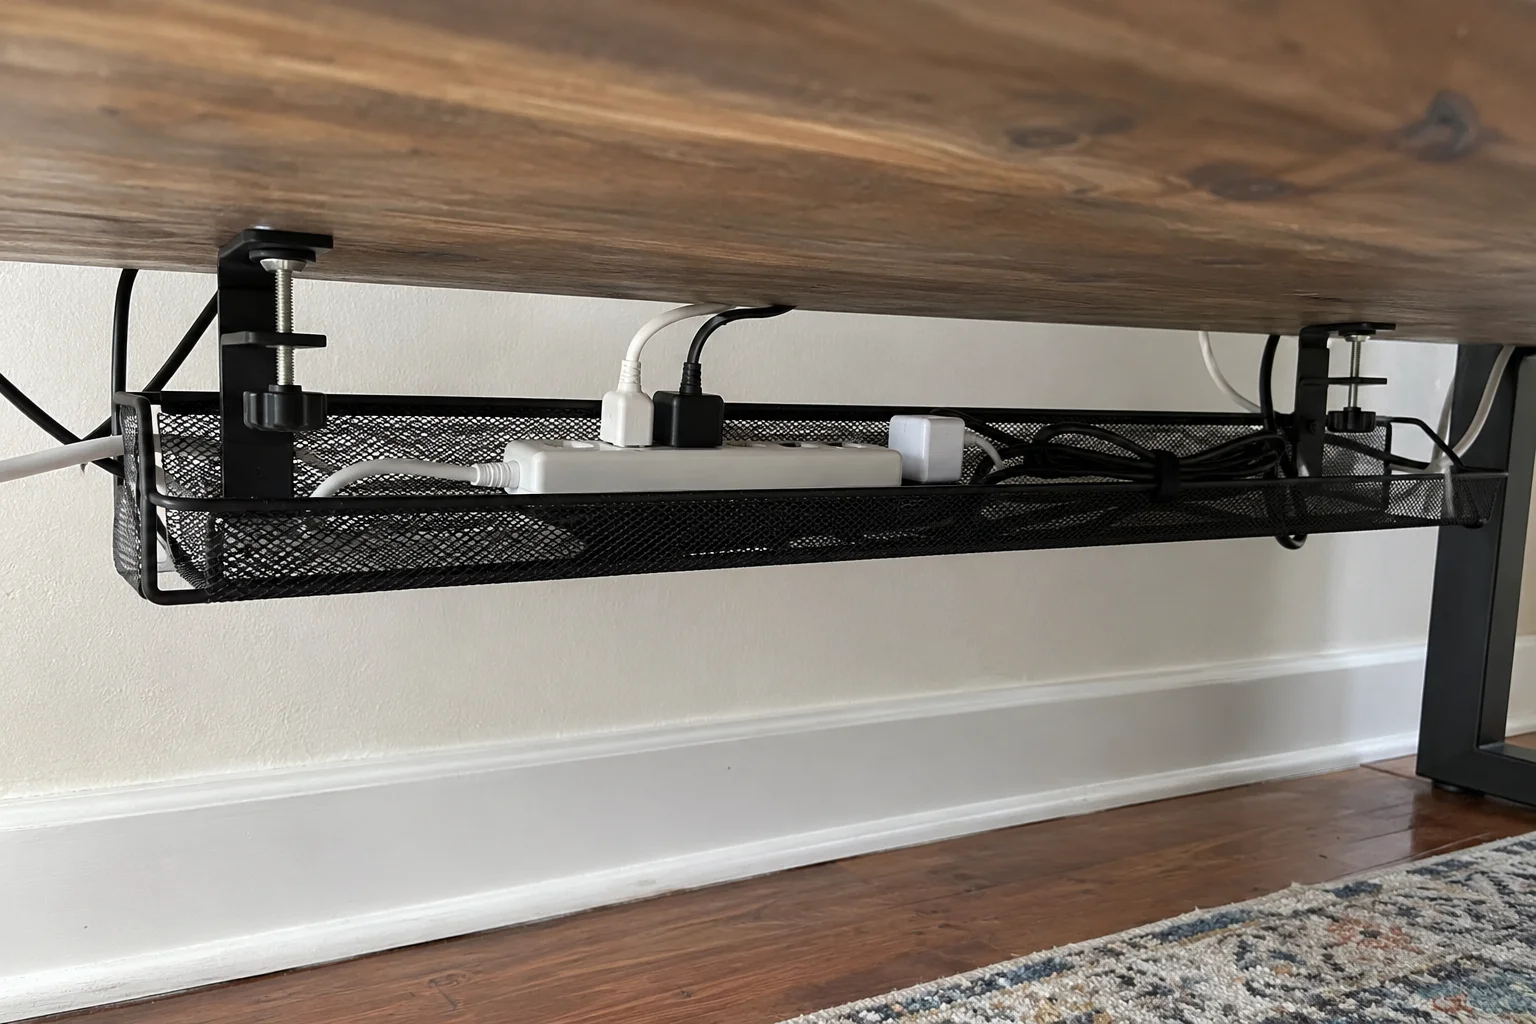
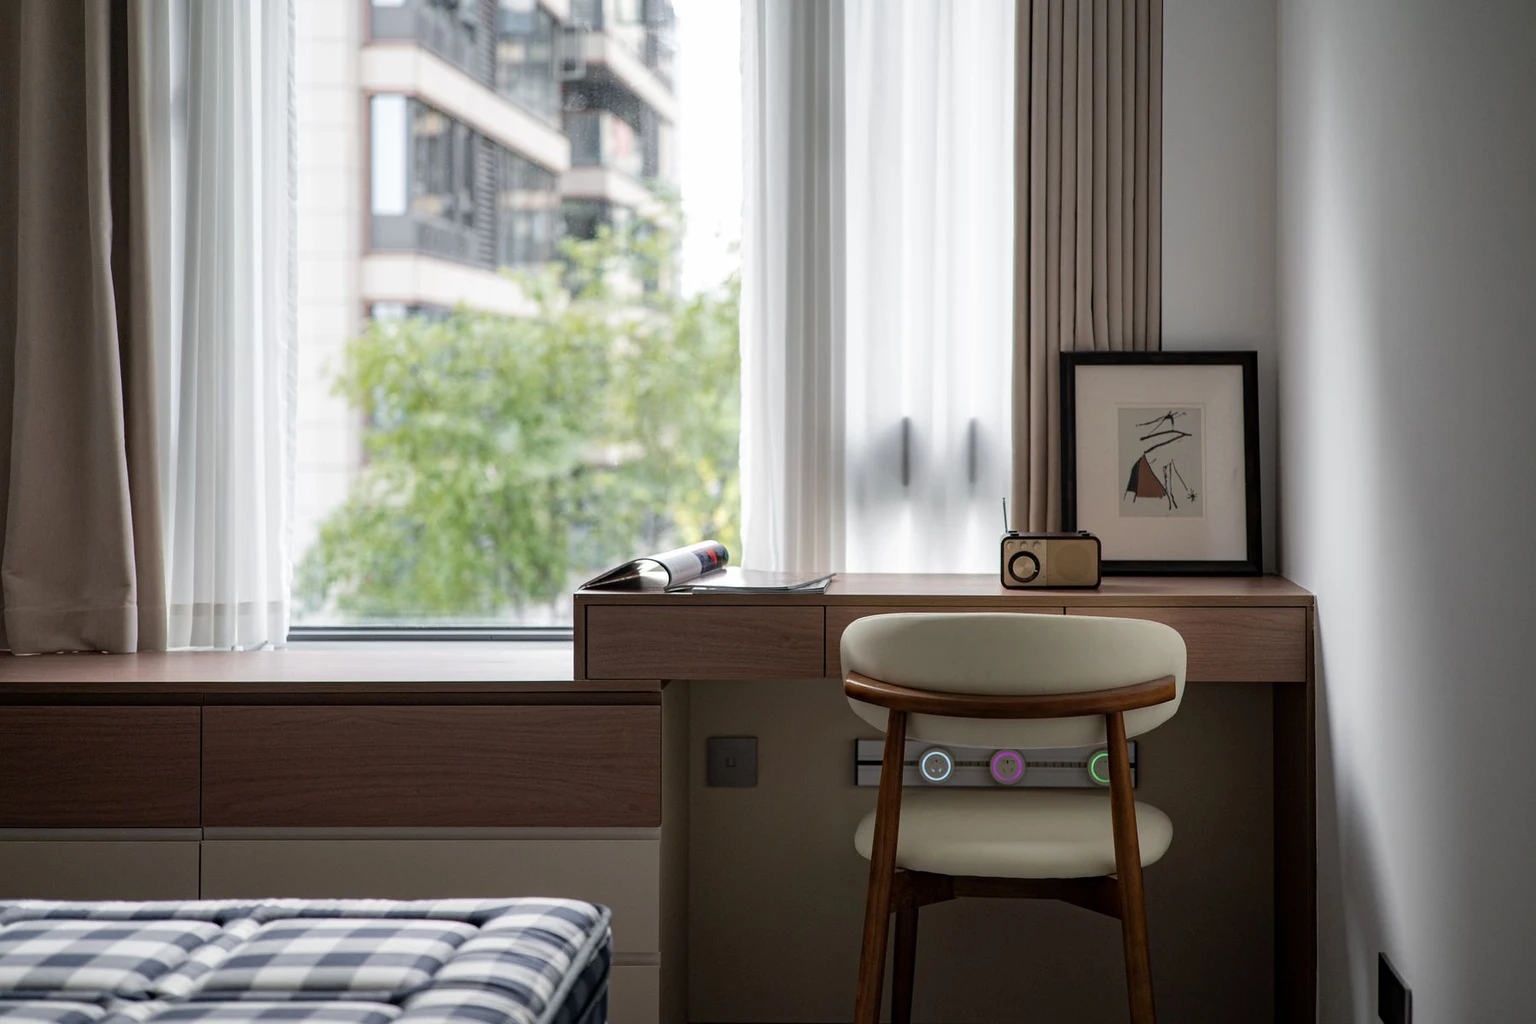
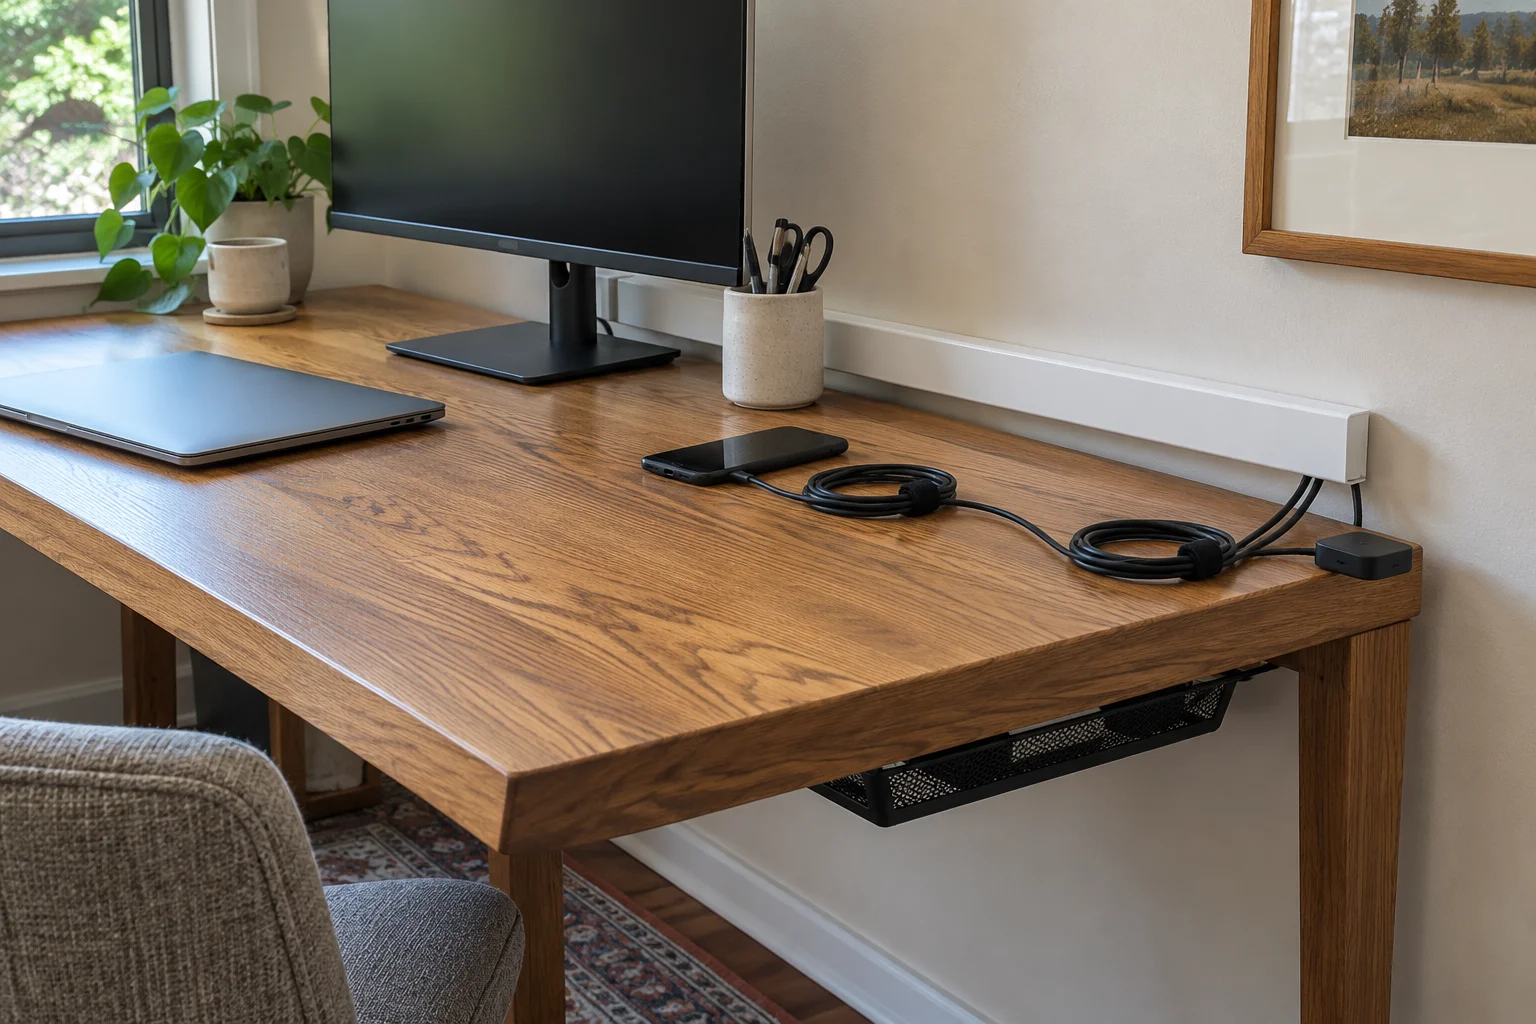
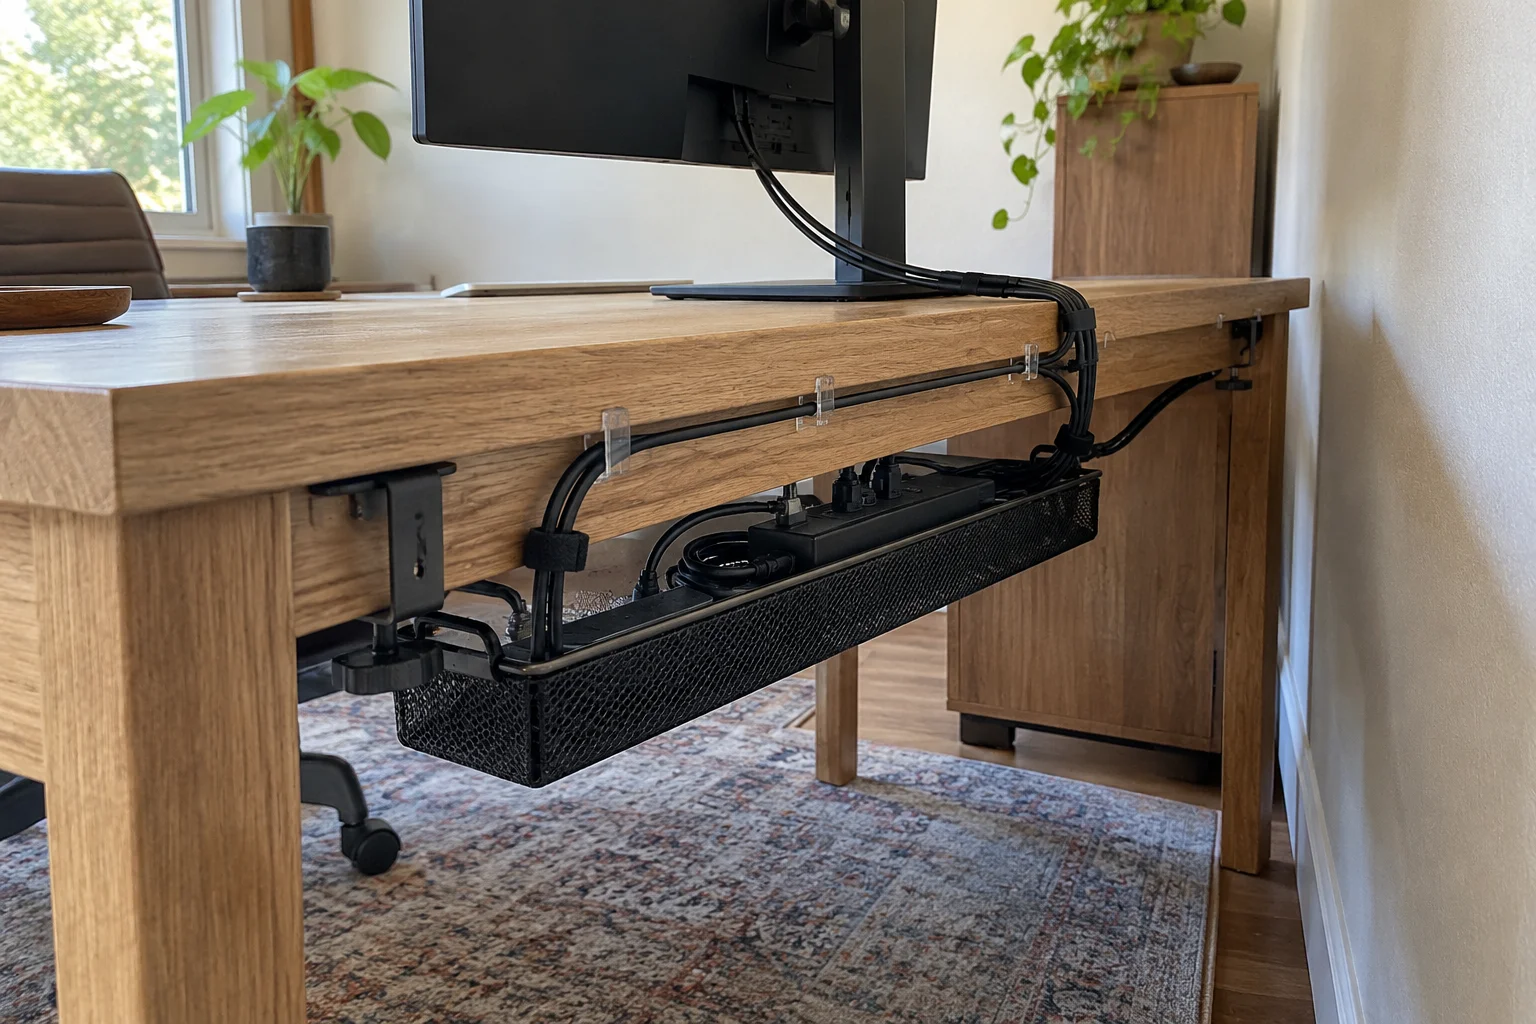
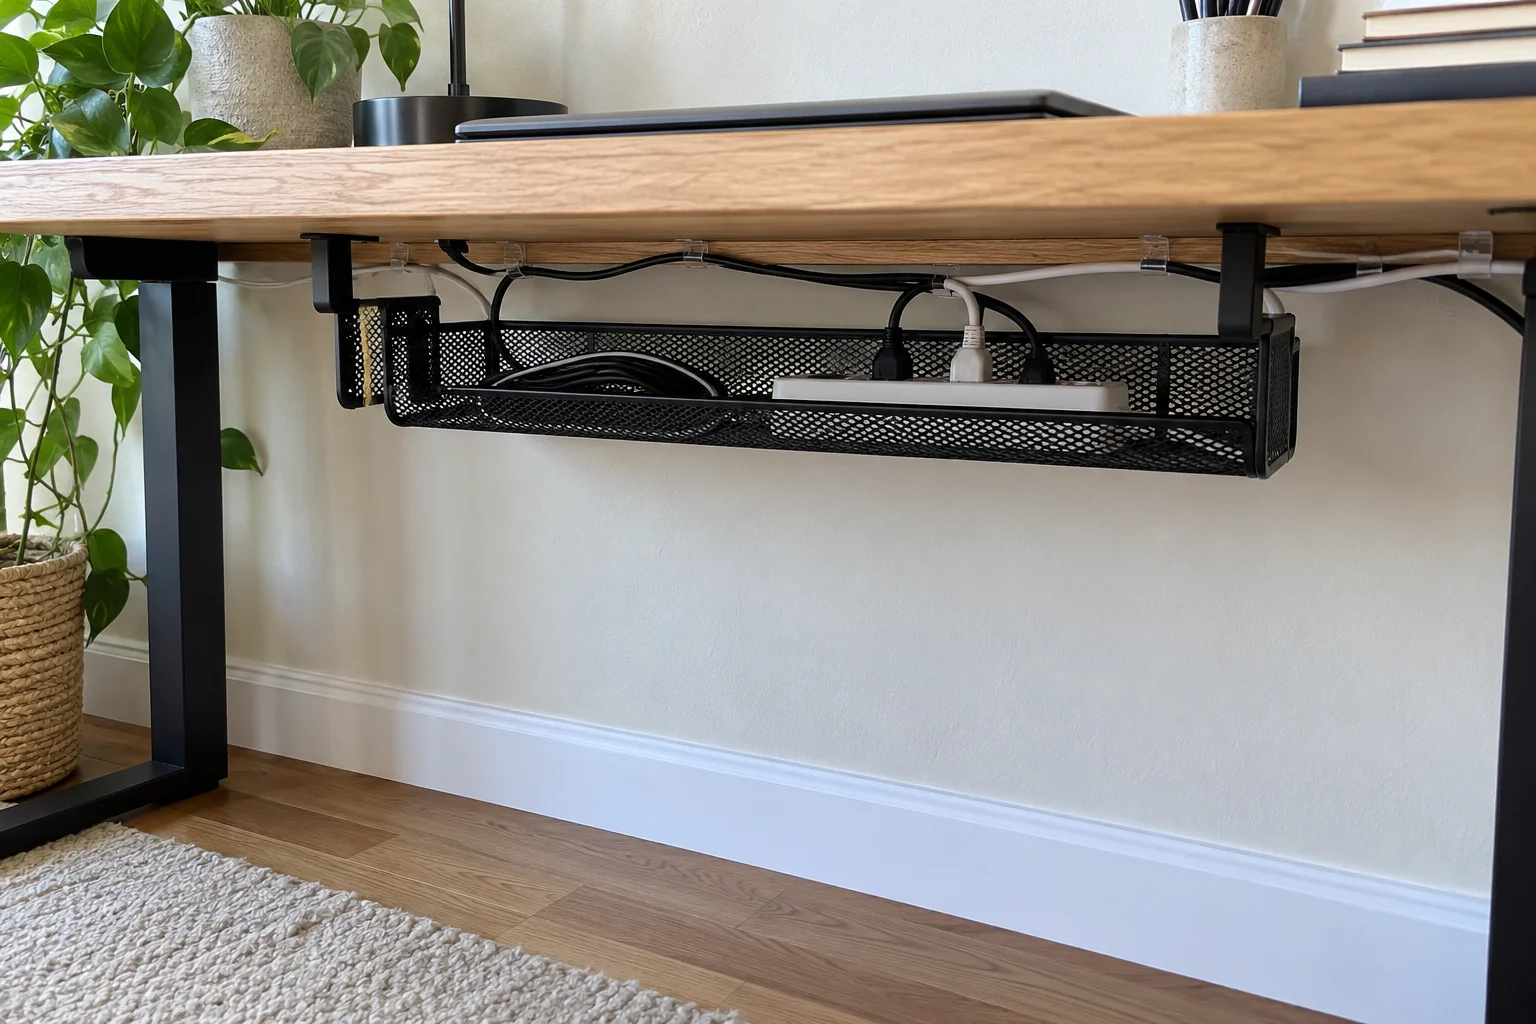
An under-desk tray gets electrical equipment off the floor while keeping it within reach.
The Mzmaxy 25-Inch Cable-Management Tray clamps onto the desk edge without drilling. Its clamps fit desktop edges from 0.4 to 2 inches thick. The metal mesh and open sides provide space for cables to pass through.
Run cables toward the back of the desk, then down into the tray. The power strip’s supply cord can follow a separate route to the wall outlet.
Leave room around adapters instead of piling them together. Cables should pass through the tray without getting trapped against the desk.
This also makes vacuuming easier. You can clean beneath the desk without lifting a pile of plugs first.
Charging Cables That Stay Where You Left Them
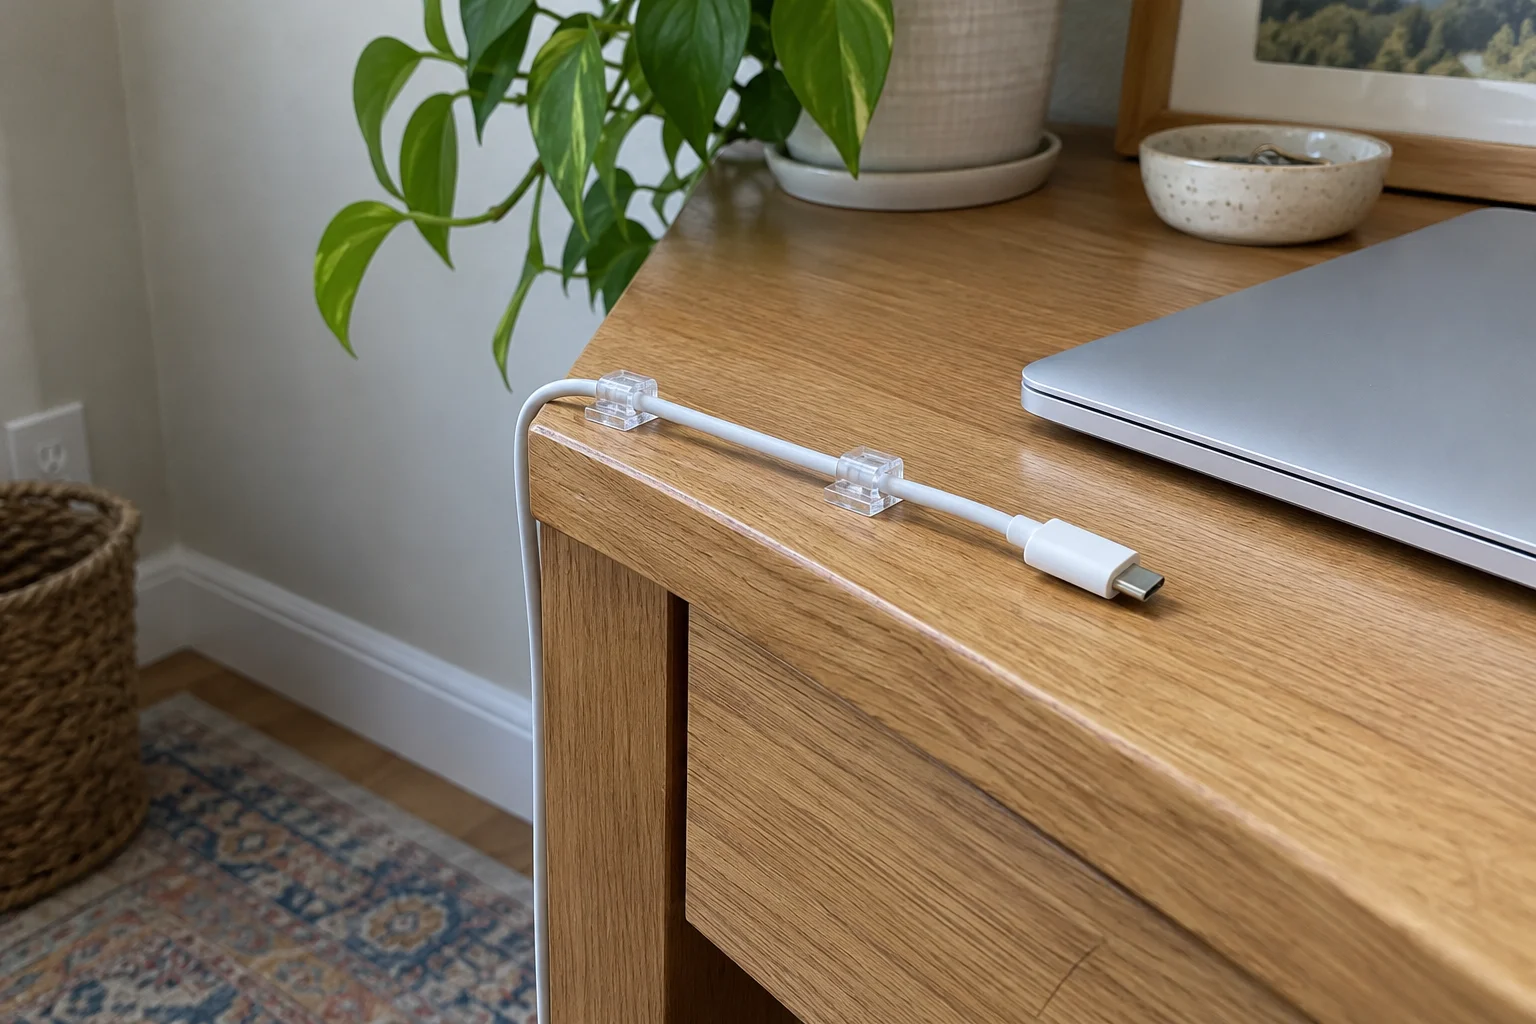
A cable-end holder keeps an unplugged charger where you can reach it.
Place it near the device’s usual spot. Leave enough free cable to connect your laptop or pick up your phone comfortably.
For cables running along the desk’s back edge, Command Clear Cord Clips can hold the route in place on suitable smooth surfaces. The pack includes 13 clips and 16 adhesive strips.
Use separate holders for cables you unplug often. It’s easier to grab the laptop charger when it isn’t tied into the same bundle as the monitor.
Standing Desks and Desks in the Middle of the Room
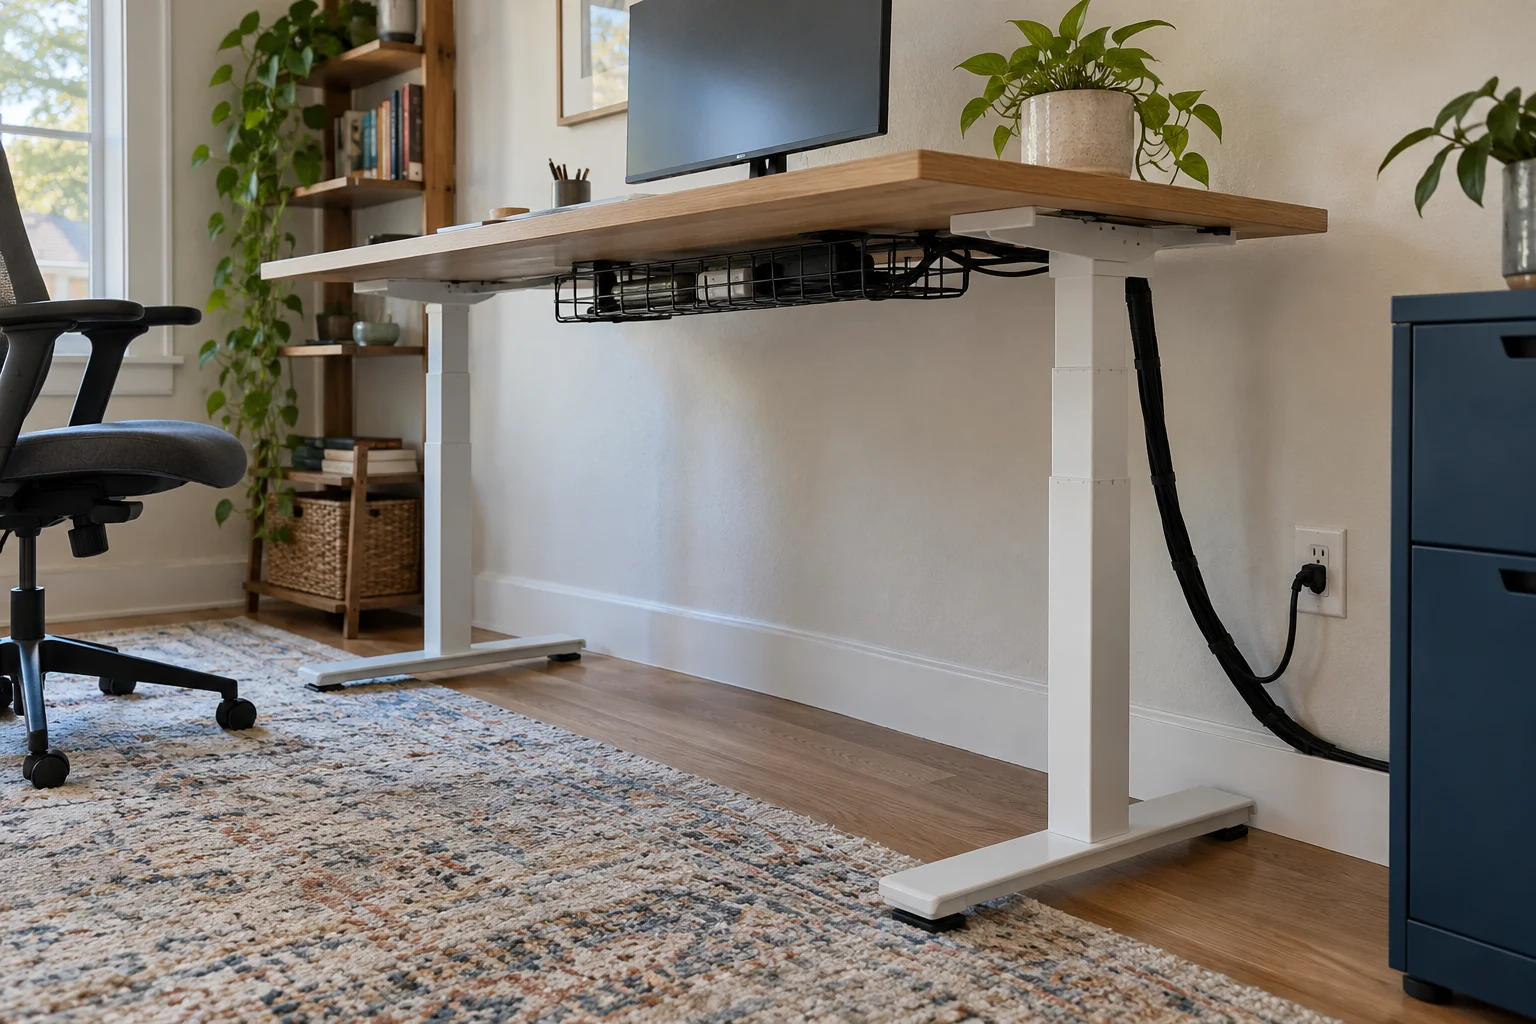
These setups need room for movement and a practical route to the outlet.
For a standing desk, raise and lower it slowly before securing the cables. Nothing should pull tight, catch on the frame, or lift a connected device.
A flexible sleeve or cable spine can gather the hanging section. It still needs enough slack for the desk’s full height range.
For a desk in the middle of a room, the under-desk tray handles the nearby clutter. A floor outlet is the cleaner long-term answer for getting power to the desk.
When a temporary cord must cross an exposed floor, the D-Line 6-Foot Floor Cord Cover provides a protective channel. Its tapered shape and ribbed base help it sit across the floor. It needs to lie flat and cover the full exposed section, with no loose loops at either end.
Keep the cover visible and clear of rugs. Avoid placing it where a rolling chair will repeatedly pass over it.
Our home office layout guide can help if moving the desk would give you an easier route to power.
4. Bedroom: A Charger You Can Actually Reach
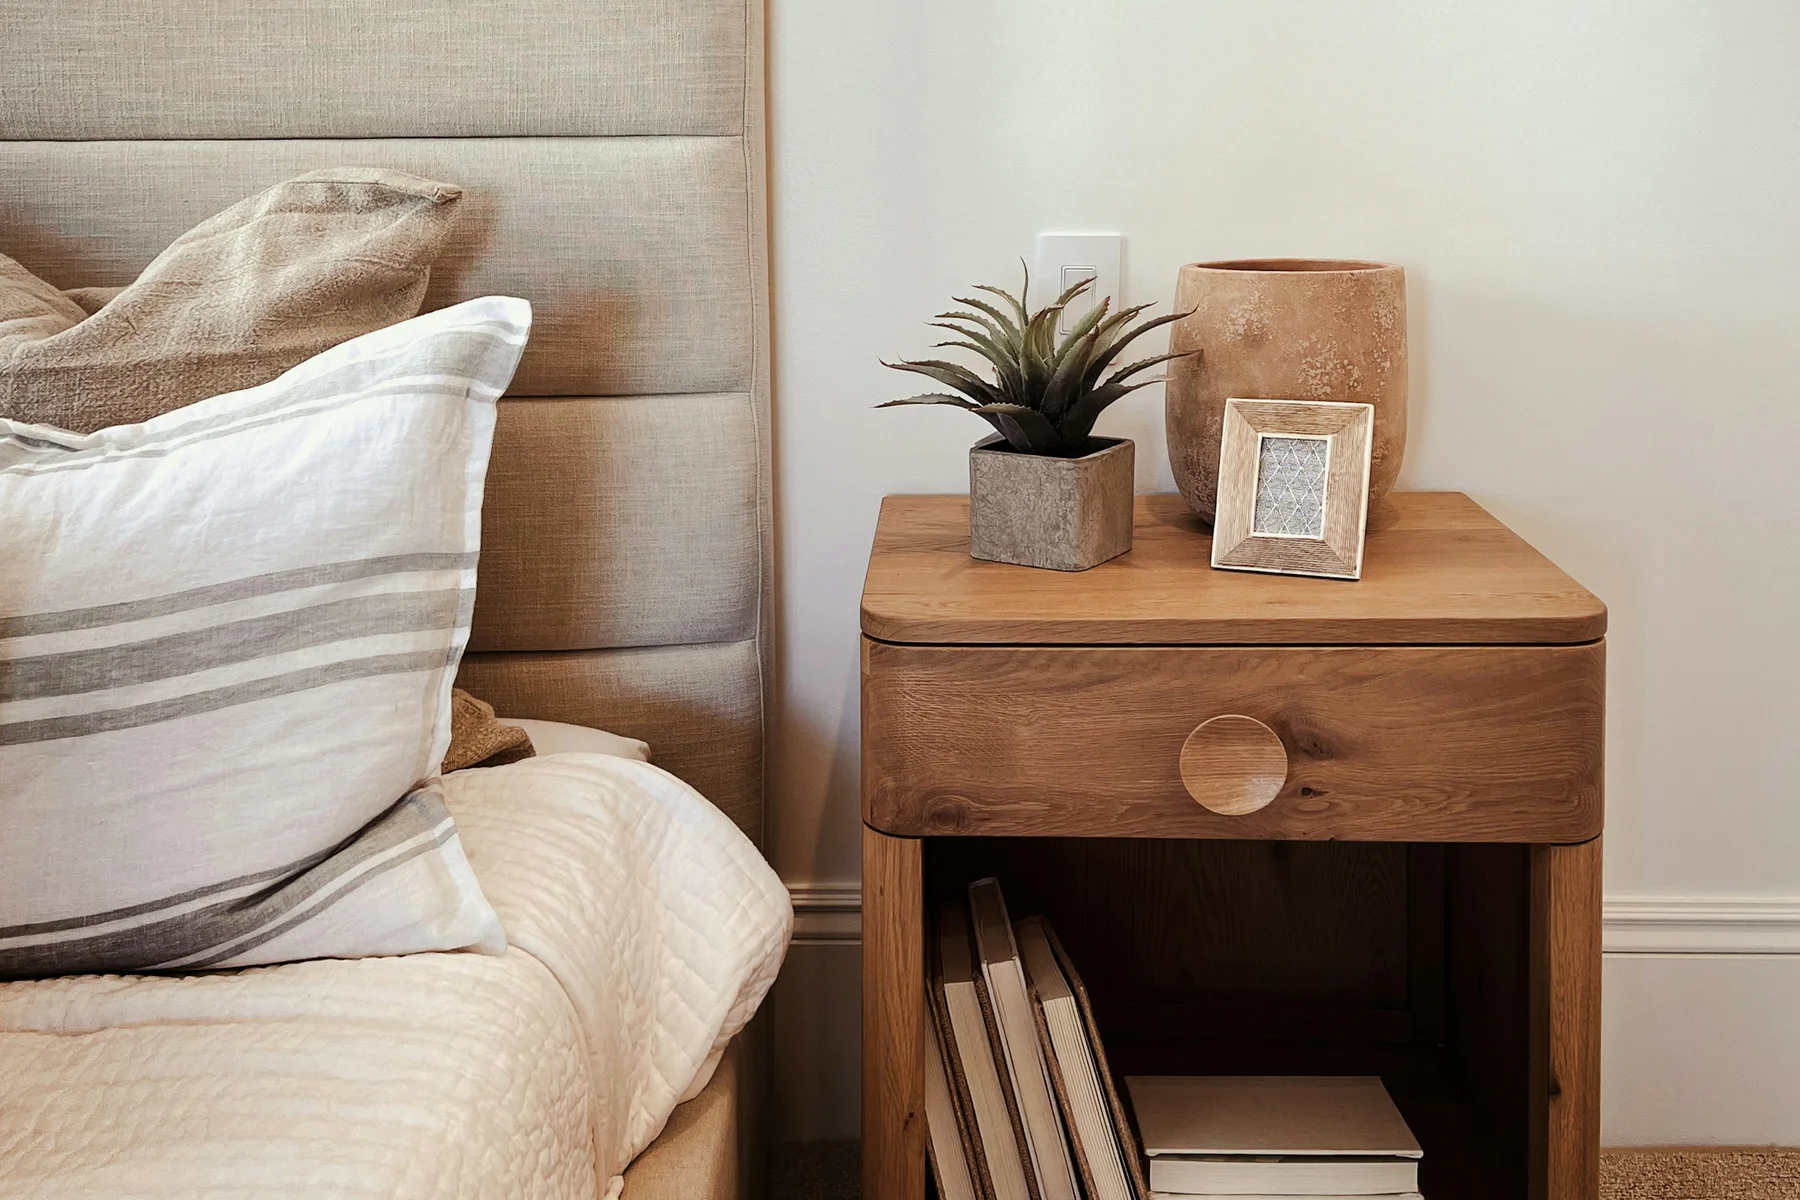
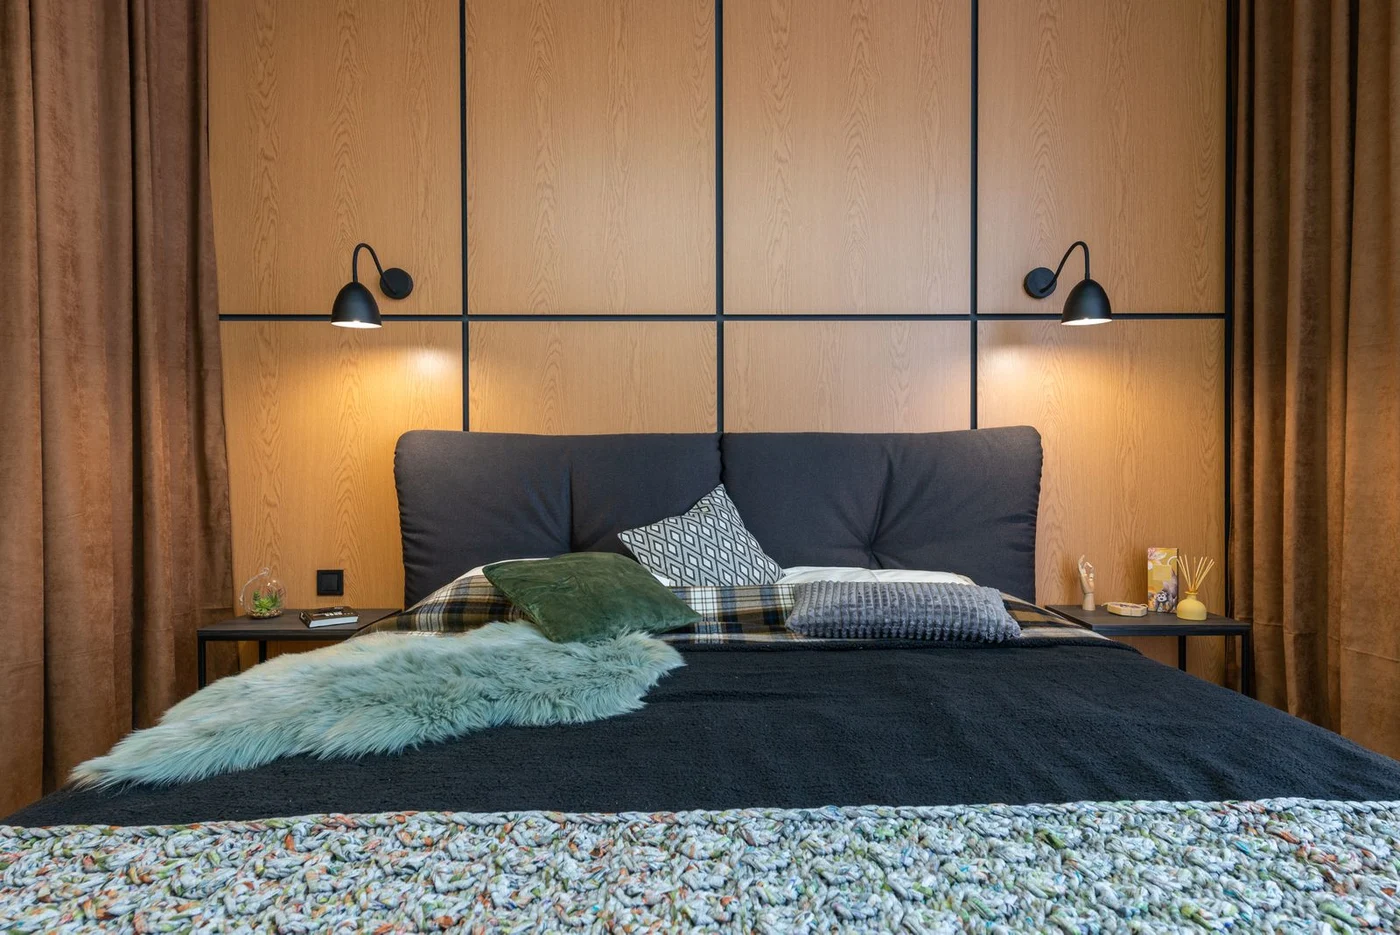
A useful bedside setup keeps lamp cords behind the nightstand and charging ends beside you.
You should be able to pick up your phone without leaning over the bed to retrieve its cable.
Nightstands and Bedside Lamps
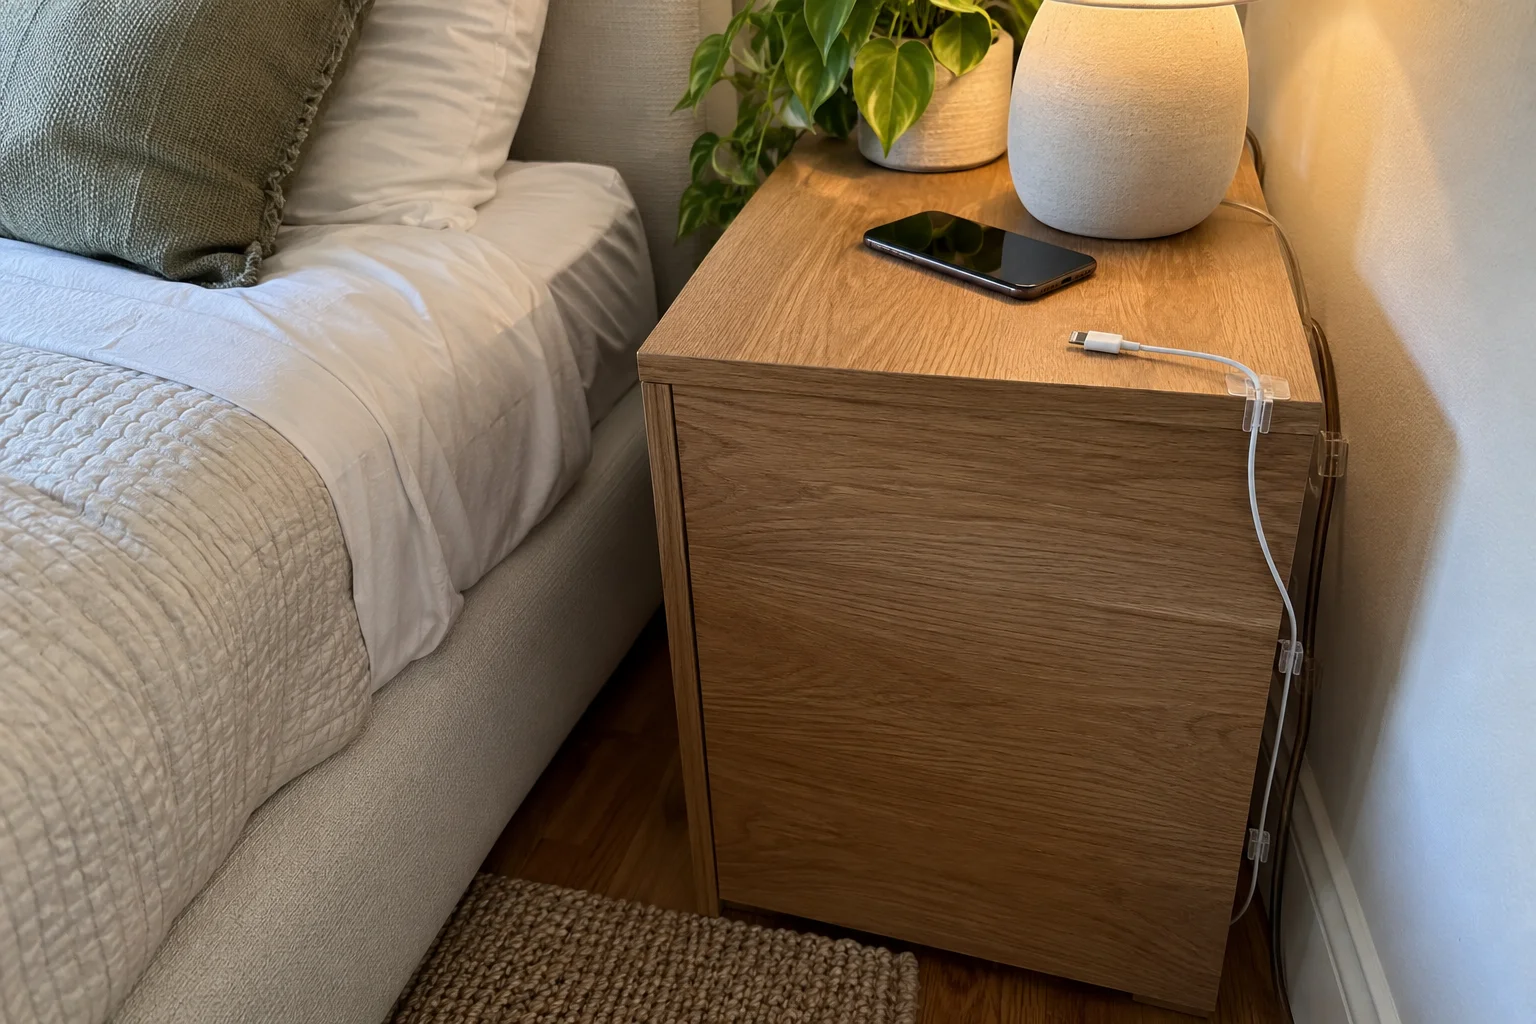
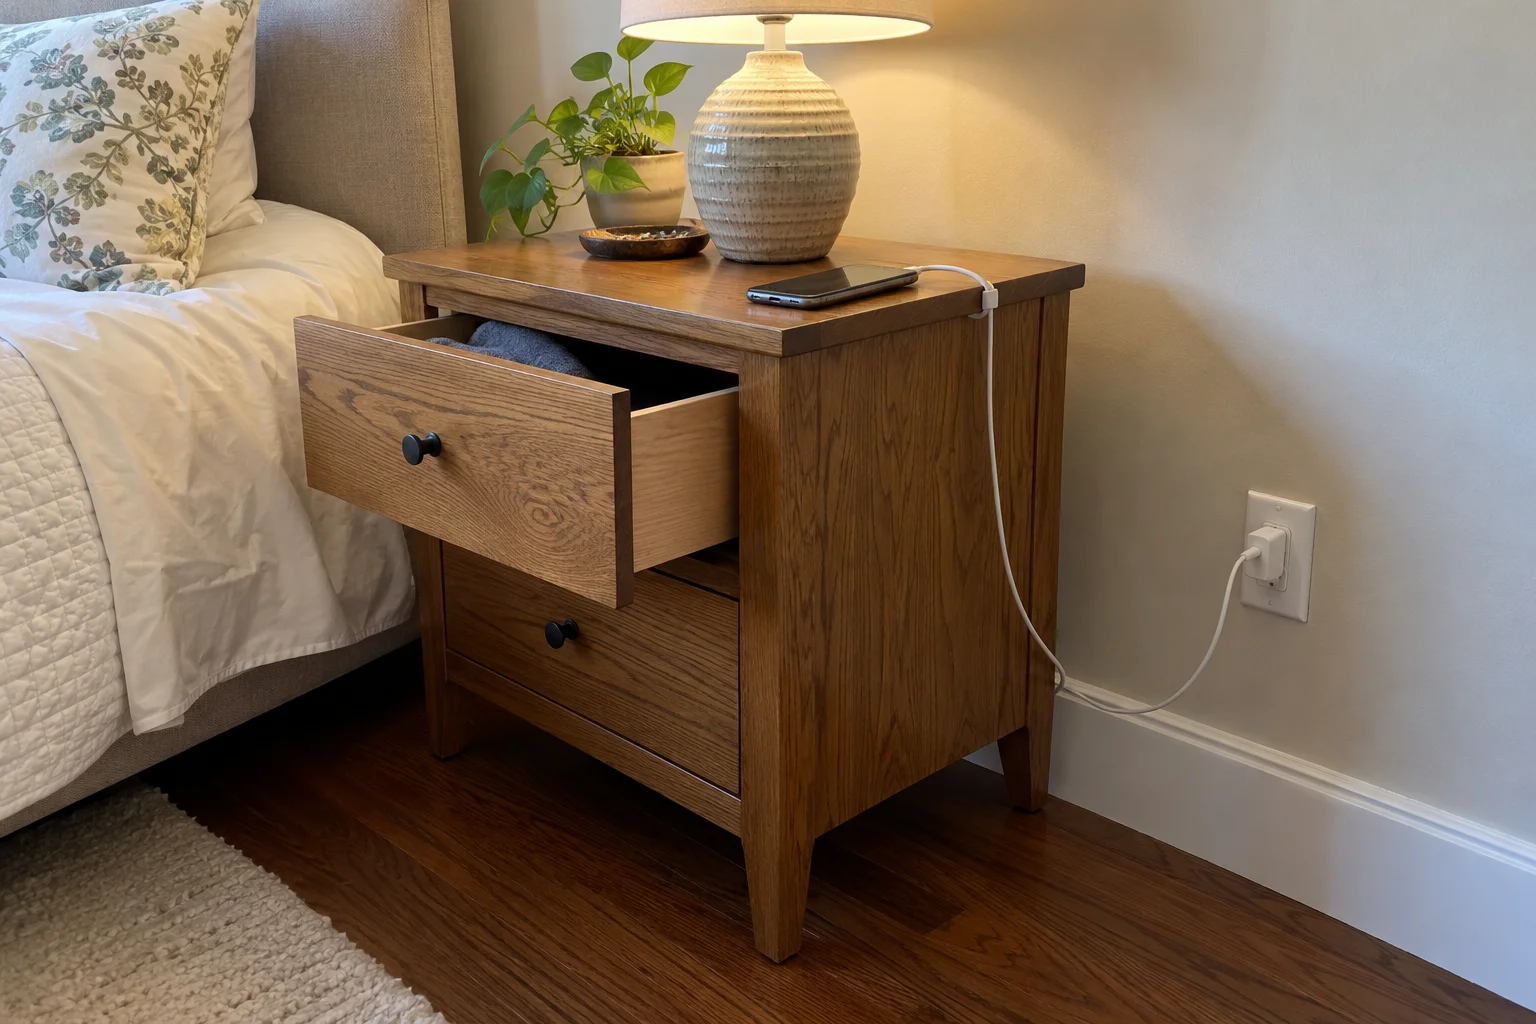
Clips behind the furniture hold lamp cords out of view. A holder near the top keeps your phone charger accessible.
Command Clear Cord Clips work for guiding individual cords along suitable smooth surfaces. Position the clips so the cable stays clear of drawers and the floor.
The phone charger needs more freedom than the lamp cord. Sit or lie in your usual position before deciding how much cable to leave loose.
If you charge a watch and earbuds too, give each lead its own spot. That keeps three useful cables from becoming one tangled bundle.
For the rest of the bedside area, see our ideas for reducing bedroom visual clutter.
The Outlet Behind the Bed
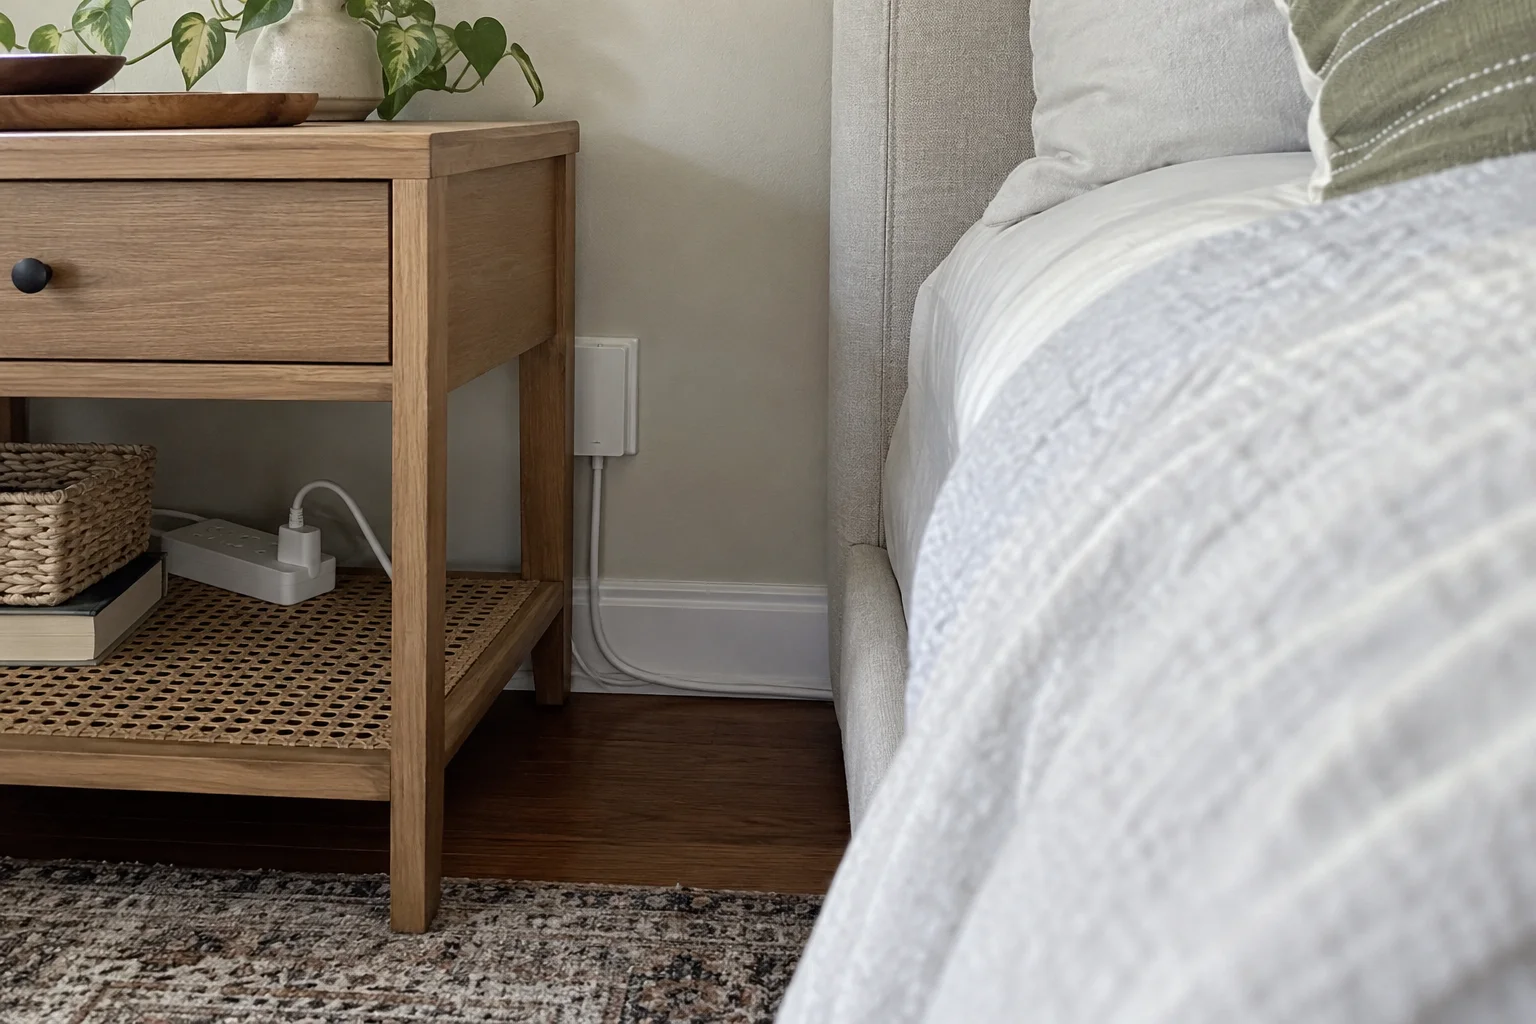
A flat plug can reduce the space needed at the outlet, but the plug and cable still need clearance.
The Olcorife Flat-Plug Power Strip with Outlet Cover has a flat plate that covers the wall outlet. Its 5-foot cord leads to a power strip with six AC outlets and three USB ports.
That can move the connection point from behind the bed to a more accessible spot nearby. It’s useful for bedside lamps and chargers.
Plug the strip directly into the wall outlet. Position the strip where you can reach it, away from bedding and stored clothes.
The bed frame should not press against the plug, plate, or cable. Cords also need to stay clear of storage drawers and adjustable bed parts.
Our bedroom furniture arrangement guide can help when the bed and nightstand leave too little room around the outlet.
5. Sconces and Picture Lights: A Neater Wall

A paintable cord cover hides the exposed cable beneath a plug-in sconce or picture light.
The same method works beside a bed, above hallway artwork, or between frames in a laundry room.
A Cord Cover That Blends In

A simple route and matching paint help a cord cover blend in.
The Delamu kit can be cut into sections for the route you need. Its removable covers also let you reach the cable later.
Run the cover straight down where possible. If it needs to turn toward an outlet, use the matching fittings to join the sections neatly.
Match the finish to the surface behind it. Use wall color on the wall and trim color along the baseboard.
A Simple Cord-Cover Installation
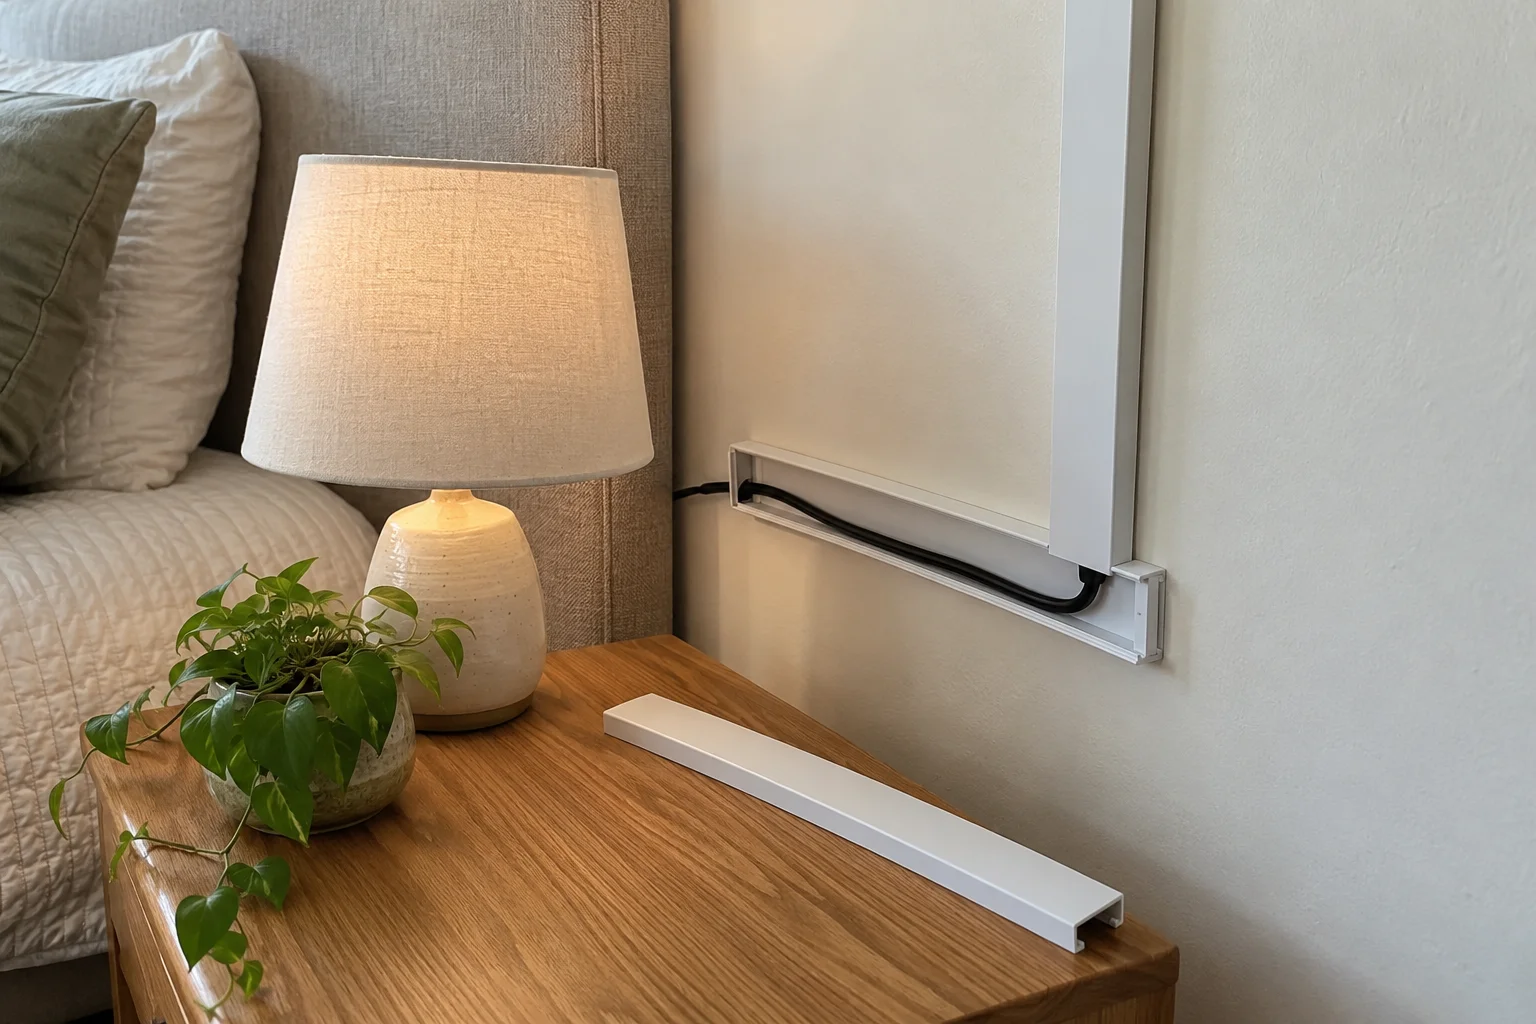
The neatest result comes from laying out the route before attaching anything.
- Unplug the light. Leave the cord loose while planning the route.
- Mark the position. A level helps keep long sections straight.
- Cut the empty channel. Keep the cable well away from the cutting area.
- Prepare the finish. Paint the cover to match the wall and let it dry before fitting the cable.
- Attach the sections. Fix them to a clean, dry surface and join the corners.
- Fit the cable and close the covers. Leave the plug and switch accessible.
For more ways to combine bedside lights, see our layered bedroom lighting guide.
6. Kitchen: Less Cable Clutter on the Counter
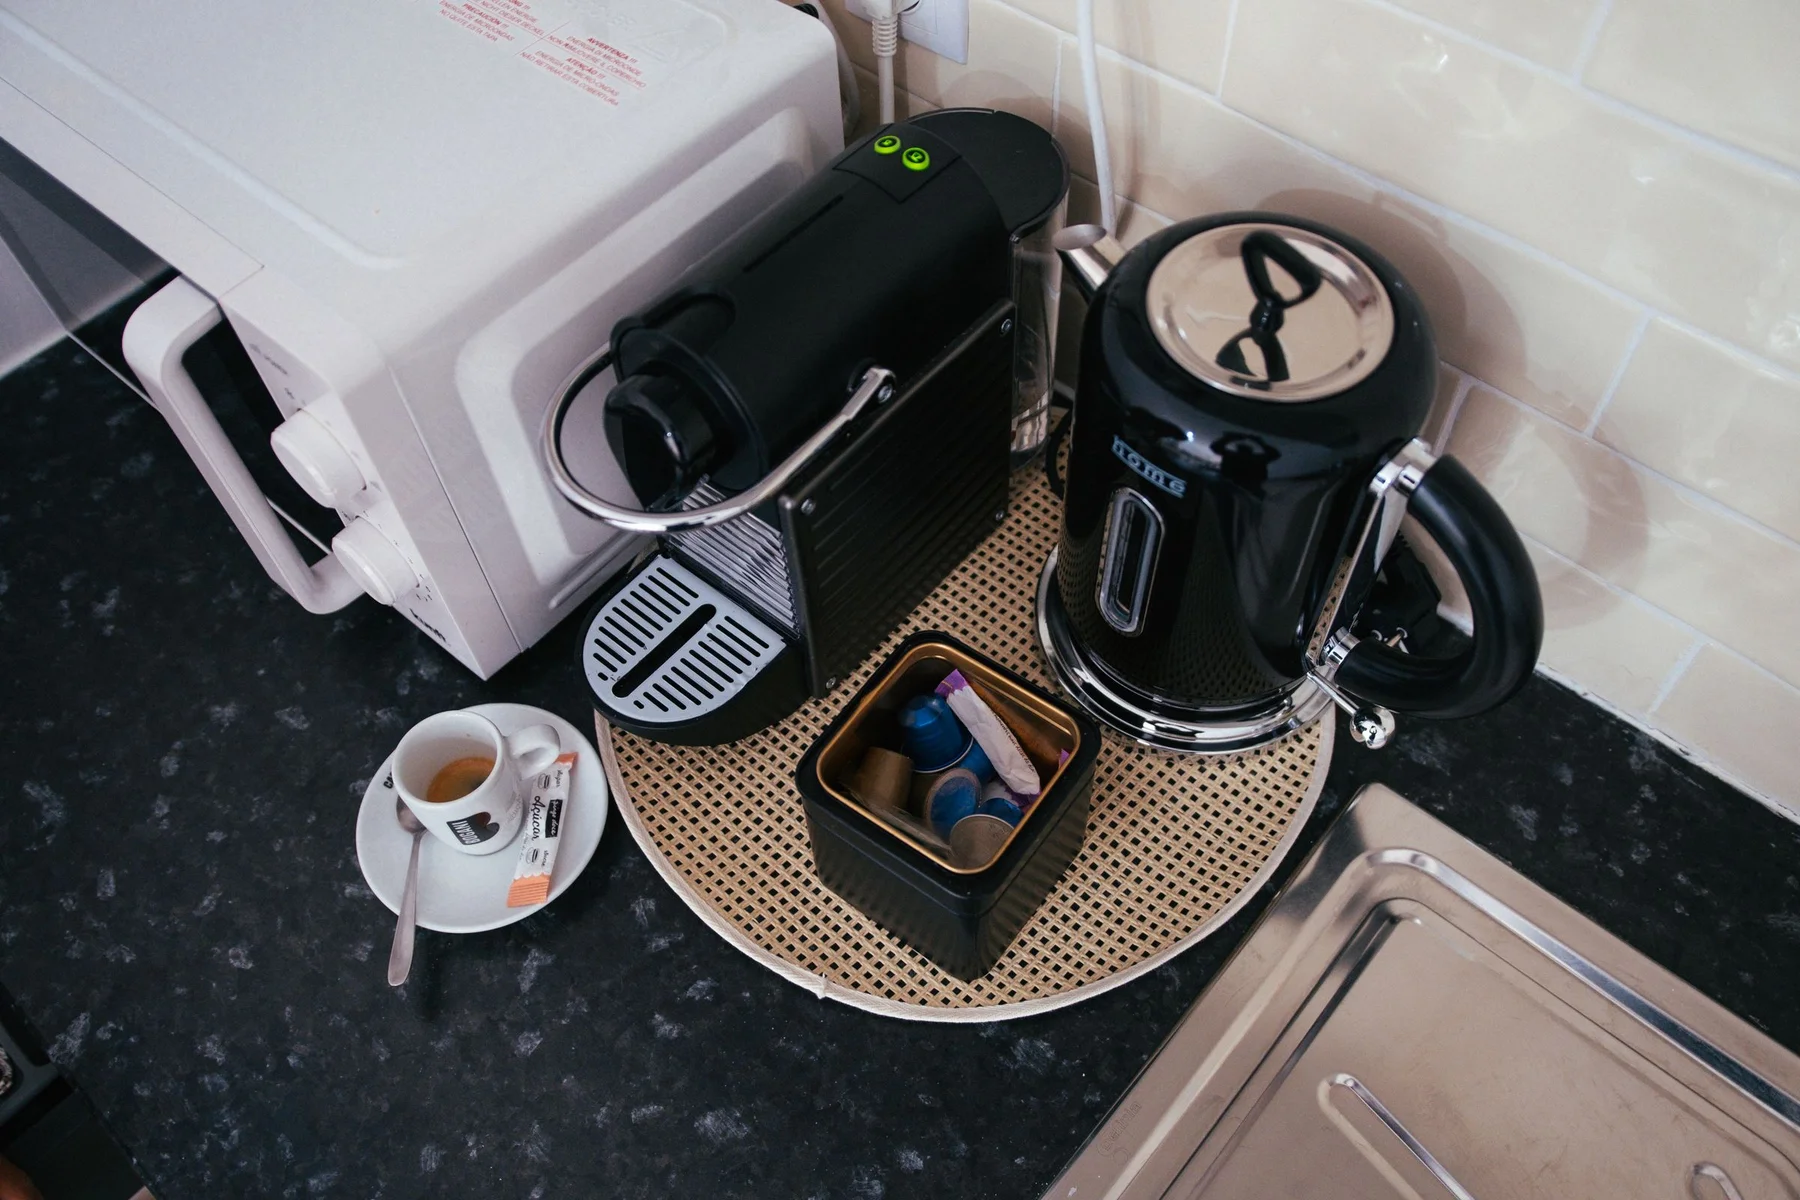
In the kitchen, where the appliance sits often matters more than the organizer.
A coffee maker beside an outlet needs less exposed cord than one at the opposite end of the counter.
Everyday Countertop Appliances
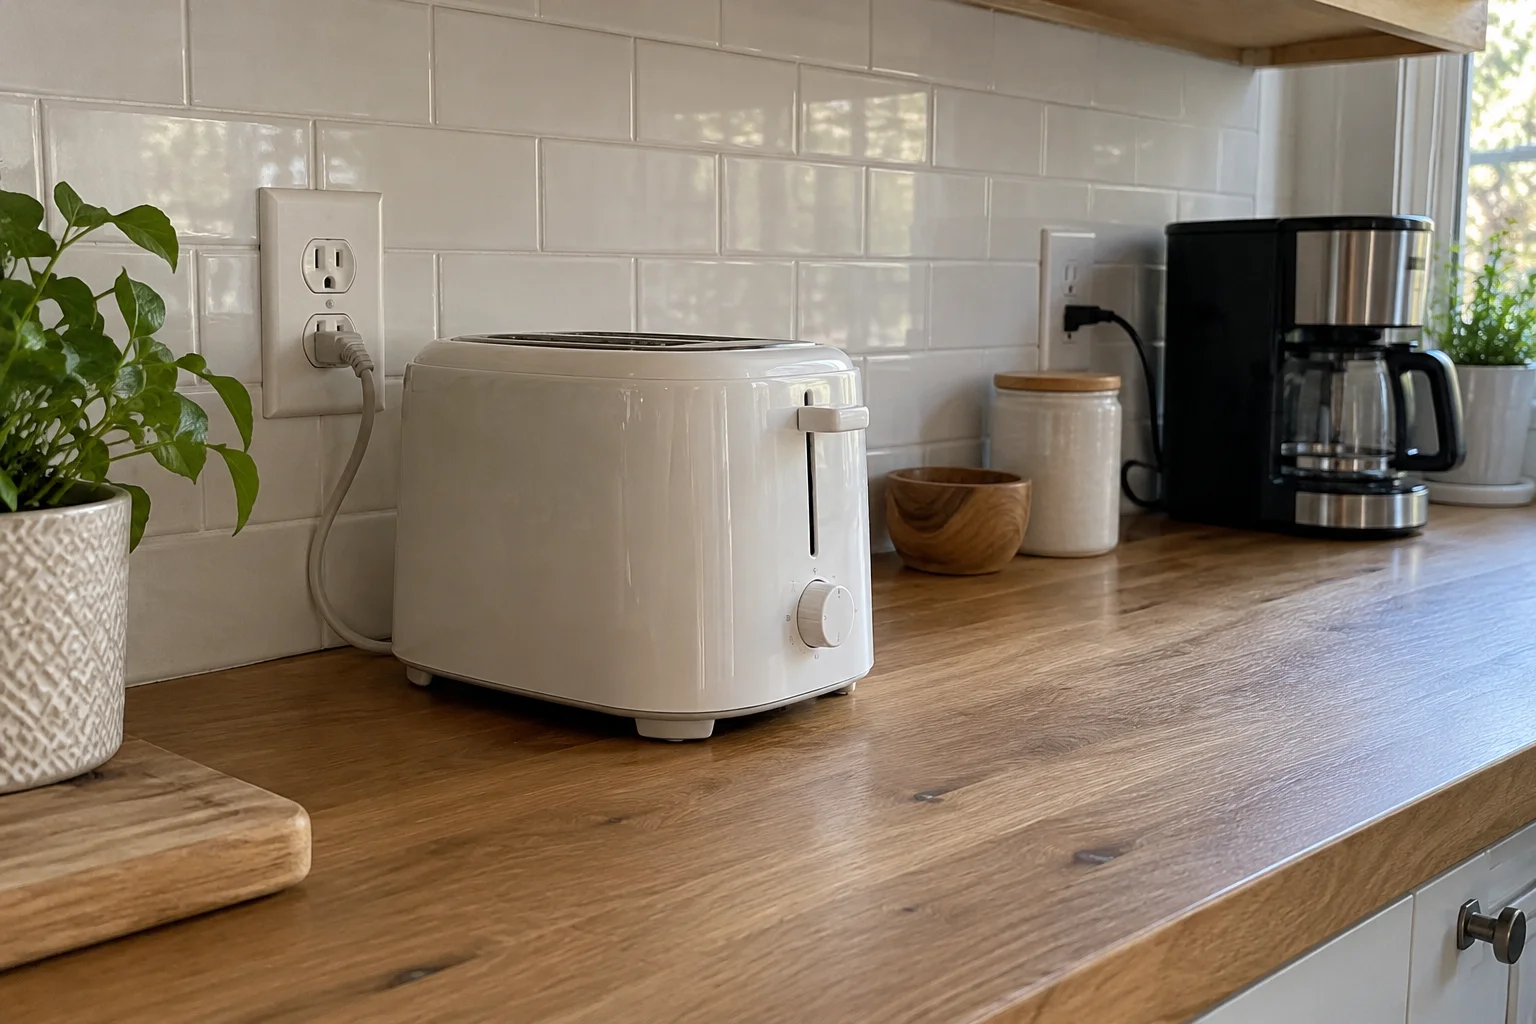
Short cords kept away from heat and water are easier to manage.
Position appliances near their outlets. Keep cables away from the sink, hot surfaces, and the counter edge.
For example, a toaster beside its outlet is easier to use than one with a cable crossing behind the kettle and over the cutting board.
Use built-in cord storage where the appliance provides it. Toasters, kettles, and other heating appliances should plug directly into an appropriate wall outlet.
Appliances That Spend More Time in the Cupboard
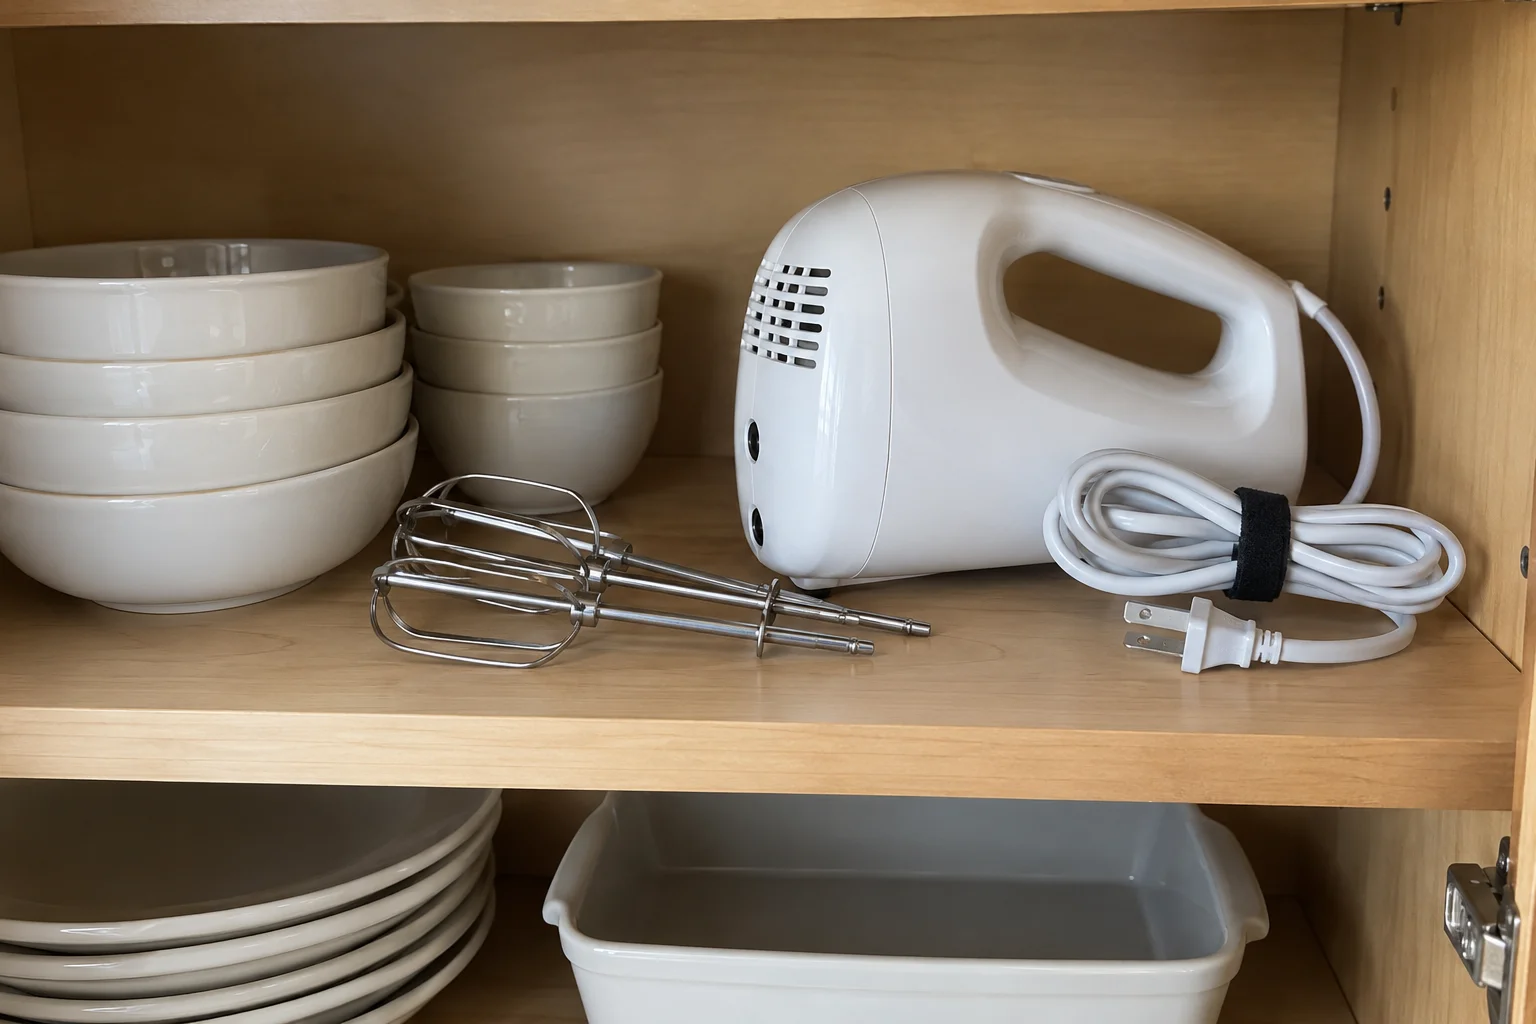
Loose loops and a reusable tie keep unplugged appliance cords together.
Once a hand mixer is unplugged, gather its cord beside it. A ONE-WRAP tie keeps the lead from tangling around the beaters or nearby utensils.
Leave a gentle bend where the cable enters the appliance. Tight wrapping puts pressure on that connection.
Hot appliances need to cool fully before being stored.
Under-Cabinet Lighting
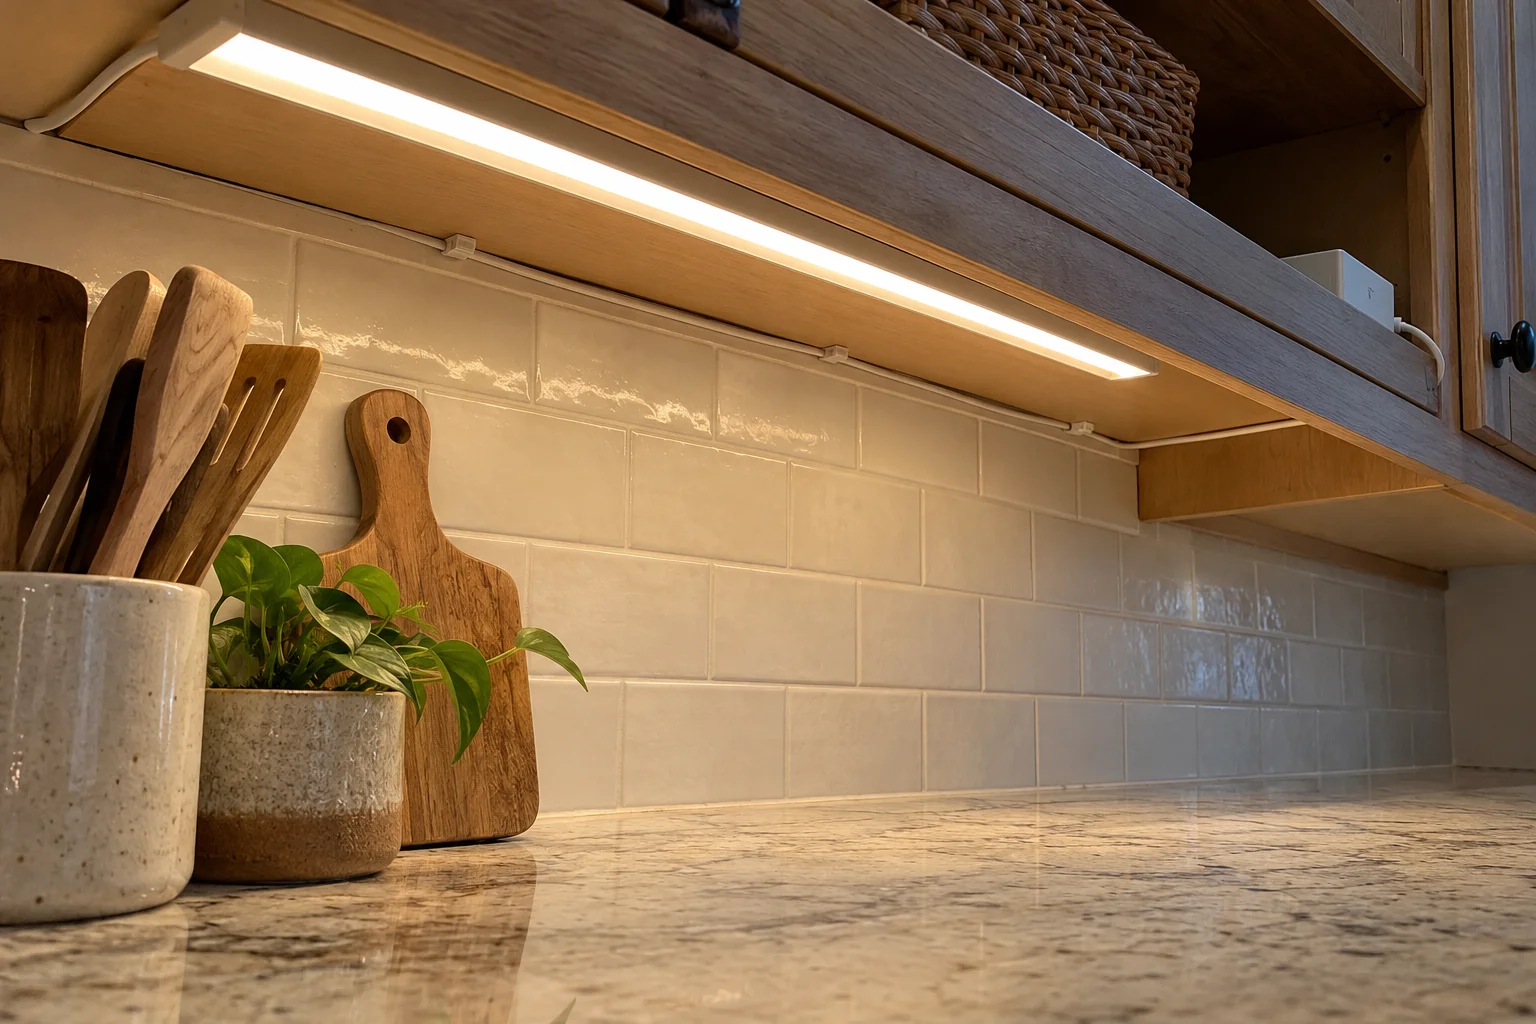
Clips or a slim cover can hide exposed lighting cables along cabinet edges.
The low-voltage lead between an LED strip and its power supply can follow the underside of the cabinet. Small clips stop it from drooping into view.
The power supply still needs an accessible spot with airflow. Avoid packing it into a crowded cupboard.
New hardwired connections need an electrician. Clips and covers tidy the cables already in place.
Our kitchen lighting ideas include more ways to make task lighting fit the room.
7. Bathrooms and Utility Spaces: Easier Cord Storage
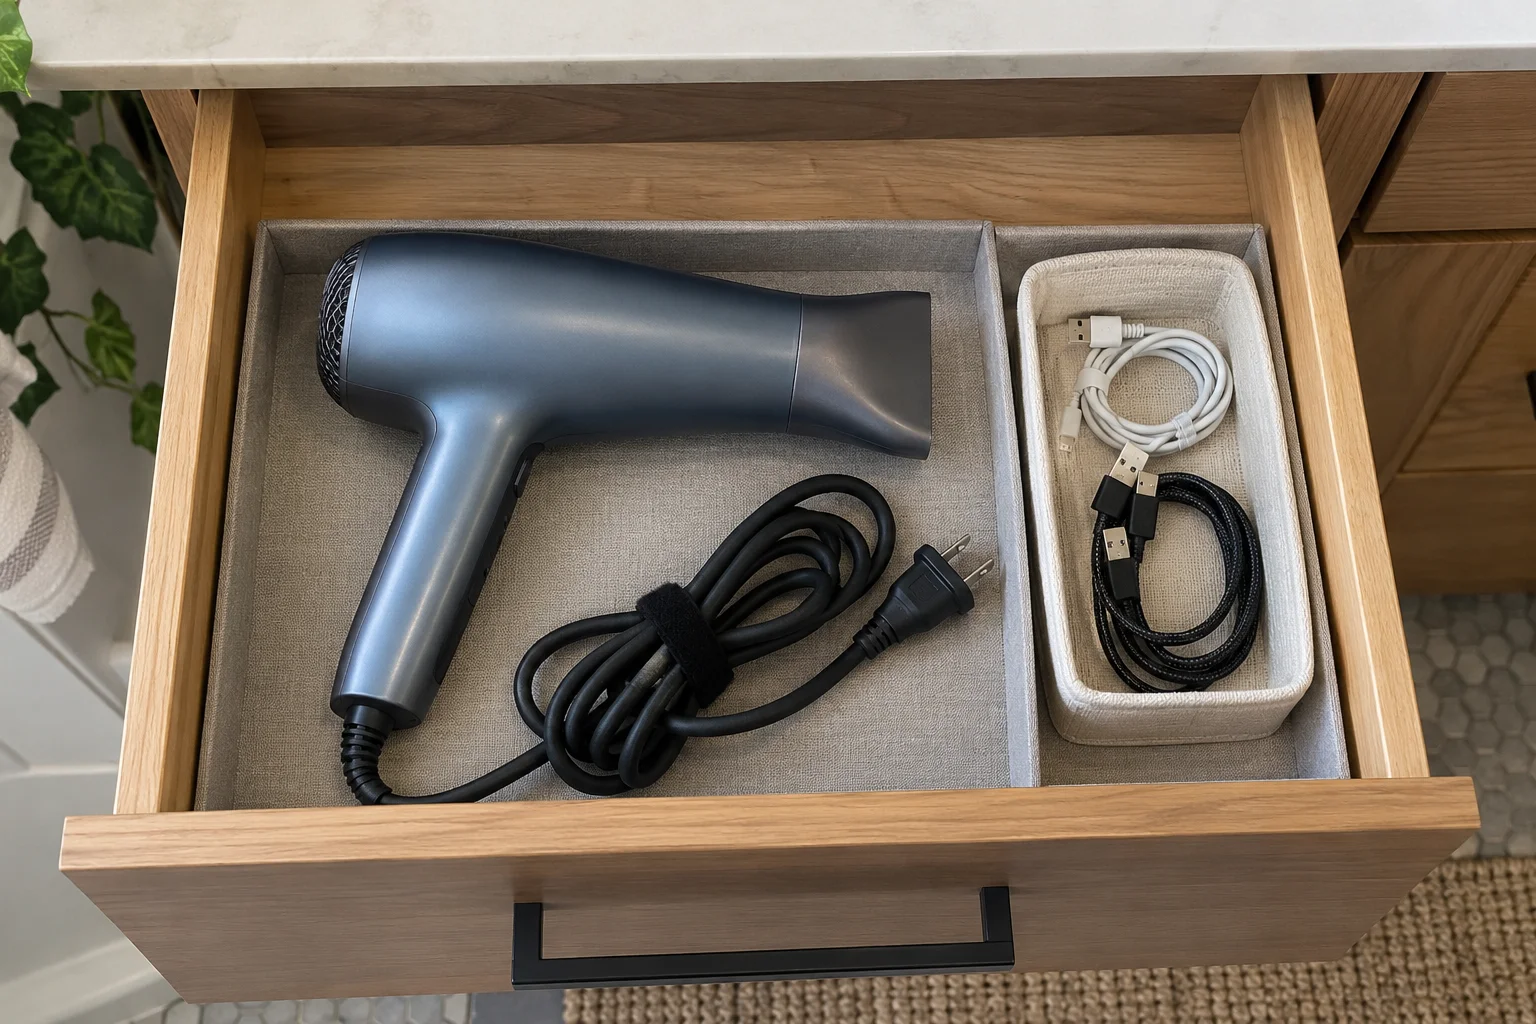
Cooled, unplugged tools are easier to store when each has its own space.
A hair dryer can sit in one compartment with its cord loosely gathered beside it. Spare charging leads can go in a small box instead of tangling around brushes and bottles.
Reusable ties help, but avoid tight bends where the cable enters the tool.
Active chargers and grooming devices need dry positions away from sinks and baths. Ordinary closed drawers are best used for storing unplugged equipment.
In a laundry room, clips and covers can tidy picture-light cords and small accessories. Washer and dryer plugs and service connections should stay accessible.
8. Renting? Furniture Can Hide Most of the Cords
Ties, removable clips, and clamp-on trays can tidy a room with fewer wall attachments.
A few clips behind the nightstand may hide the lamp cord. Reusable ties can gather the cables behind a TV stand. The Mzmaxy tray can hold desk equipment without drilling into the tabletop.
Strong adhesive wall channels need more thought. Removing them can lift paint, even when installation required no screws.
For delicate finishes, loose ties around existing supports or a suitable clamp-on organizer avoid adhesive contact.
9. A Quick Check Before the Furniture Goes Back
The job is done when nothing pulls, catches, or disappears out of reach.
Pick up your phone. Open the drawers. Move the monitor. Reach for the lamp switch.
These small movements reveal a cable that needs more slack or a clip that needs moving.
- Charging ends stay within reach.
- Drawers and doors open freely.
- Adjustable furniture moves without pulling cables.
- Plugs have enough space behind furniture.
- Power strips and adapters have airflow.
- Walking paths are clear.
- Floor covers lie flat without loose cable ends.
- Each cable is easy to identify and unplug.
10. Common Questions About Hiding Cords
A useful setup keeps cords tidy and connections accessible. These answers cover the details that often cause confusion.
How Can I Hide Cords Without Drilling?
Furniture routing and removable organizers handle many everyday cable problems.
Clips guide a lamp cord behind a table. Ties gather loose leads behind a TV. A clamp-on tray holds equipment under a desk.
Adhesive wall covers also avoid drilling, but removing them can affect the paint.
What Is the Easiest Way to Hide TV Wires?
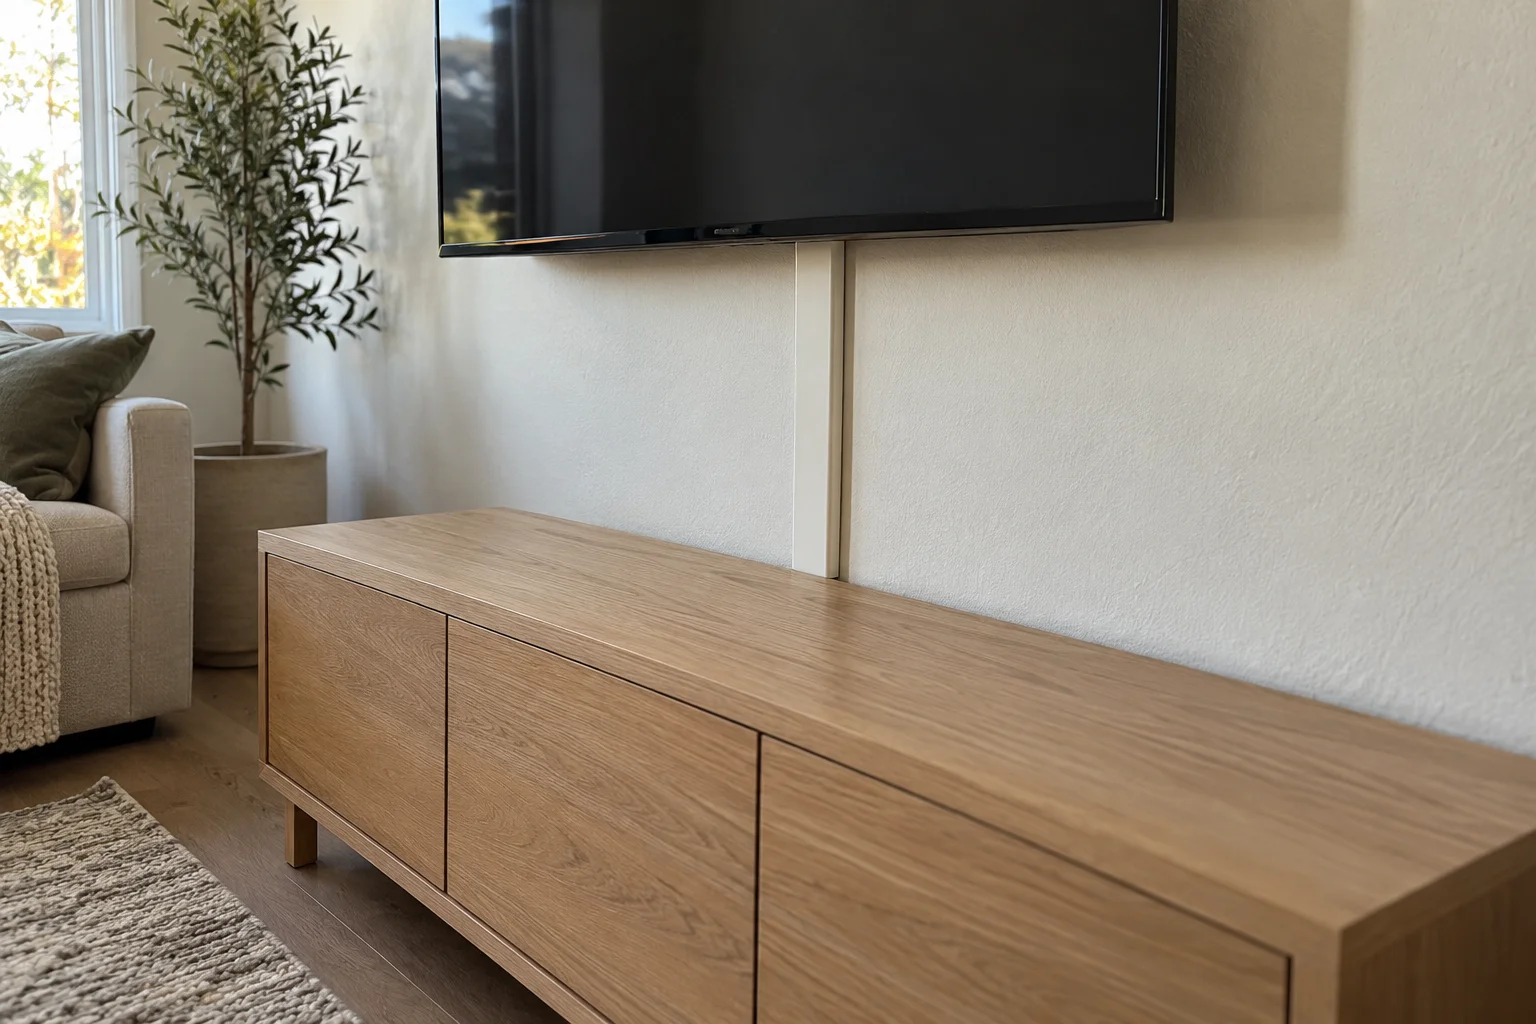
A cord cover between the TV and the furniture below is usually the easiest option.
The Delamu kit works for this kind of visible wall route. For a TV sitting on a console, the furniture’s existing cable openings and a few ties may be enough.
Can Power Cords Go Under a Rug?
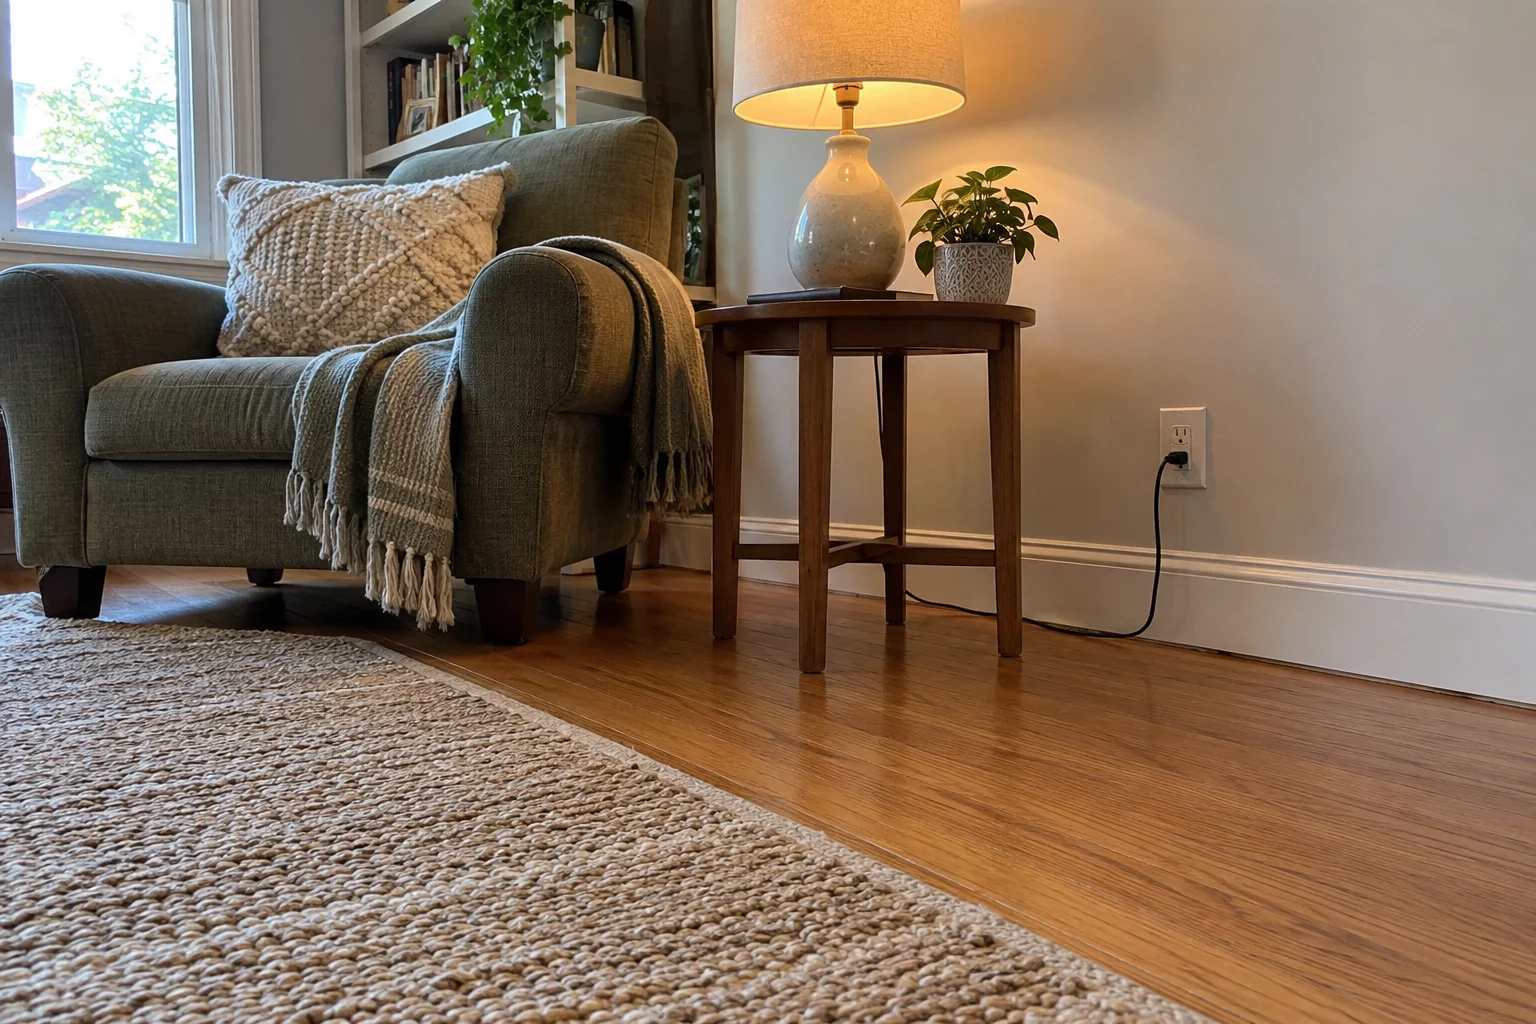
Power cords should stay out from under rugs and carpets. Footsteps and furniture can compress them, while the covering hides damage. The U.S. Fire Administration advises keeping cords away from places where they can be pinched or damaged.
For a temporary exposed floor crossing, use a suitable floor cord protector. For a permanent setup, move the device or have an outlet installed nearby.
Can Chargers Stay Inside a Closed Drawer?
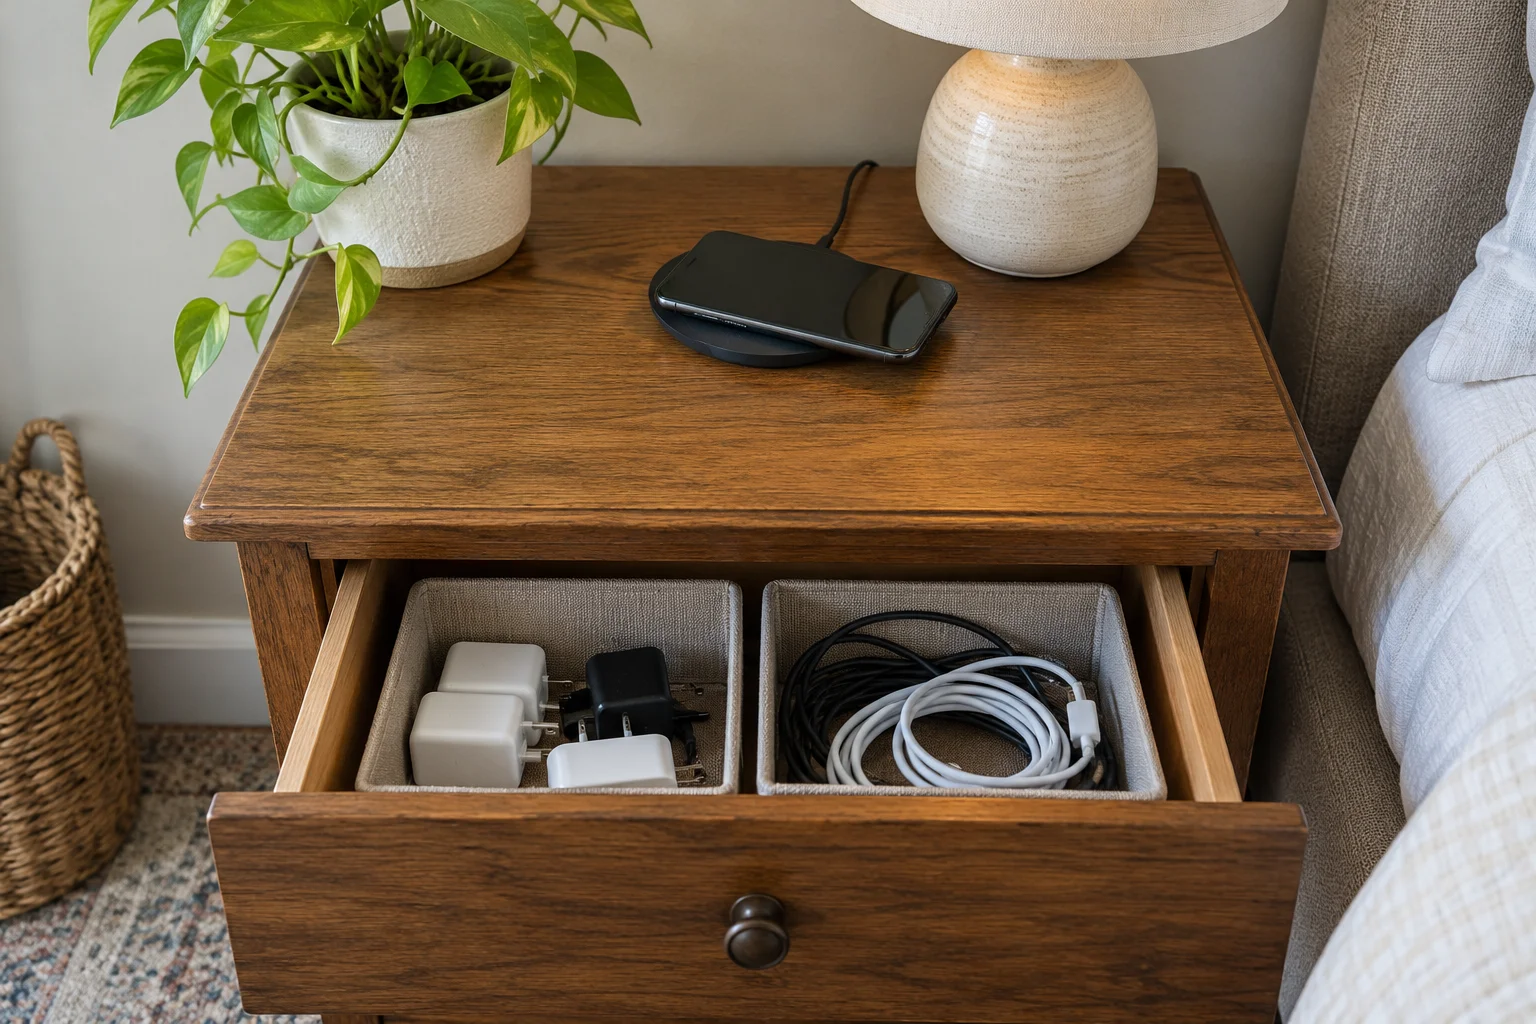
Unplugged chargers can be stored in a drawer. Active chargers and devices need an uncovered surface with airflow.
Purpose-built charging furniture has a design for managing power and heat. Drilling a hole in an ordinary drawer does not provide those features.
Is a Cable Sleeve or a Cord Cover Better?
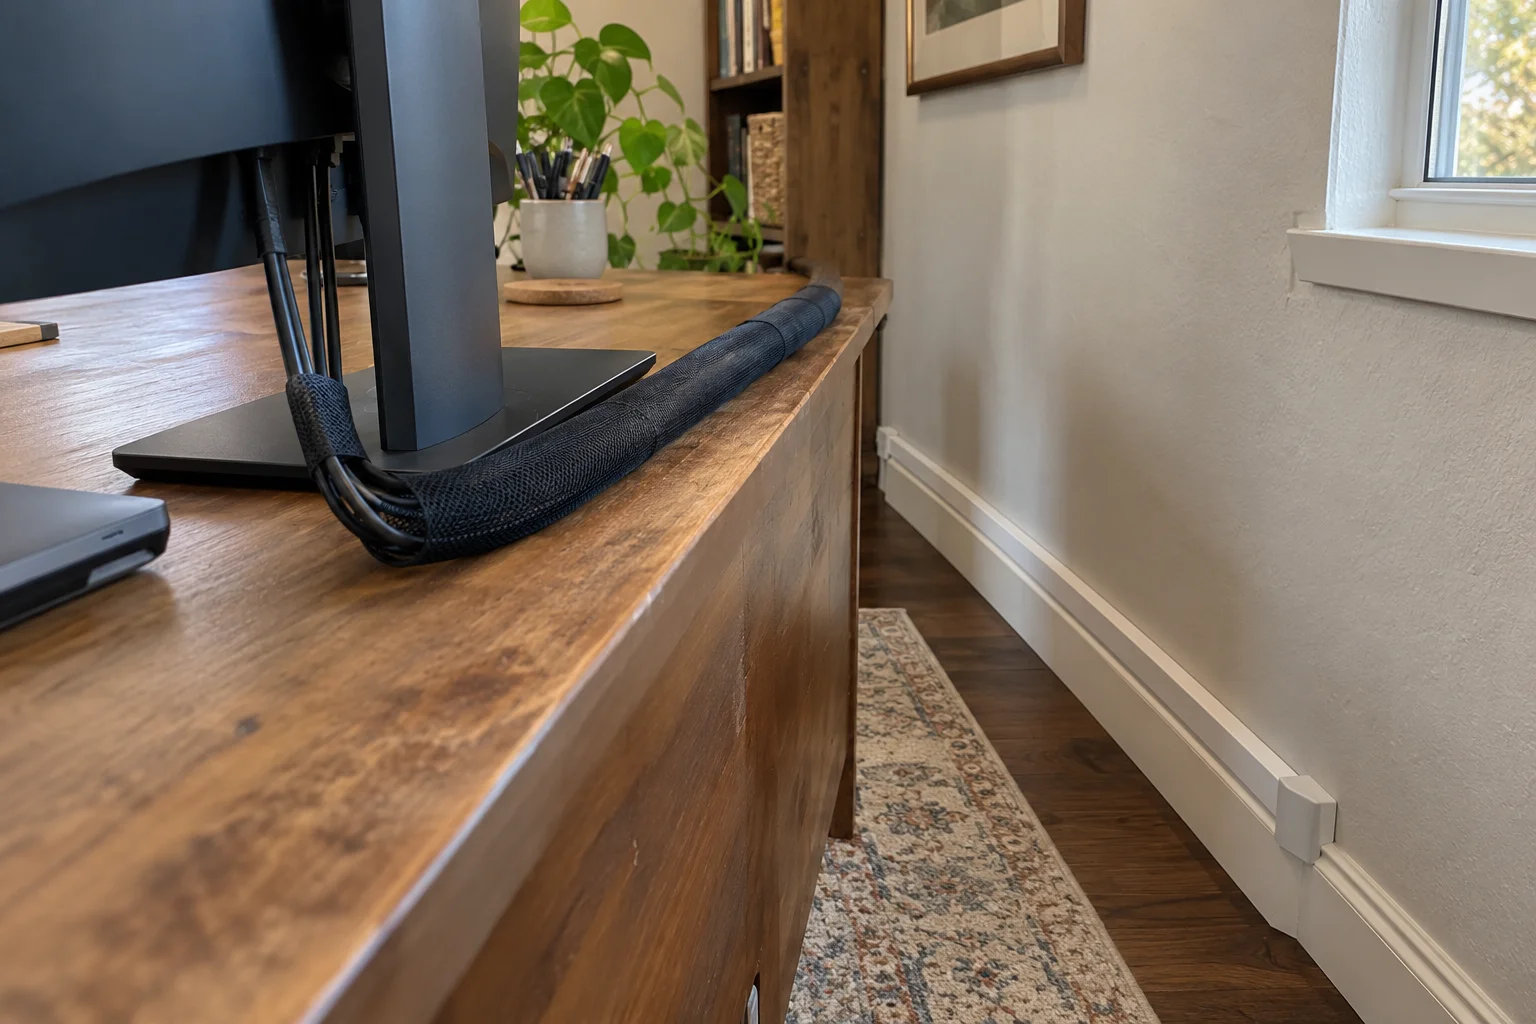
A sleeve works well behind furniture, where several cables travel together. A cord cover suits an exposed wall or baseboard.
An opening sleeve makes cables easy to add or remove. A rigid cover gives a visible route a straighter finish.
Does Wireless Charging Get Rid of Cables?
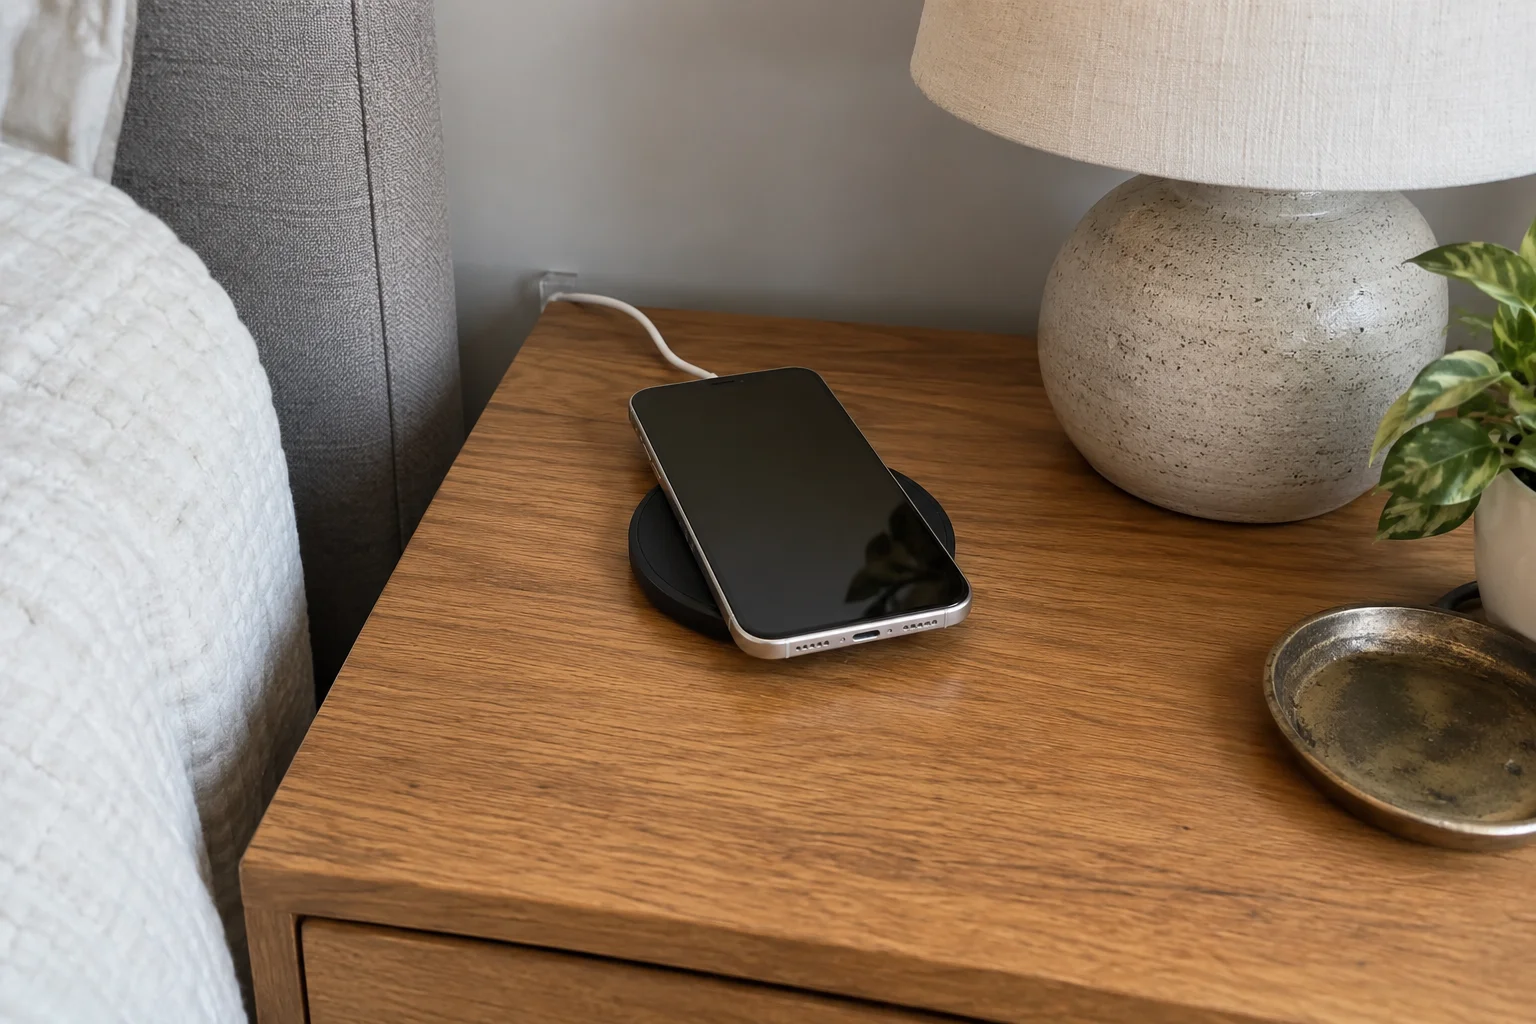
The charging pad still plugs into power. It removes the cable connection to your phone, so there’s no loose end to retrieve.
Route the pad’s supply cable behind the furniture and hold it in place with a clip.
Useful Finds for Tidier Cables
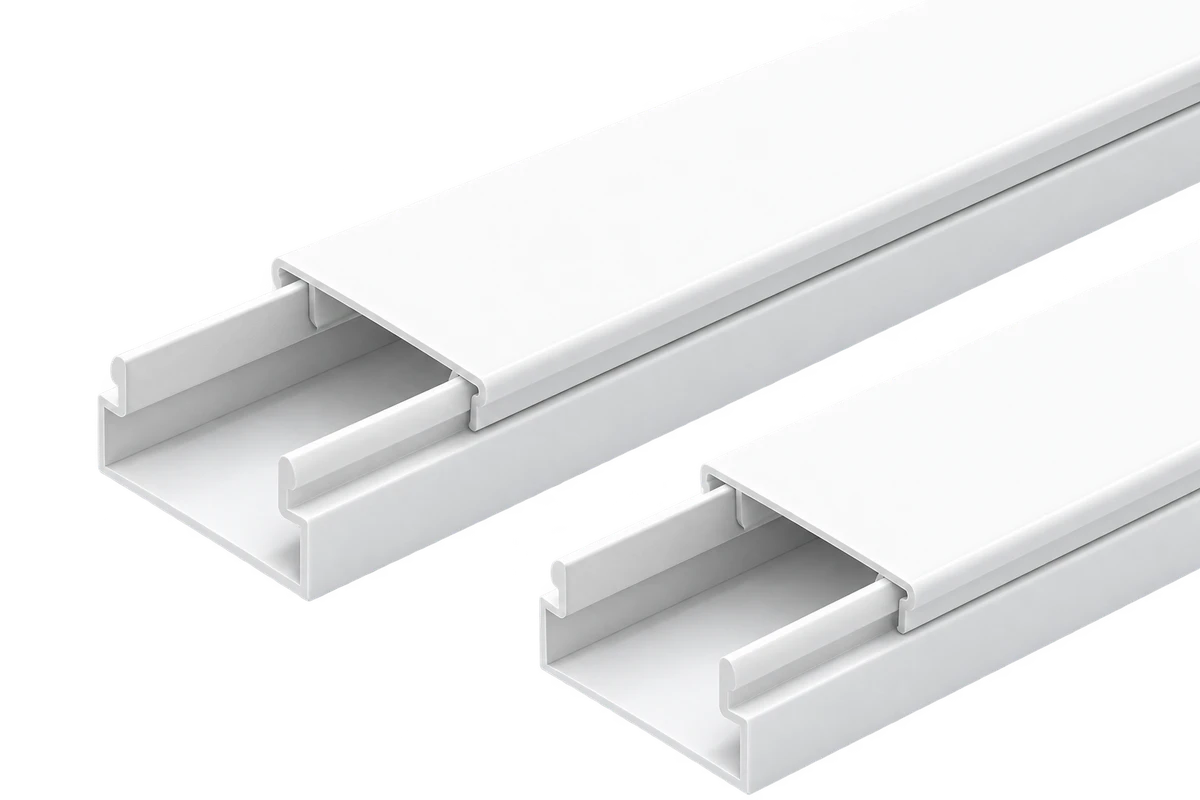 Delamu Cord Hider KitPaintable wall channels with removable covers for cables below TVs and beside plug-in lights.
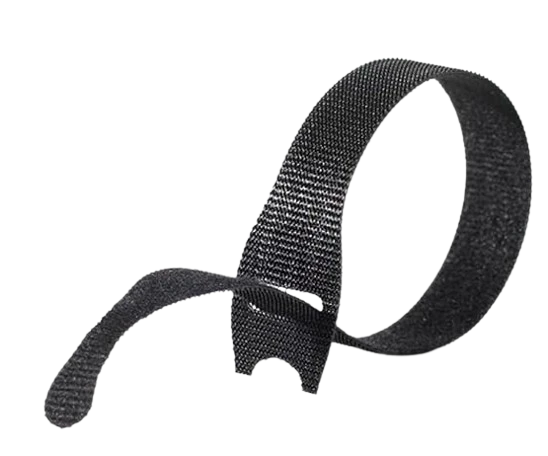 VELCRO ONE-WRAP Cable TiesA 100-pack of reusable 8-inch ties for loose cable bundles, chargers, and stored cords.
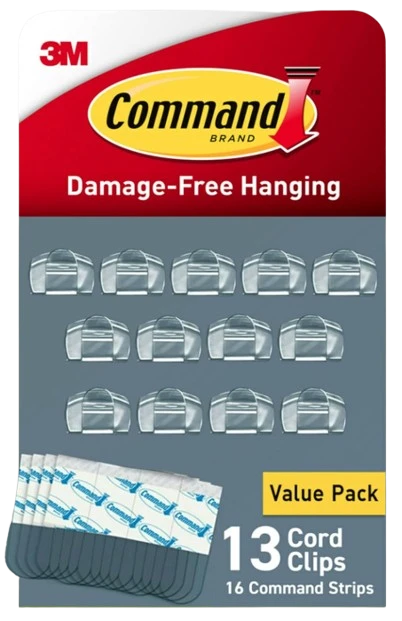 Command Clear Cord ClipsClear clips for guiding cords along suitable hidden surfaces. Includes 13 clips and 16 strips.
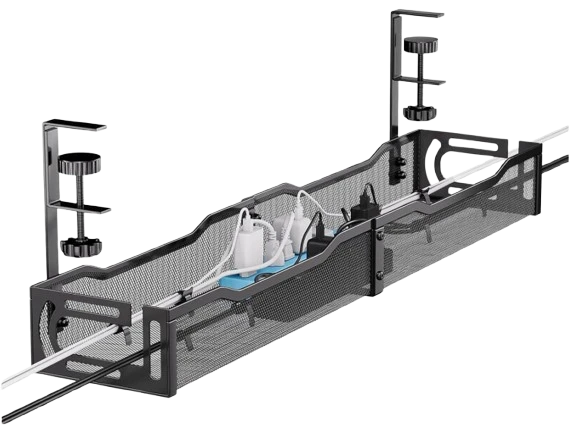 Mzmaxy 25-Inch Cable-Management TrayA clamp-on metal tray that holds cables, adapters, and a power strip beneath the desk.
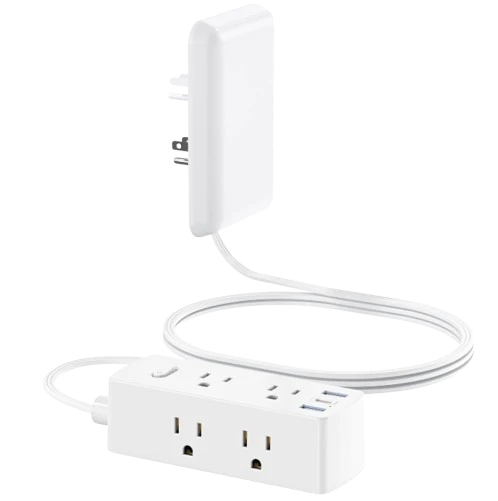 Olcorife Flat-Plug Power Strip with Outlet CoverA low-profile outlet connection with a 5-foot cord, six AC outlets, and three USB ports.
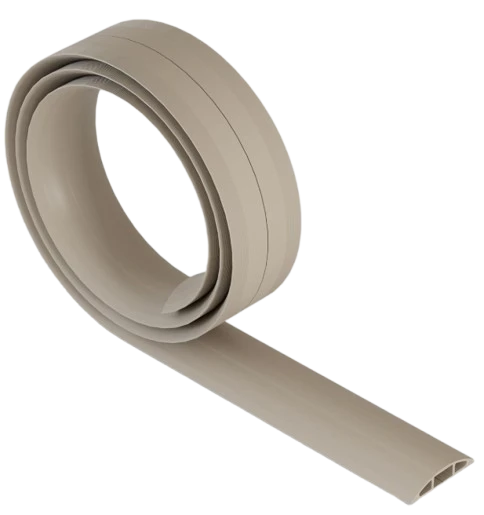 D-Line 6-Foot Floor Cord CoverA beige floor protector with a tapered profile and ribbed base for temporary exposed cable runs.