How to Install Peel and Stick Wall Molding: A Rental-Friendly Wall Makeover

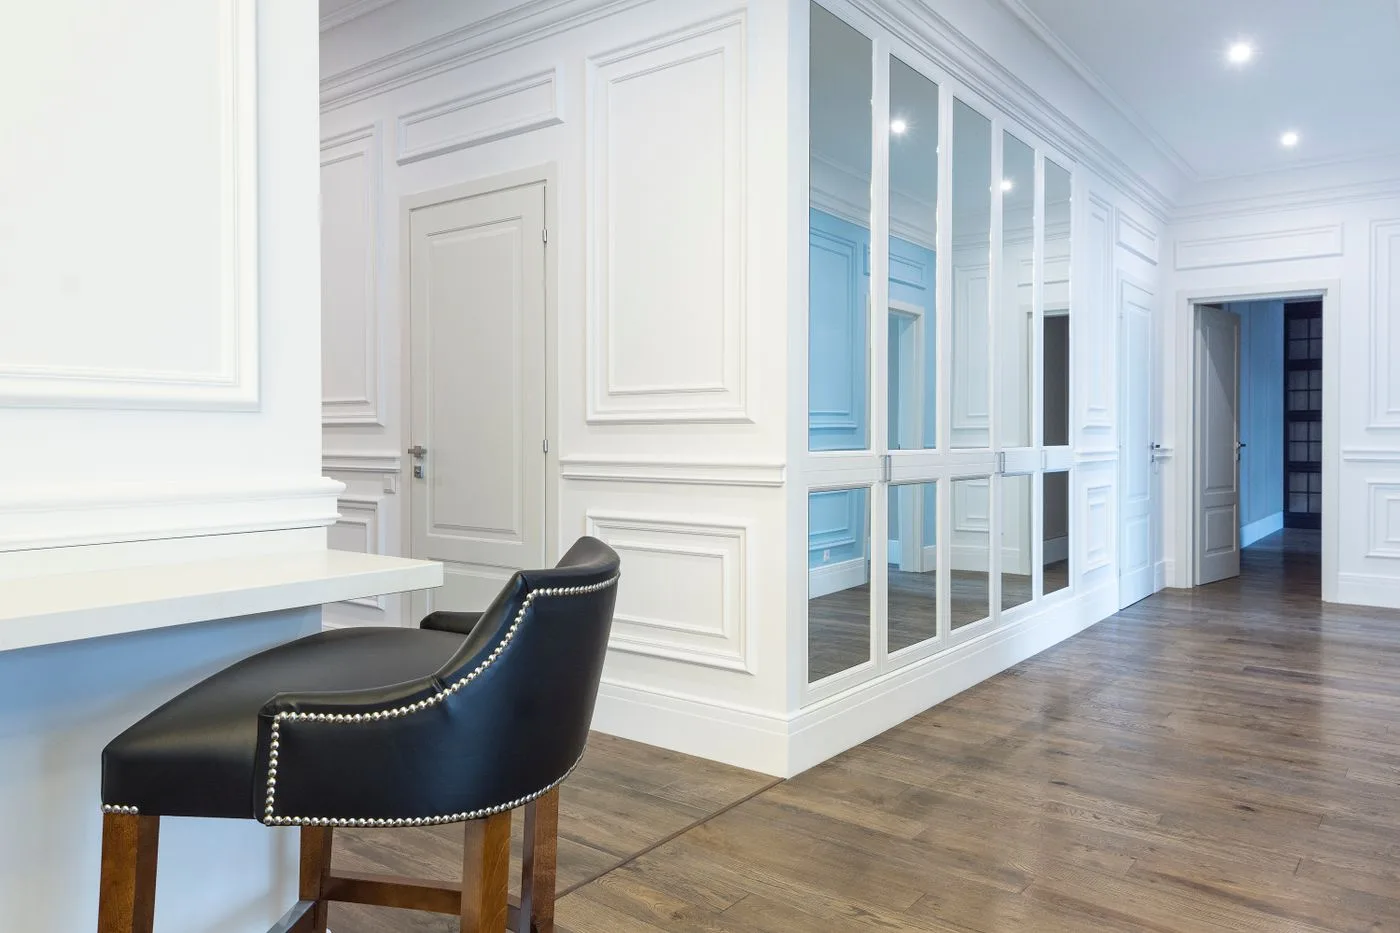
A blank wall in a rental apartment practically begs for a weekend DIY project. You’ve arranged the furniture, added a rug, and hung a few pictures, but something still feels unfinished. Learning how to install peel and stick wall molding gives you another way to add character, with simple frames that make a plain wall feel more thoughtfully designed.
The quick answer
- For a rental, choose molding designed to be removable and suited to your wall finish.
- Map the layout with painter’s tape, then install on a clean, dry wall using level guides.
- Press each piece firmly into place as directed. Extra glue or caulk can prevent clean removal, so leave them out when the system calls for that.
The Luxe Architectural Removable & Reusable wall molding kit is one option with fully assembled wood frames. Before ordering, get your landlord’s approval and test the adhesive on a discreet area of the wall. Removable adhesive still relies on sound paint underneath it.
Here’s how to plan the layout, handle the corners, and get a finish you’ll enjoy looking at long after the weekend.
Pick the Right Molding Before You Pick the Pattern
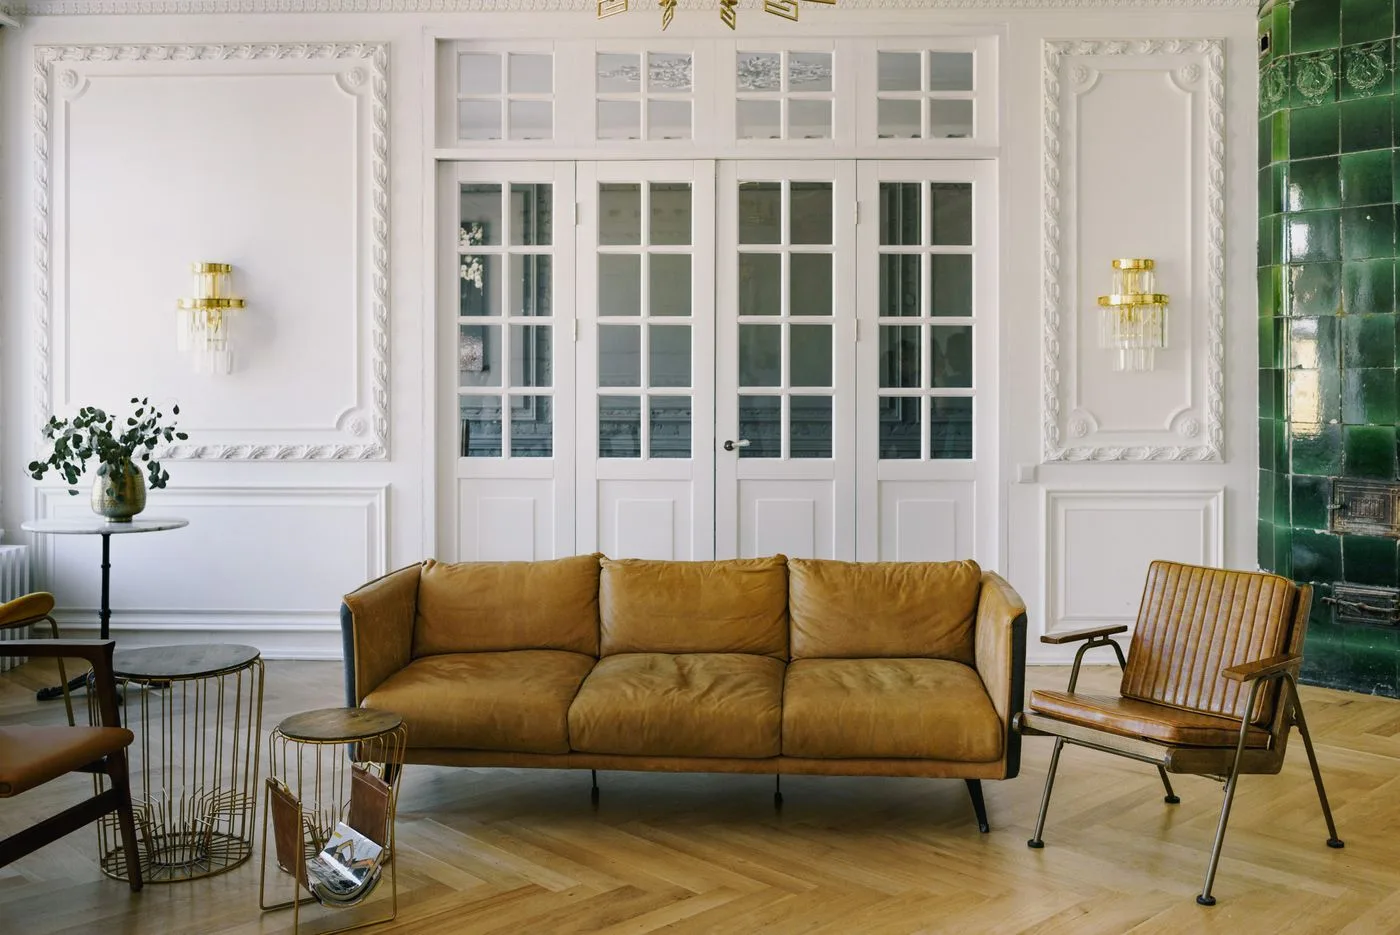
Choose the installation format first: assembled frames, pre-cut pieces, or flexible rolls. They can create similar patterns, but the measuring, cutting, and assembly involved are different.
For a rental, look for an explicitly removable version within those categories. “Peel and stick” describes how something attaches, not how cleanly it comes off.
Fully Assembled Frames: Fewer Corners to Join
Complete frames keep the corners tidy before they even reach your wall.
Fully assembled frames are the easiest option when you want to avoid cutting and joining trim. You still need to measure the layout, but each rectangle arrives as one complete shape.
Luxe Architectural makes assembled wood frames in both permanent and removable collections. Choose its Removable & Reusable version for a project you intend to take down later.
The trade-off is sizing. Your layout needs to work with the frames you order, so measure before falling in love with a particular arrangement.
Pre-Cut Kits: The Angles Are Done for You
Neatly cut pieces turn into matching frames with a little careful alignment.
Pre-cut kits save you from cutting the corner angles, but you may still need to assemble each frame on the wall. Keep every matching piece together and check the joints before peeling any backing.
Pangda’s wall molding kits and Outwater’s pre-mitered panel frames offer this approach.
These are useful options when self-adhesive trim is permitted. Their peel-and-stick construction alone should not be treated as a promise of clean removal.
Flexible Rolls: More Freedom With the Dimensions
A slim strip of trim can follow a layout made specifically for your room.
Flexible rolls work well when you want to choose your own frame dimensions or add a continuous strip of trim. You’ll need to measure, cut, and match the corners yourself.
Trimold Self-Adhesive Wall Trim is a PVC option sold in rolls. Use the cutting and application method specified for the trim rather than treating it like ordinary decorative tape.
Your Wall Makeover Shopping Checklist
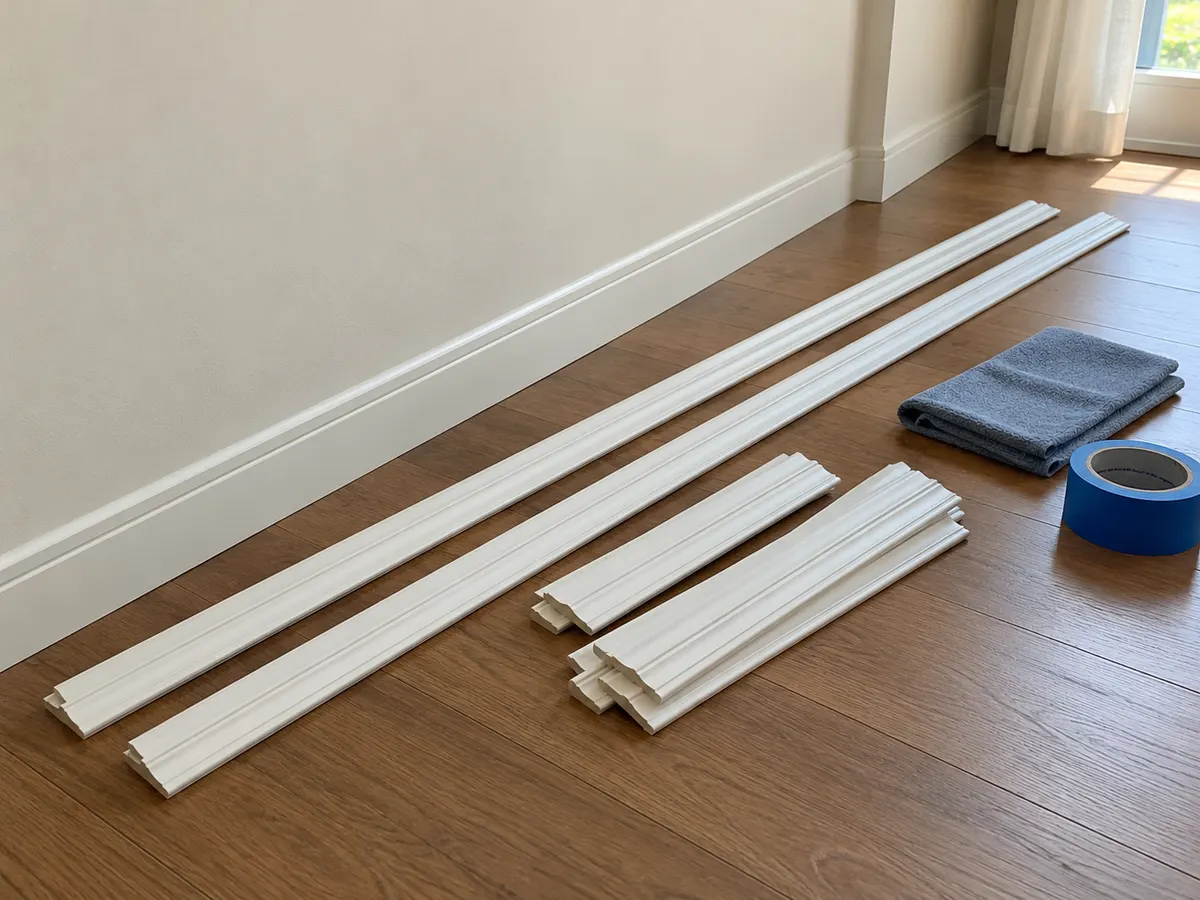
An assembled-frame project needs measuring and preparation supplies; loose trim also needs suitable cutting tools.
- Molding frames, a pre-cut kit, or flexible trim
- Tape measure
- Pencil
- Spirit level or laser level
- Painter’s tape suitable for your wall finish
- Cleaning supplies approved for the paint and adhesive
- Clean, lint-free cloth
- Suitable cutting tool, if the trim requires cutting
- Miter guide or box, if angled cuts are needed
- Compatible primer and paint, if you plan to paint the molding
Paintable caulk belongs on the list only for an approved permanent installation.
Budget for the whole wall, including finishing supplies. A kit that forms three rectangles will not cover a six-frame design, and a roll’s length can disappear surprisingly quickly once you add up every side.
How to Install Peel and Stick Wall Molding, Step by Step
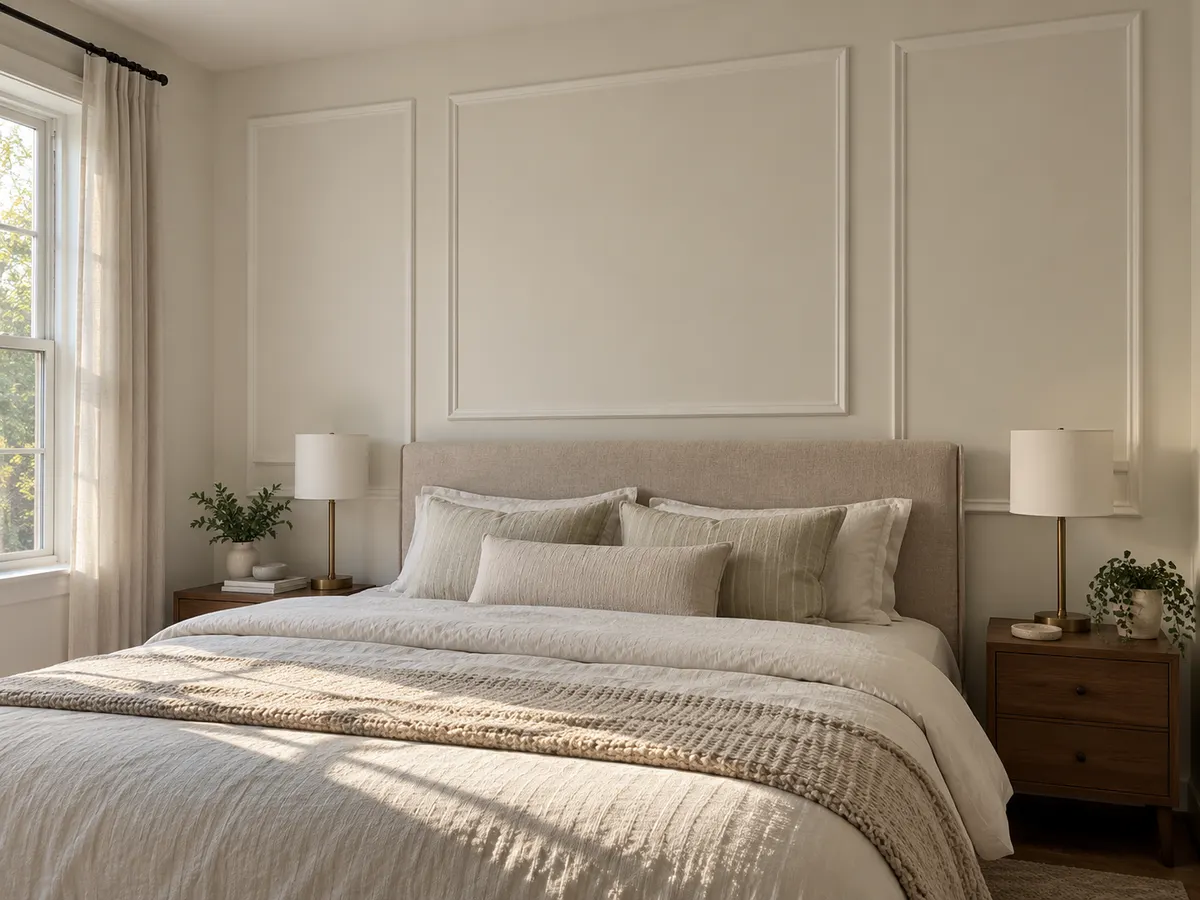
Do the measuring and fitting before exposing the adhesive. That gives you room to change your mind while changes are still easy.
Step 1: Tape Out a Design Around Your Furniture
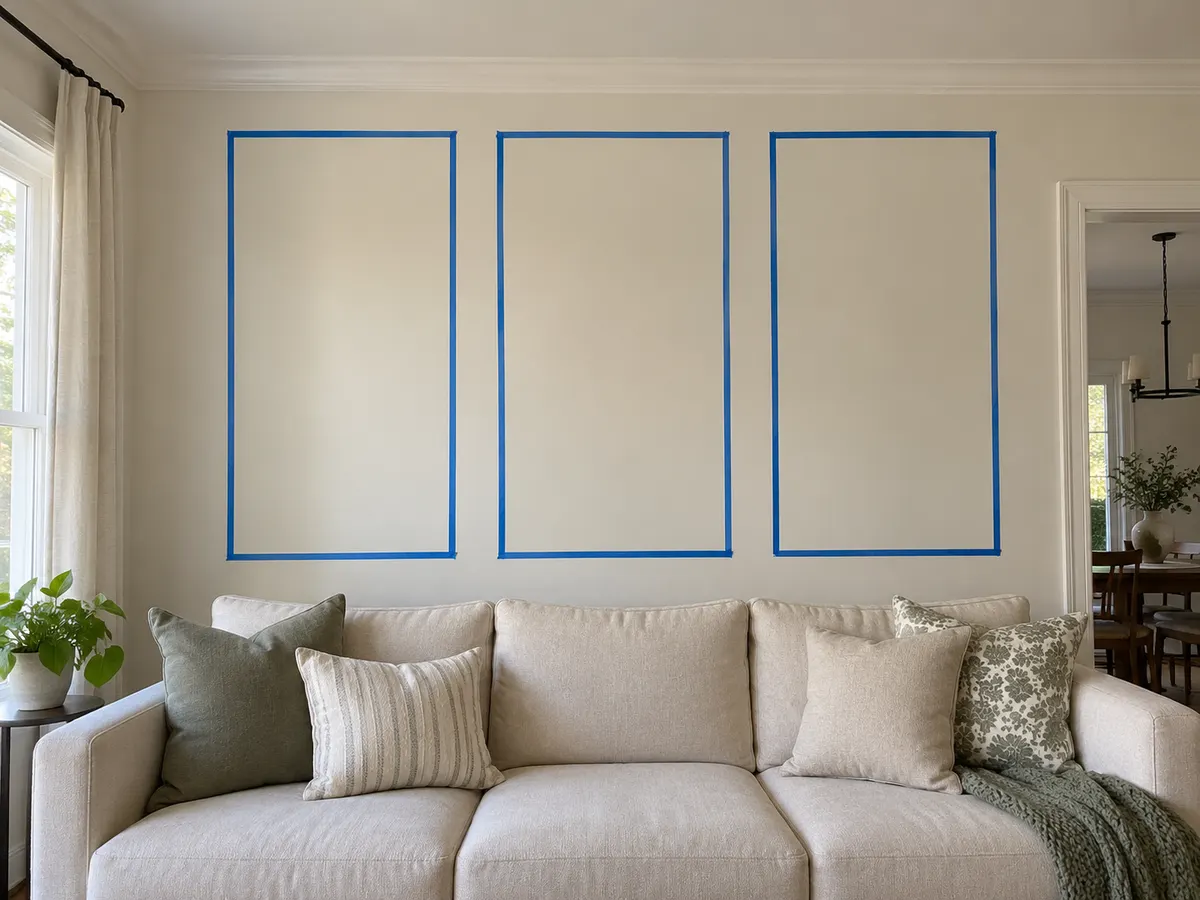
Outline the frames with painter’s tape while your main furniture is still in position. Use tape approved for the surface and remove it within its recommended time.
For a bed wall, center the arrangement around the headboard. Behind a sofa, check how much of the lower frame will disappear behind the cushions. A console might look better beneath one broad panel than between two narrow ones.
Keep switches, outlets, door trim, and furniture clearances visible in the plan. Then step back to the doorway. That wider view often reveals cramped spacing you missed while standing close to the wall.
Step 2: Work Out the Gaps Before Ordering
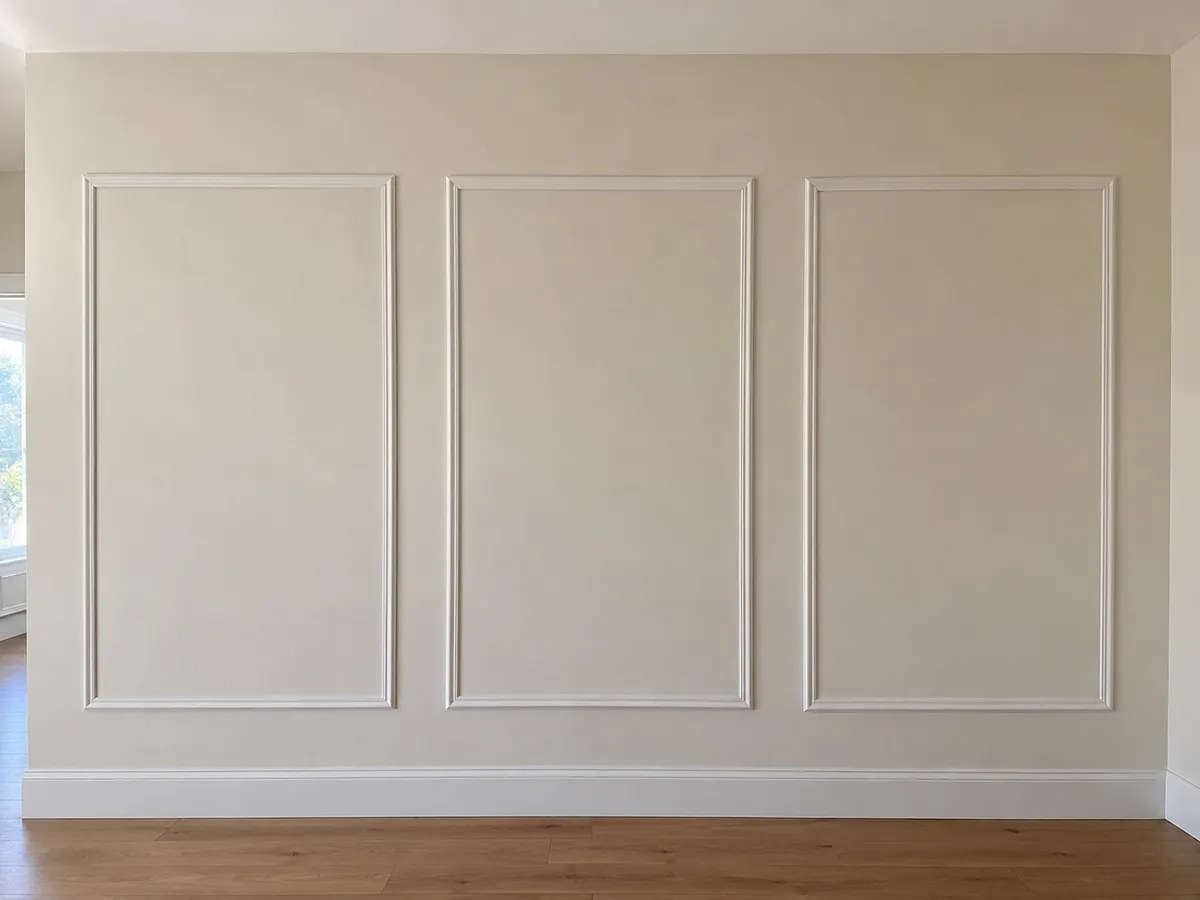
Subtract the combined outside widths of the frames from the usable wall width, then divide the remaining space between the gaps.
For example:
| Measurement | Amount |
|---|---|
| Usable wall width | 120 inches |
| Three frames, each 32 inches wide | 96 inches |
| Space remaining | 24 inches |
| Four equal gaps | 6 inches each |
Those four gaps are the left margin, the two spaces between frames, and the right margin.
Use the frames’ outside dimensions. Measuring only the empty space inside each rectangle will throw off the layout.
Count complete frames when buying a kit. For flexible trim, write out every required piece and allow some extra material for practice cuts and mistakes. Also check that the roll lengths accommodate your longest pieces without an unwanted join.
Step 3: Prepare a Clean, Dry Wall
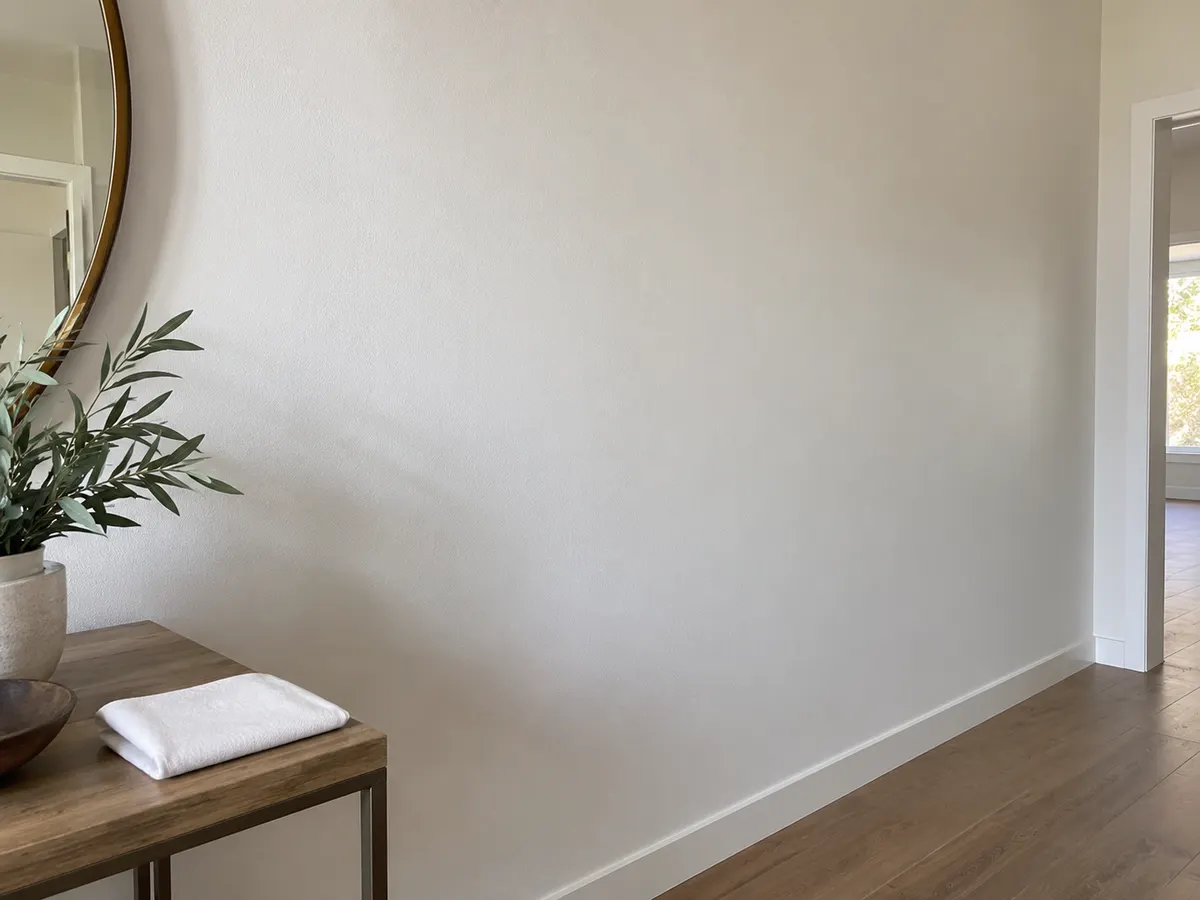
Remove dust and residue, repair damaged areas, and let the wall dry completely before installation. Use a cleaning method compatible with both the wall finish and the molding adhesive.
Avoid attaching trim over flaking paint or loose surface material. Even strong adhesive cannot make a weak paint layer hold securely.
Freshly painted walls need particular patience. Dry to the touch does not mean fully cured. Follow the paint and molding manufacturers’ waiting periods before applying adhesive.
Step 4: Cut Only What Needs Cutting
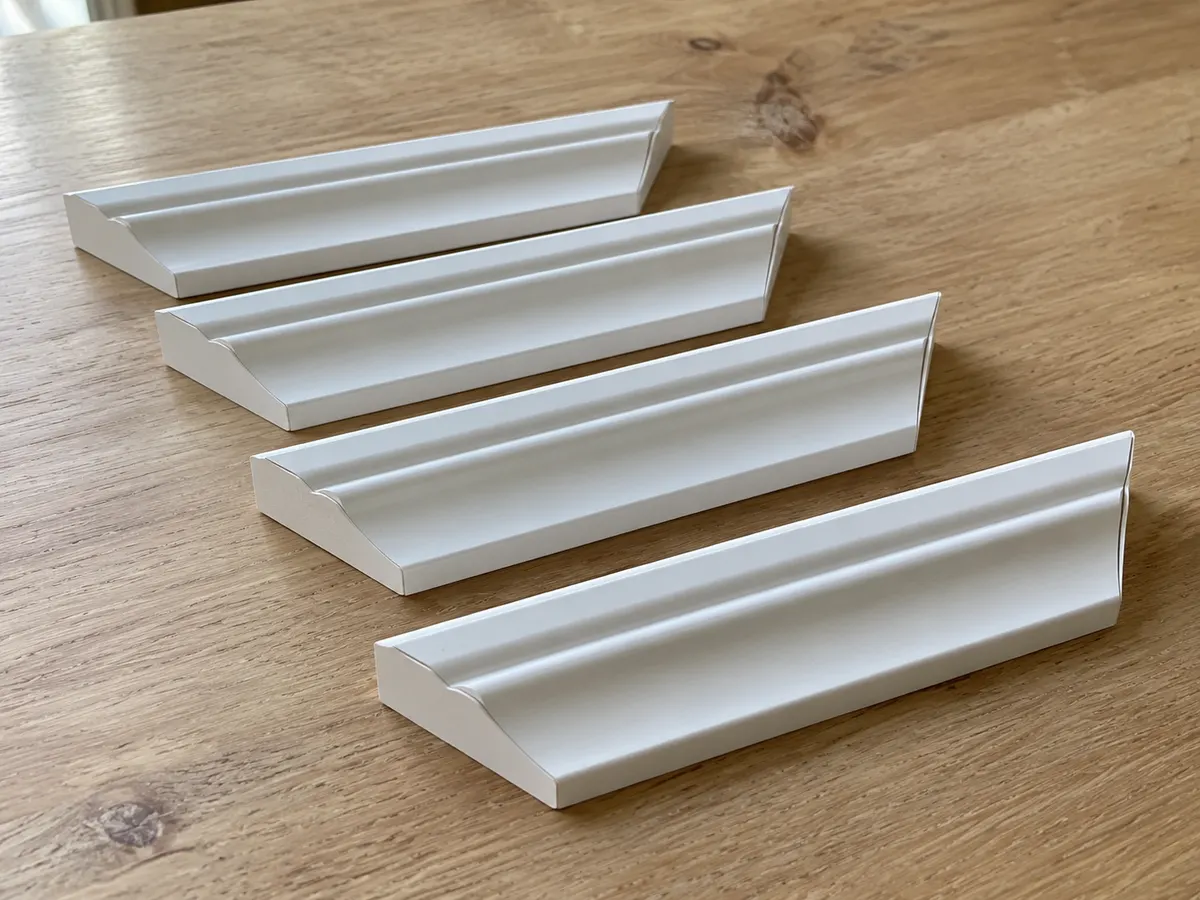
Skip cutting if your frames arrive assembled or your kit already has the correct lengths. For trim that needs cutting, mark the pieces and use the tool recommended for its material.
A square picture-frame corner usually joins two matching 45-degree cuts. The angles need to face in opposite directions so the pieces meet neatly.
Make one practice corner before cutting the full batch. Label the backs of the pieces as top, bottom, left, and right to avoid mixing them up.
When measuring a mitered frame, keep your measurement points consistent. An outside dimension runs between the long outer points of the cuts.
Step 5: Dry-Fit the Pieces and Mark Level Guides
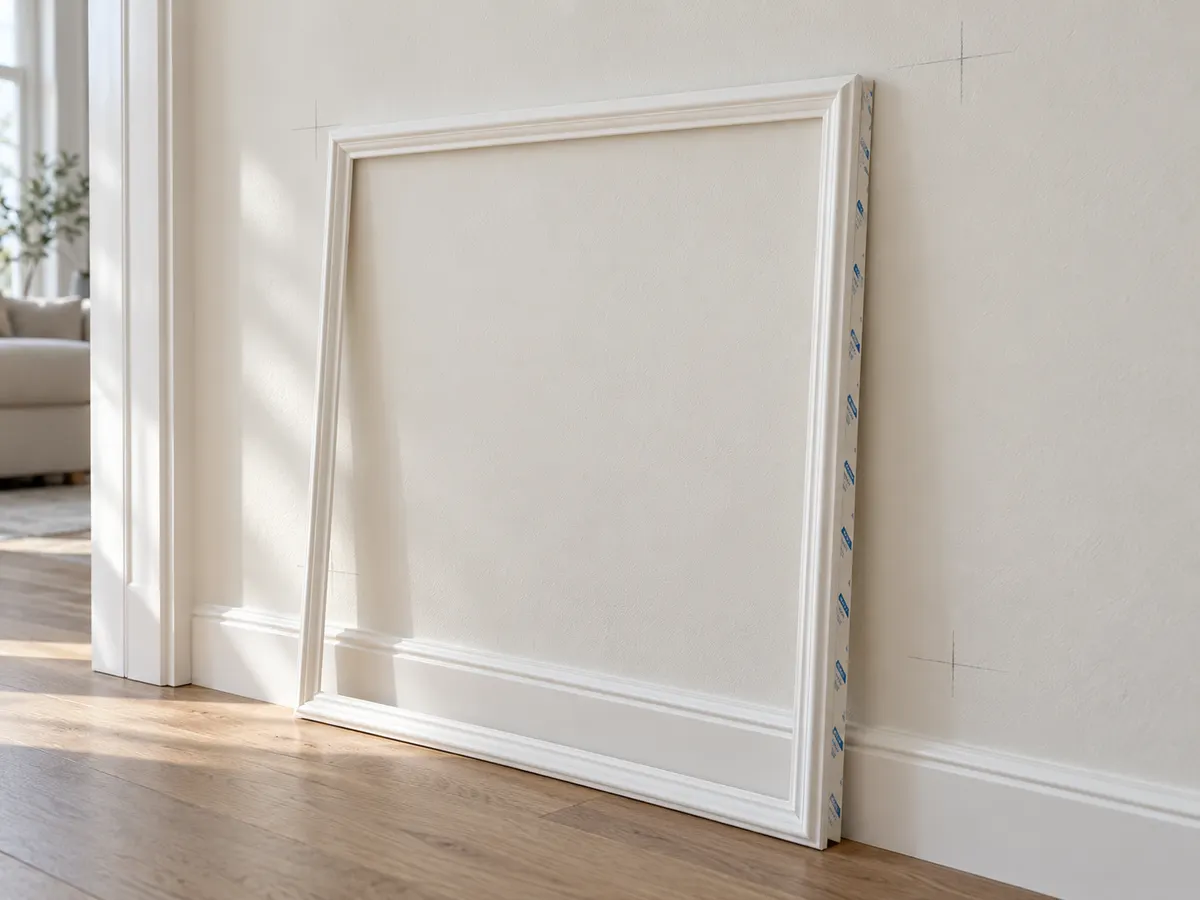
Position the molding with its backing intact and check the whole arrangement before attaching it. Use light pencil marks to show the final placement.
Check the horizontal and vertical sides with a level. Ceilings and baseboards can slope slightly, especially in older buildings, so they should not be your only guides.
For loose pieces, bring the corners together and check that each frame is square. Measuring both diagonals helps: a rectangular frame should have matching diagonal measurements.
Step 6: Peel, Align, and Press
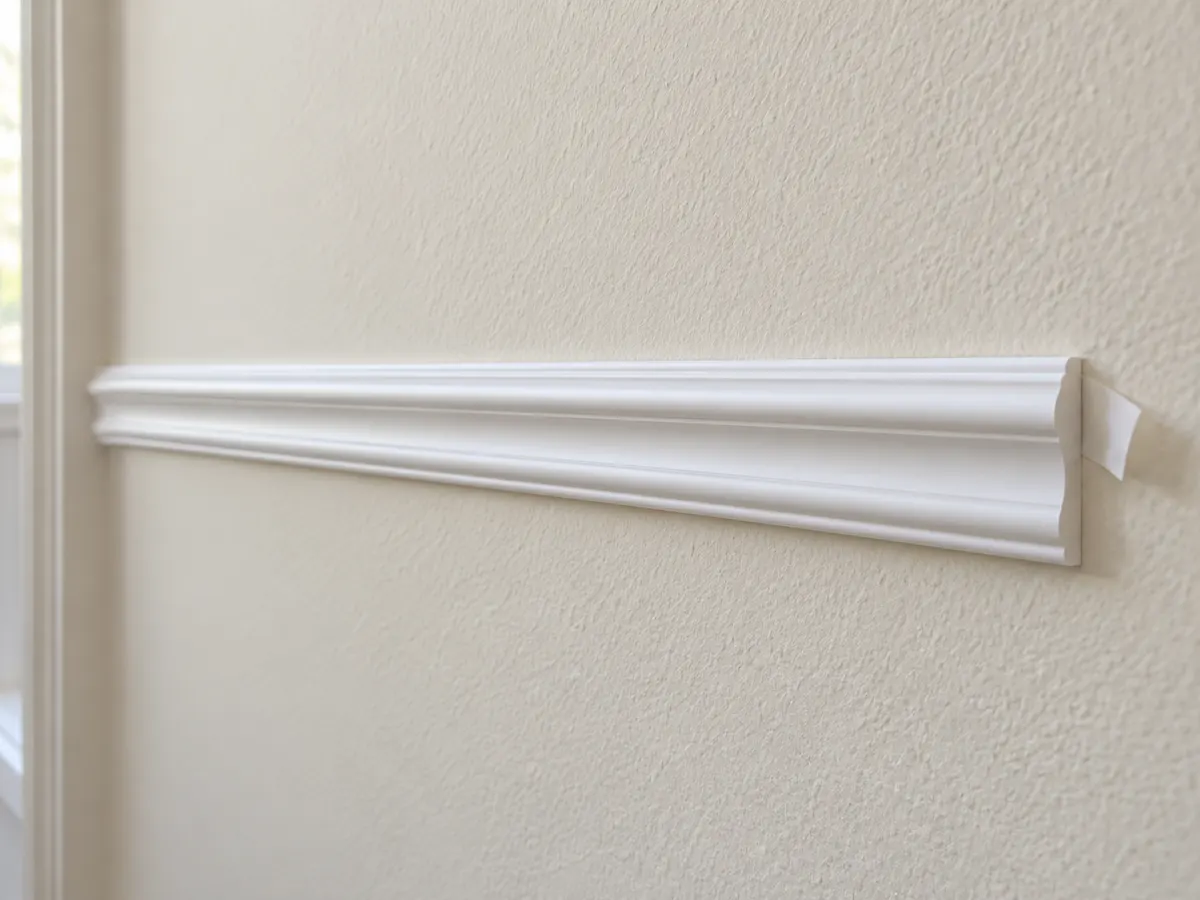
Follow the kit’s backing-removal instructions, align the molding with your guides, and apply firm pressure along the adhesive contact area.
For flexible strips, work in manageable sections and keep the material relaxed as you place it. Do not stretch it to reach the next mark. Stretching can distort the shape and create tension at the ends.
For assembled frames, support the whole frame while positioning it. A second person is useful for a large rectangle, even when the product needs no cutting tools.
Check each completed frame before moving to the next. Some systems allow repositioning during installation; others can damage their adhesive or the paint when lifted.
Step 7: Handle Gaps Without Losing Removability
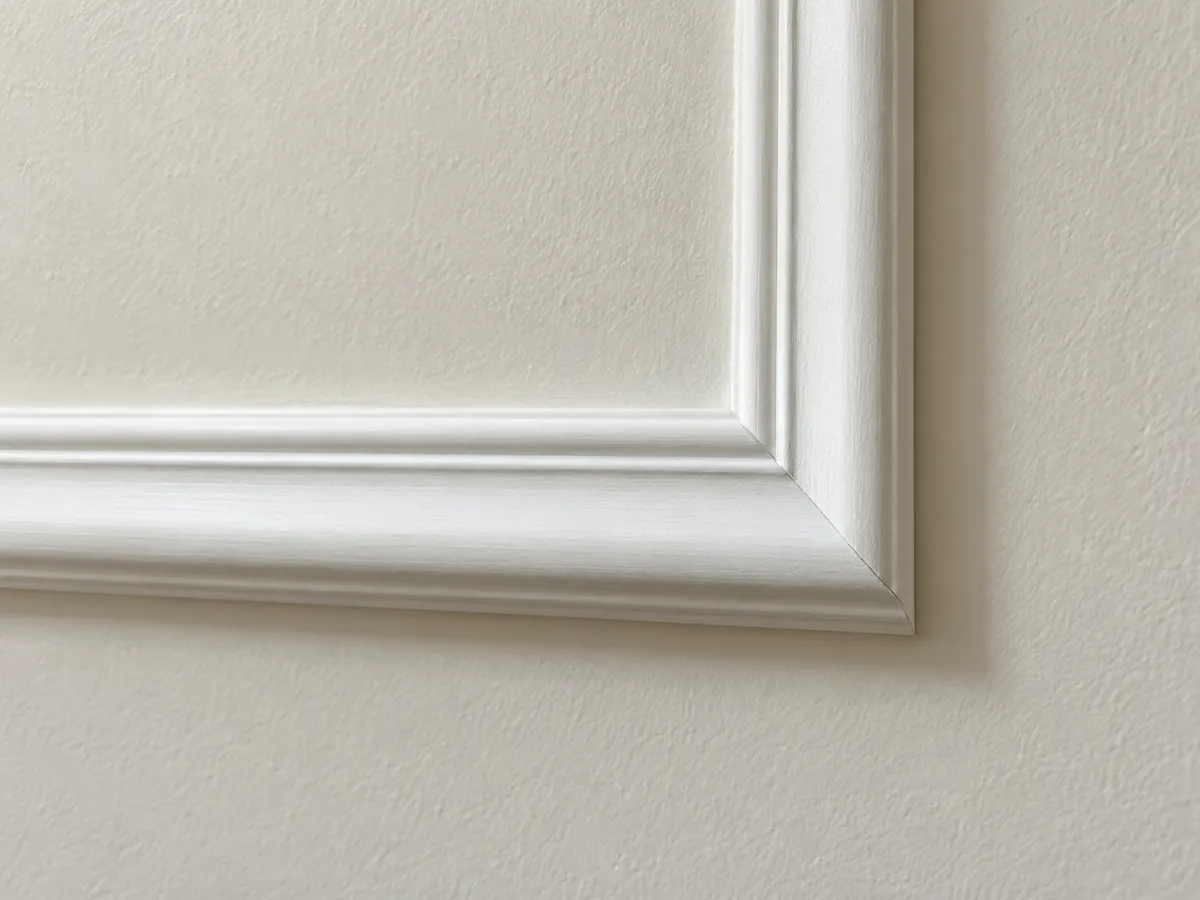
For a removable rental installation, skip caulk when the system specifies a caulk-free application. Luxe’s removable kits use this approach.
If a frame sits noticeably away from the wall, reassess the surface and fit. Filling a large gap with glue turns a placement problem into a removal problem.
For an approved permanent installation, a thin bead of compatible paintable caulk can fill small edge gaps. Smooth it neatly and allow the stated drying time before painting.
Step 8: Paint for a Finish That Belongs in the Room
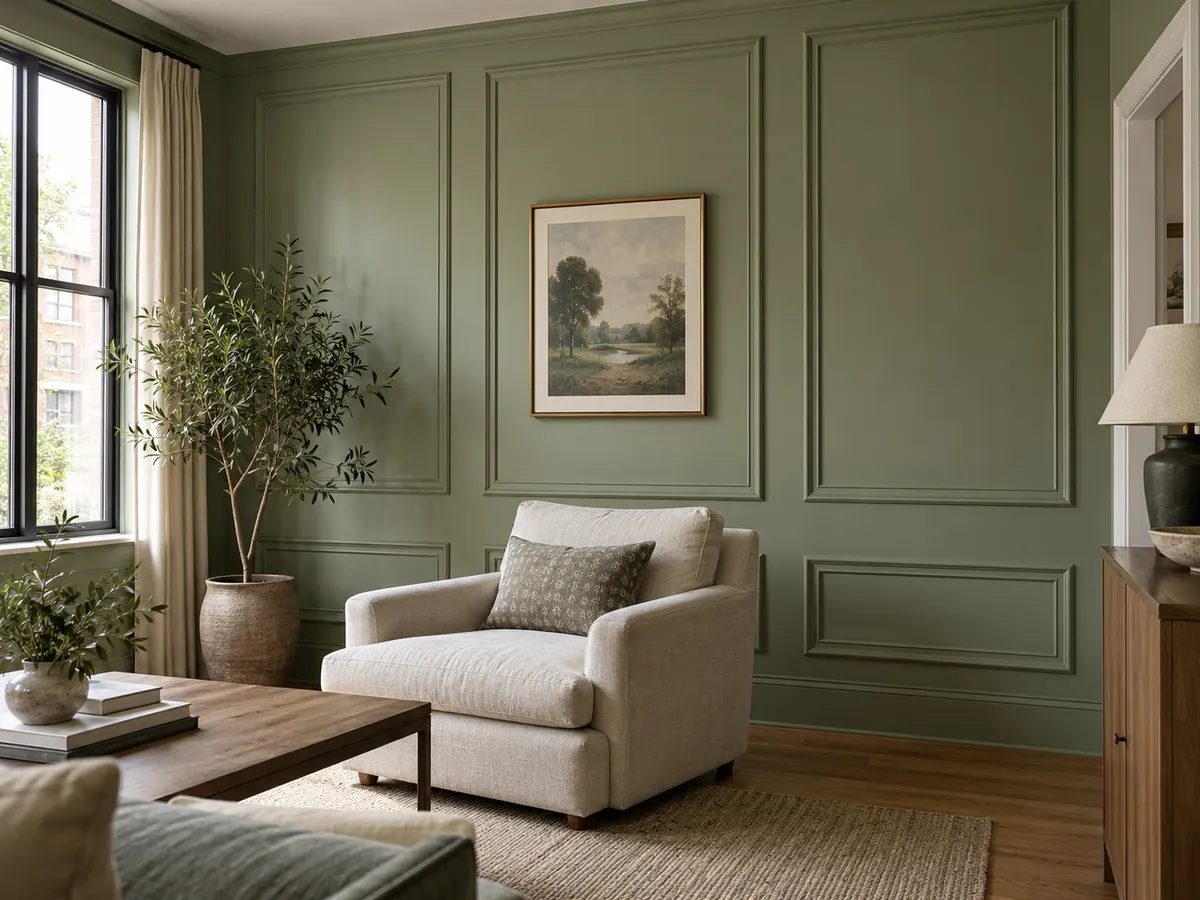
Paint the molding the wall color for a continuous finish, or choose a contrasting shade when you want the frames to stand out.
Warm white keeps the effect subtle. A muted green or dusty blue can make the wall feel more deliberate without adding another piece of furniture.
Only paint molding approved for painting, using a compatible primer and finish. Apply thin coats so paint does not collect in the decorative grooves.
For a removable kit that allows it, painting the frames before installation can keep paint from bridging the edges to the wall. Let the finish cure before handling, and keep paint off the adhesive.
Five Layouts That Make a Plain Wall Feel Finished
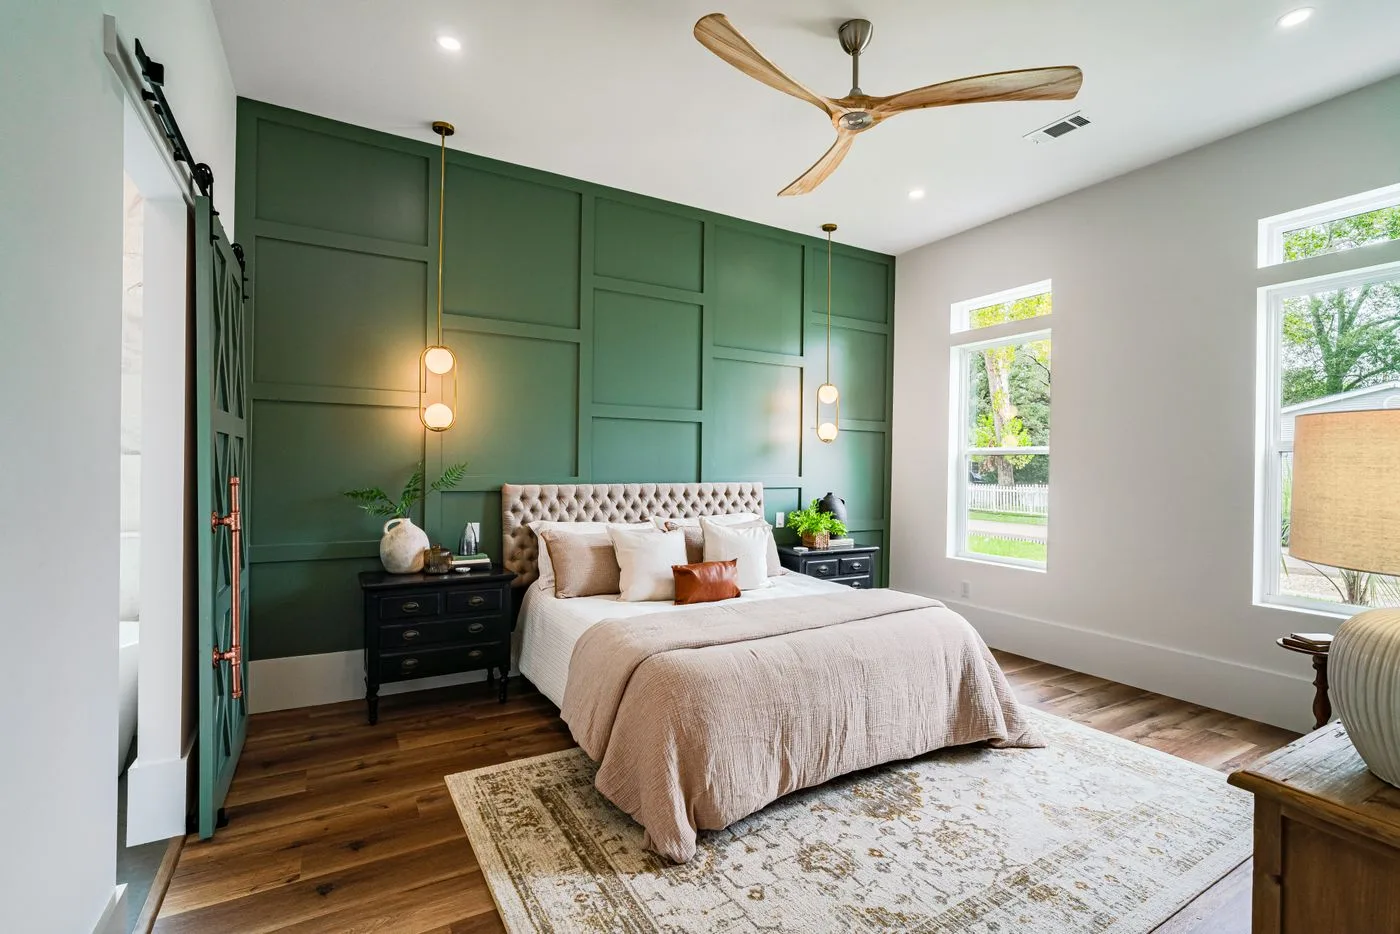
Choose a layout with enough breathing room around each frame. Adding more rectangles is not always an improvement.
Three Tall Frames Behind a Sofa
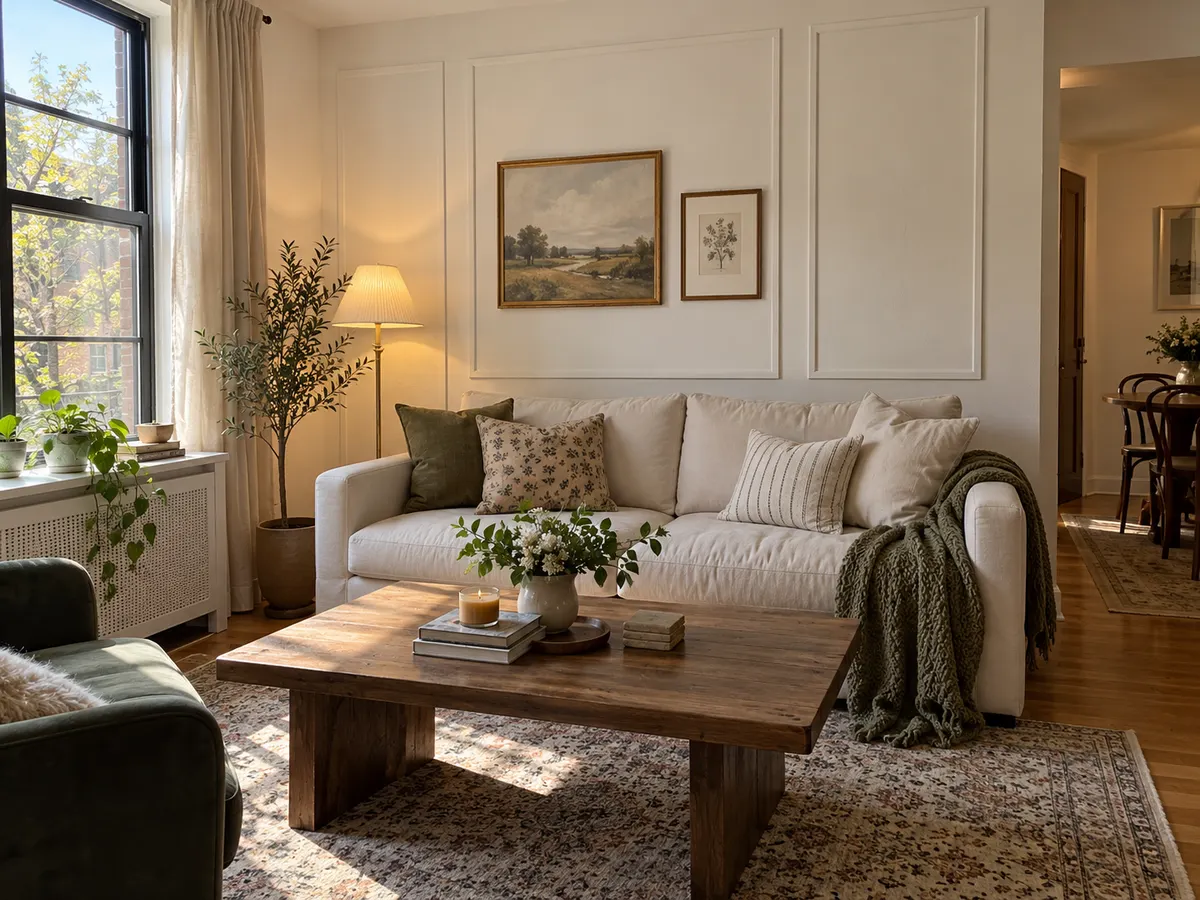
Use three equal frames for a balanced arrangement behind a sofa. Keep the gaps consistent and make the lower edges feel intentional, even where the furniture partially hides them.
This is a useful choice when you want the wall to have detail without needing a large piece of art in every panel.
One Wide Center Frame With Narrower Side Panels
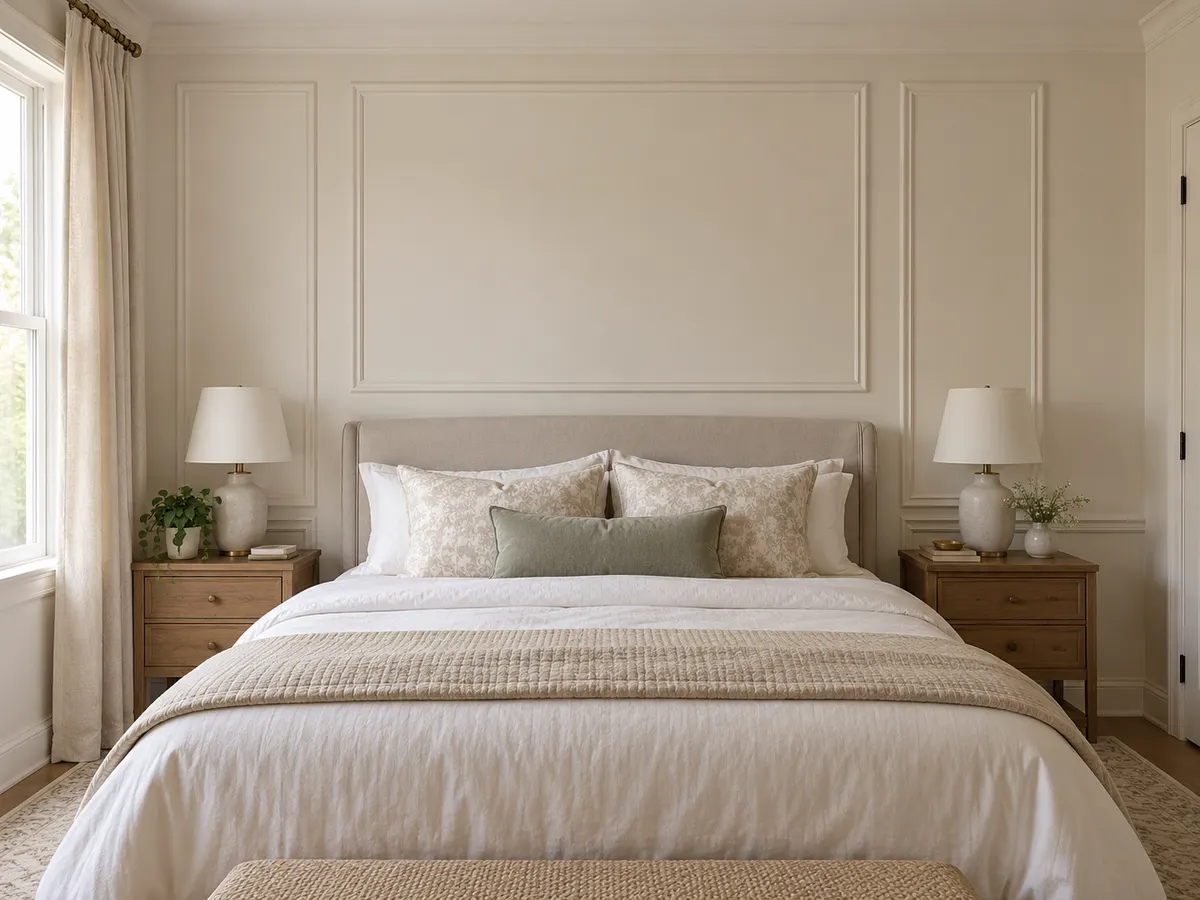
Center the widest panel over the room’s main furniture piece. Use narrower panels on either side to complete the arrangement.
Check the furniture width against the inner opening of the center frame. A headboard squeezed tightly between the moldings can make the layout feel cramped.
Upper and Lower Frames for a Classic Paneled Look
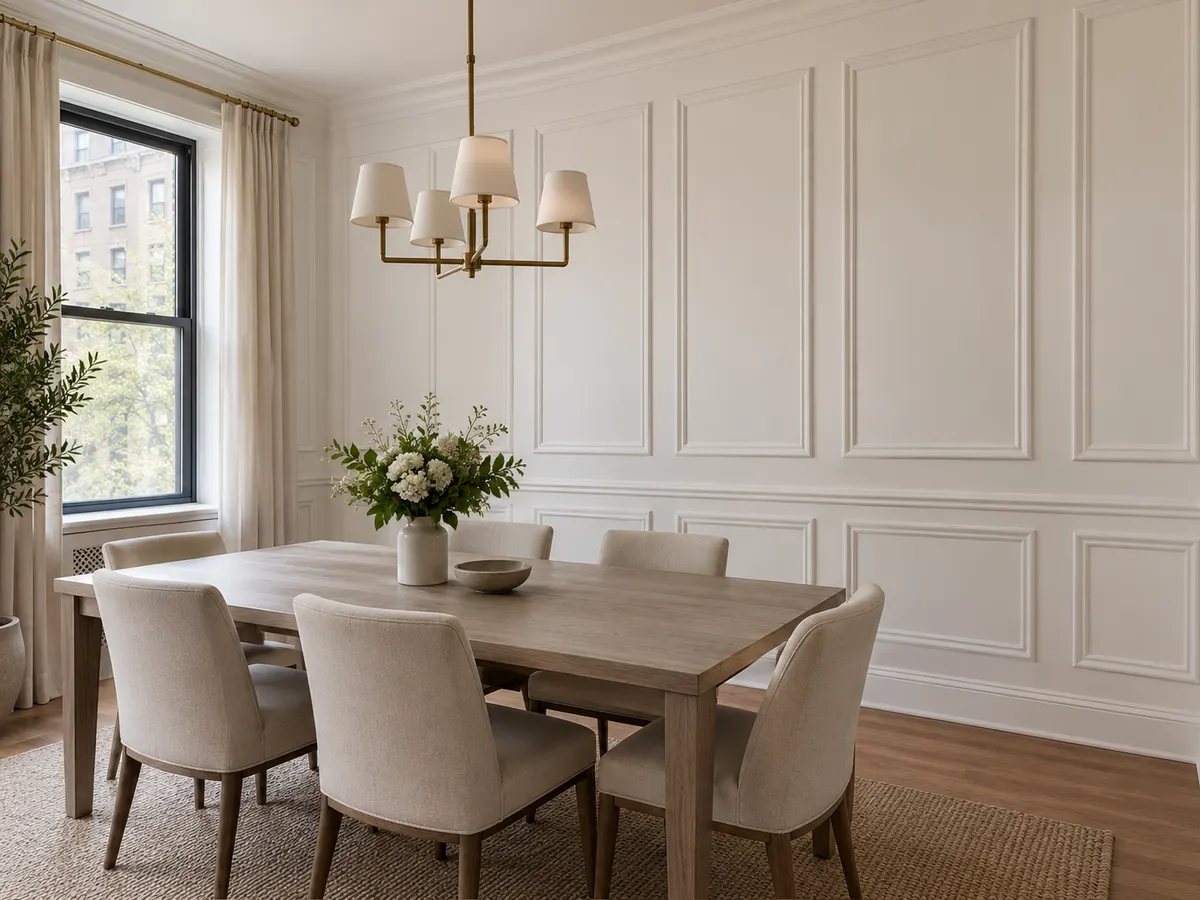
Line up the sides of the upper and lower frames so the rows feel connected. Taller upper panels and shorter lower panels create a familiar paneled-wall arrangement.
Use your taped mockup to judge the horizontal division. Its best position depends on the room, furniture, and frame sizes.
One Oversized Frame Around Wallpaper or Artwork
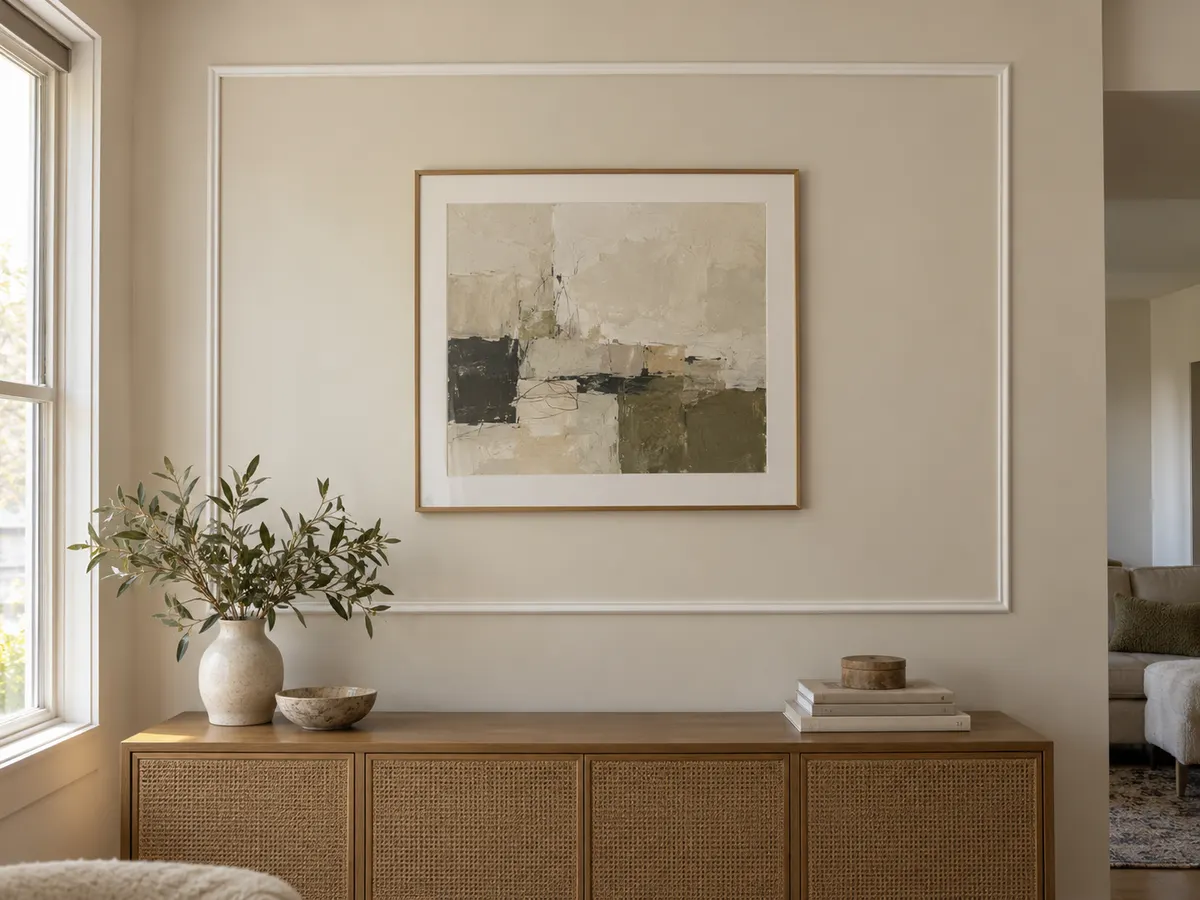
Use one oversized frame when you want a smaller project with a clear focal point. It can surround a wallpaper panel, a print, or a carefully arranged group of smaller pictures.
Support artwork with its own suitable fixing. Decorative adhesive molding should not carry the picture’s weight.
Simple Panels Along a Hallway
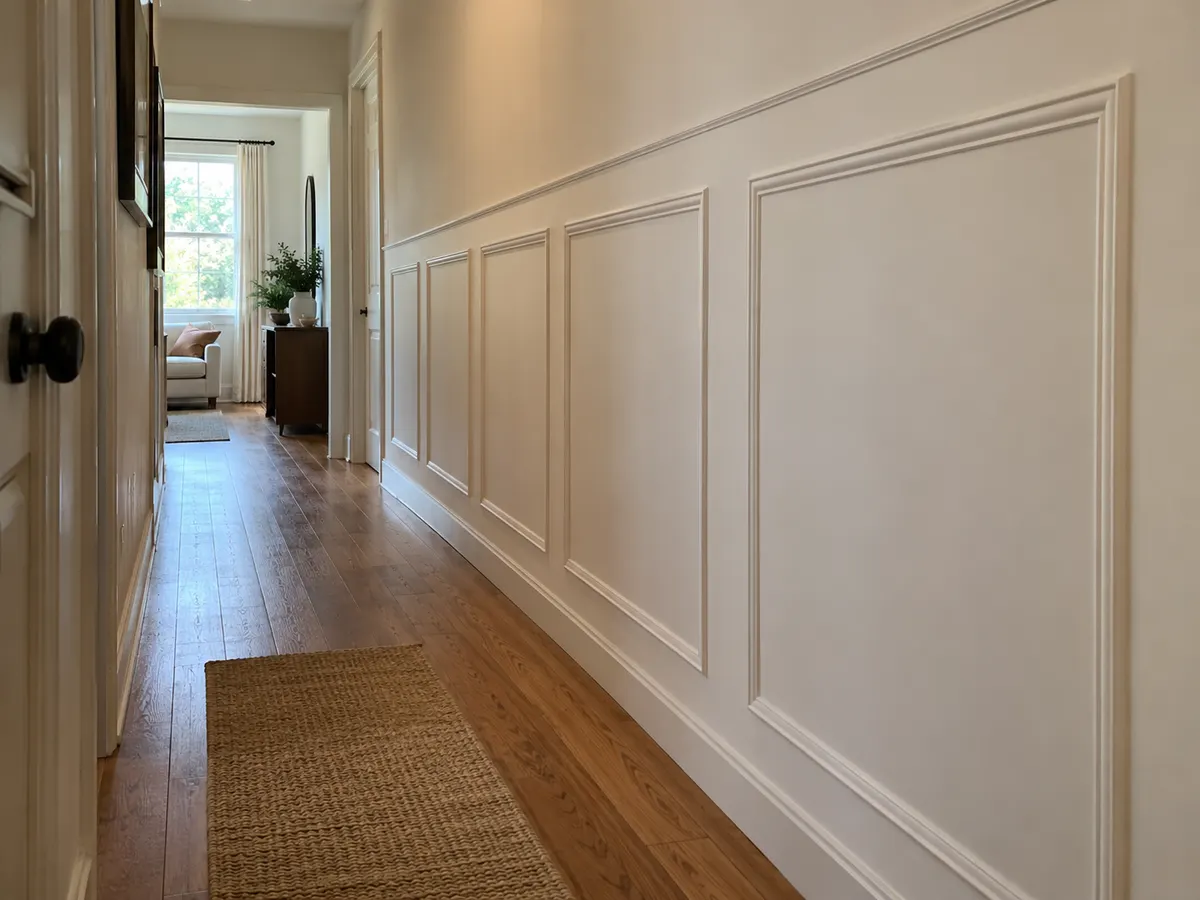
Repeat a simple panel shape along the usable wall sections. Leave comfortable clearance around doors, switches, and corners.
If the hallway breaks into uneven sections, adapt the panel widths while keeping the trim style and spacing consistent.
For more changes that work alongside the molding, browse our living room updates on a budget.
Crooked Corners, Lifting Edges, and Other Fixable Problems
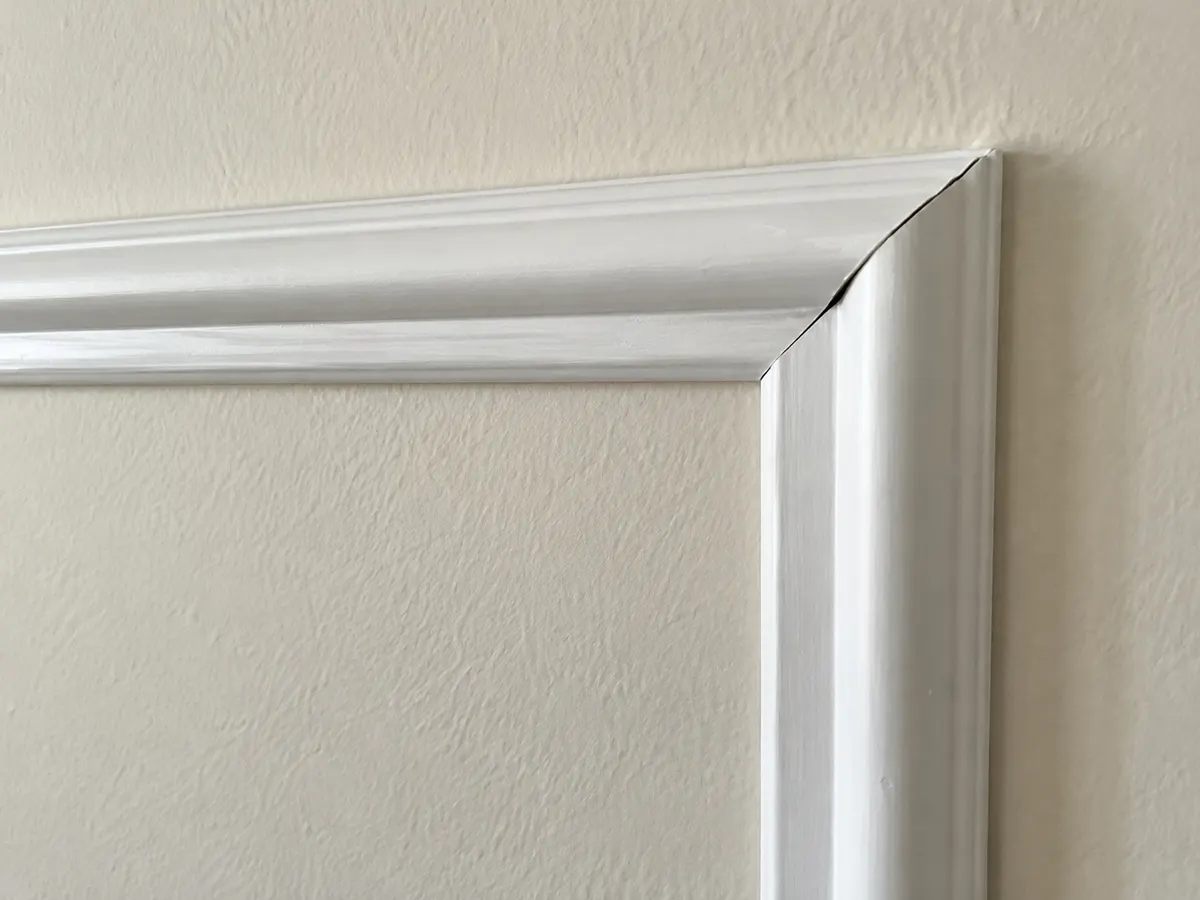
Pause when something looks wrong. Finishing the whole wall will rarely make a crooked first frame less noticeable.
| Problem | What to do |
|---|---|
| A frame looks crooked | Recheck it with a level. Reposition only using the product’s approved method. |
| Corners do not meet | Check the lengths, cut directions, and whether the frame is square. Replace a badly cut piece rather than forcing the joint closed. |
| Edges lift | Check for dust, unsuitable texture, uncured paint, or poor contact. Avoid adding permanent glue to a removable installation. |
| Flexible trim looks wavy | Check whether it was stretched or pressed unevenly. Refit or replace the affected section as the instructions allow. |
| Gaps show behind a frame | Check the wall with a straightedge. A substantial bow may need a different product or layout. |
| Paint begins lifting during removal | Stop pulling, support the frame, and follow the manufacturer’s removal guidance before continuing. |
Can You Take It With You When You Move?
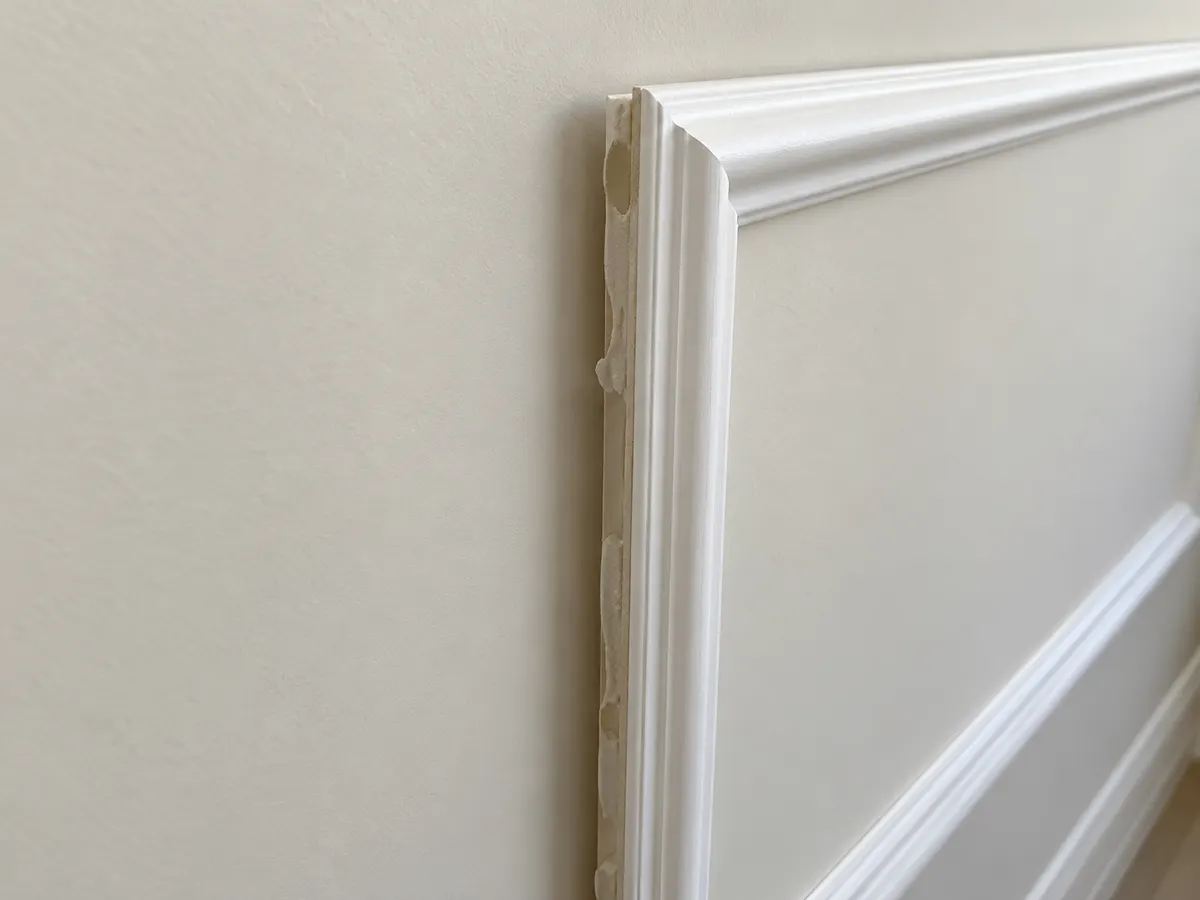
A kit designed for removal and reuse offers the best chance, but the condition of the wall still matters. Paint quality, surface preparation, and any extra finishing products affect the result.
Before installation, test the adhesive in a discreet spot and agree on the project with your landlord. A short test can reveal an immediate problem, although it cannot guarantee what will happen after months or years.
On moving day, follow the product’s removal method and work gradually. Luxe’s instructions call for slowly releasing the frame along its length rather than pulling it away quickly. Luxe removal guidance
Keep the original instructions somewhere you can find them later. Your future self, surrounded by half-packed boxes, will appreciate it.
Our guide to decorating rental walls without damage has more ideas for making the apartment feel like yours.
Quick Questions Before You Commit
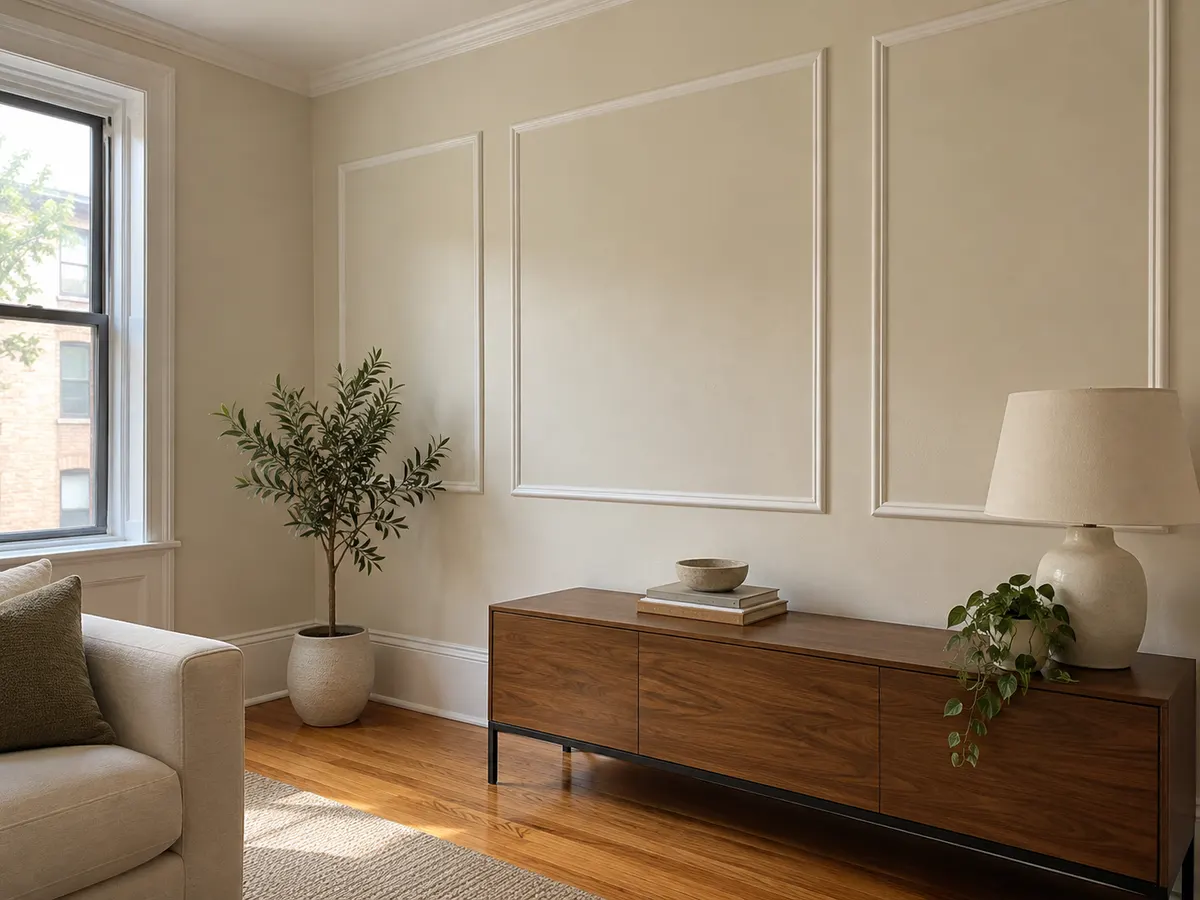
Does Peel-and-Stick Molding Work on Textured Walls?
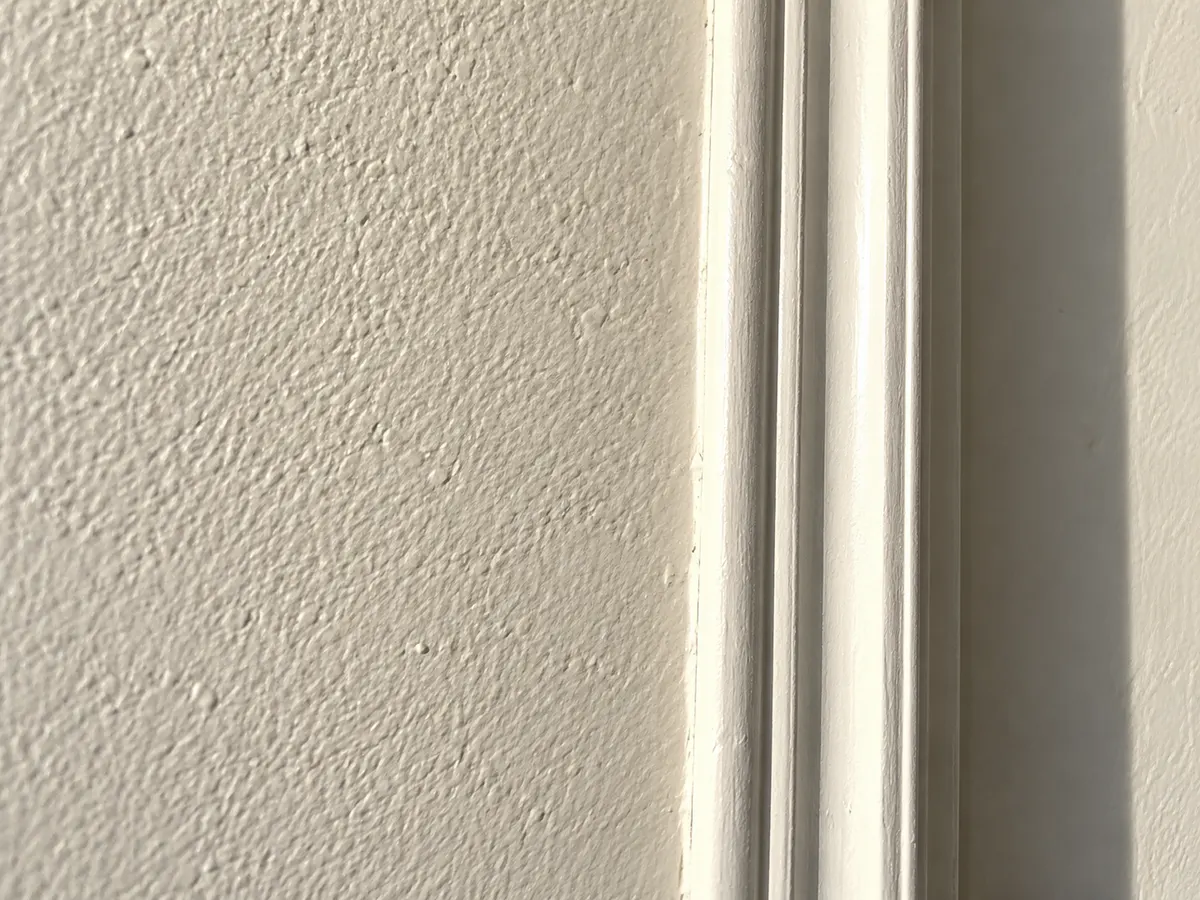
Some molding systems accept light texture; others need a smooth wall. Use a product approved for your surface, and avoid a removable project that needs permanent adhesive or caulk to stay attached.
Can You Install It Over Wallpaper?
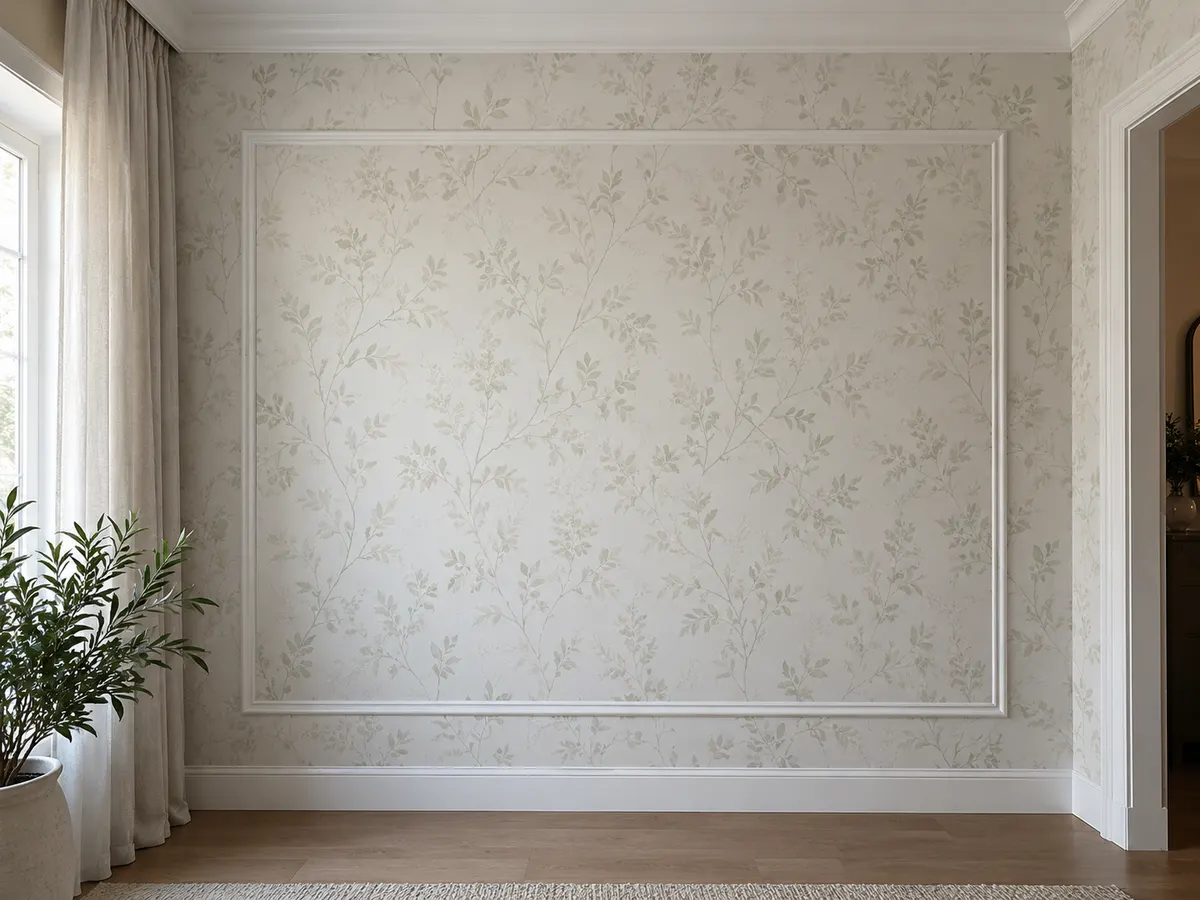
Use the wallpapered surface only when the molding manufacturer explicitly approves it. The adhesive may hold to the wallpaper while the wallpaper itself pulls away from the wall. Removal can also tear the paper.
Do You Need Extra Glue?
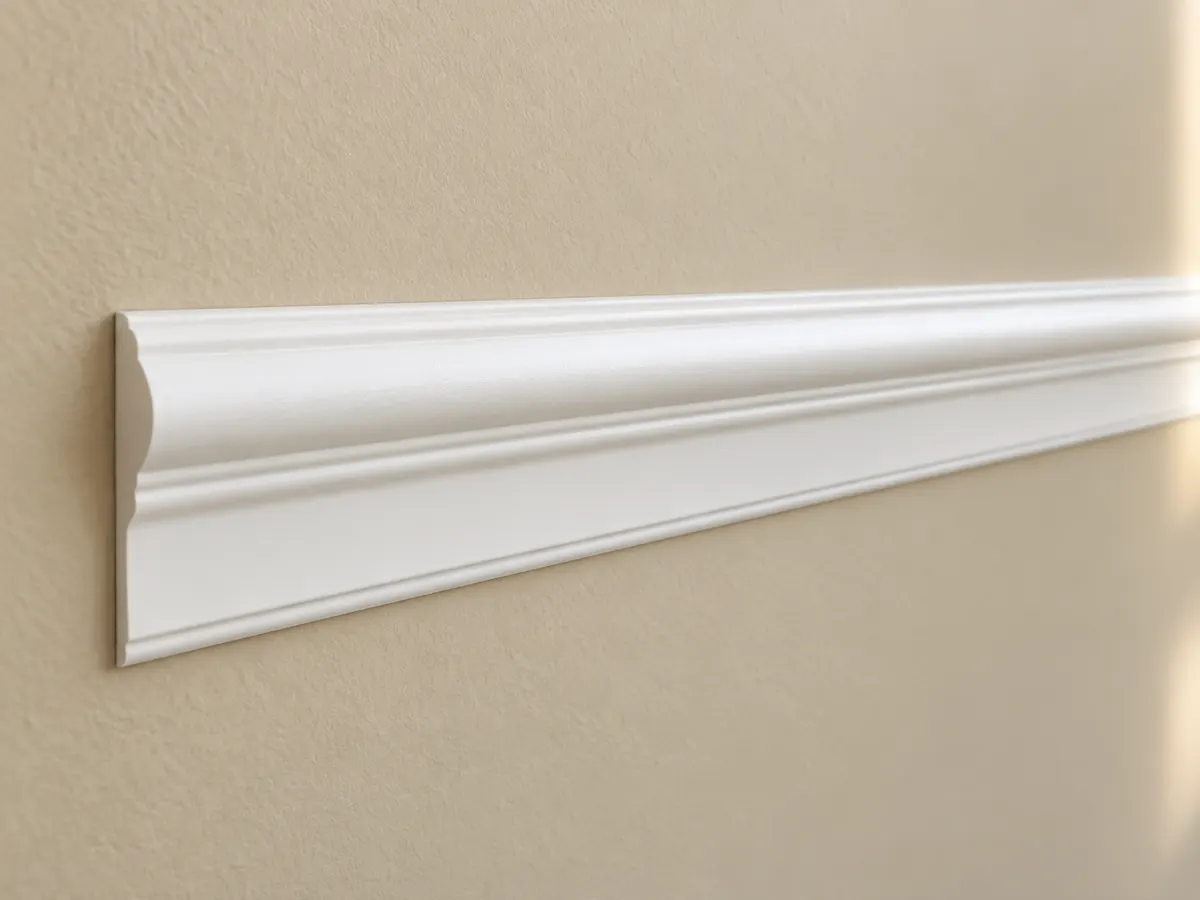
Extra glue should not be necessary for a correctly matched removable system. If the pieces will not hold, investigate the wall preparation and product compatibility before adding anything permanent.
Can Every Molding Material Be Painted?
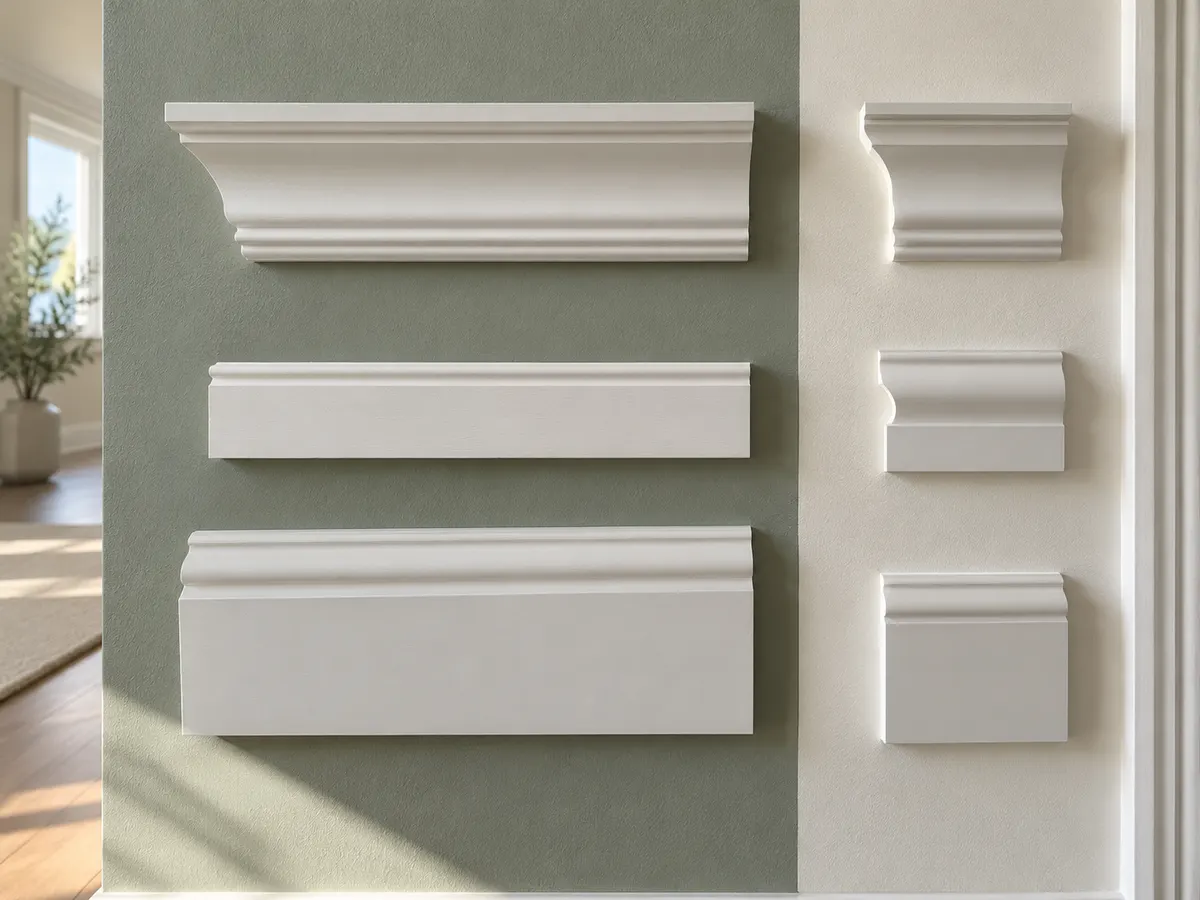
No. Choose molding sold as paintable and follow its primer and paint requirements. A factory-finished strip or printed molding-look wallpaper may need a different approach.
How Much Molding Should You Order?
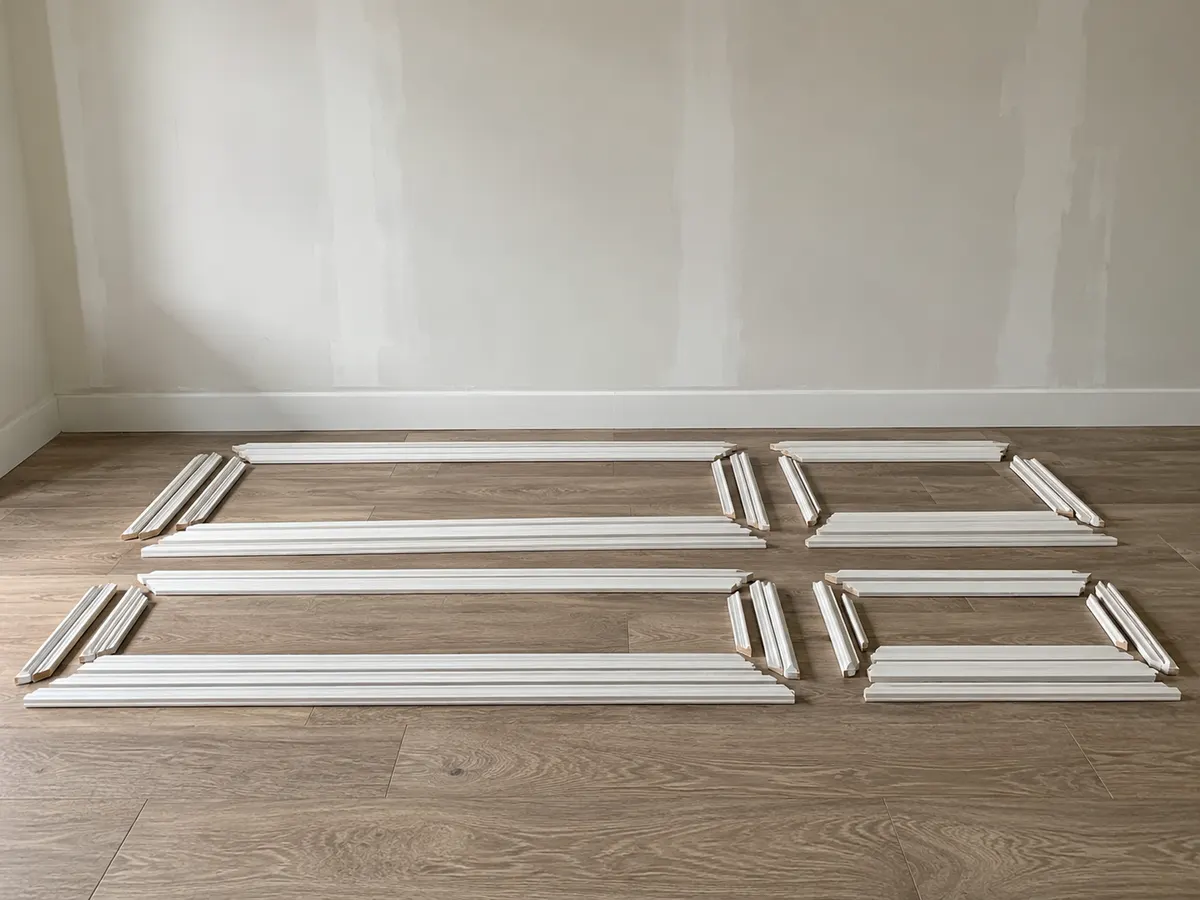
Count every frame and list every required length before ordering. For rolls, add the cut lengths and an allowance for practice cuts and mistakes. Check how those pieces fit within the individual roll lengths, too.
How Long Does the Whole Project Take?
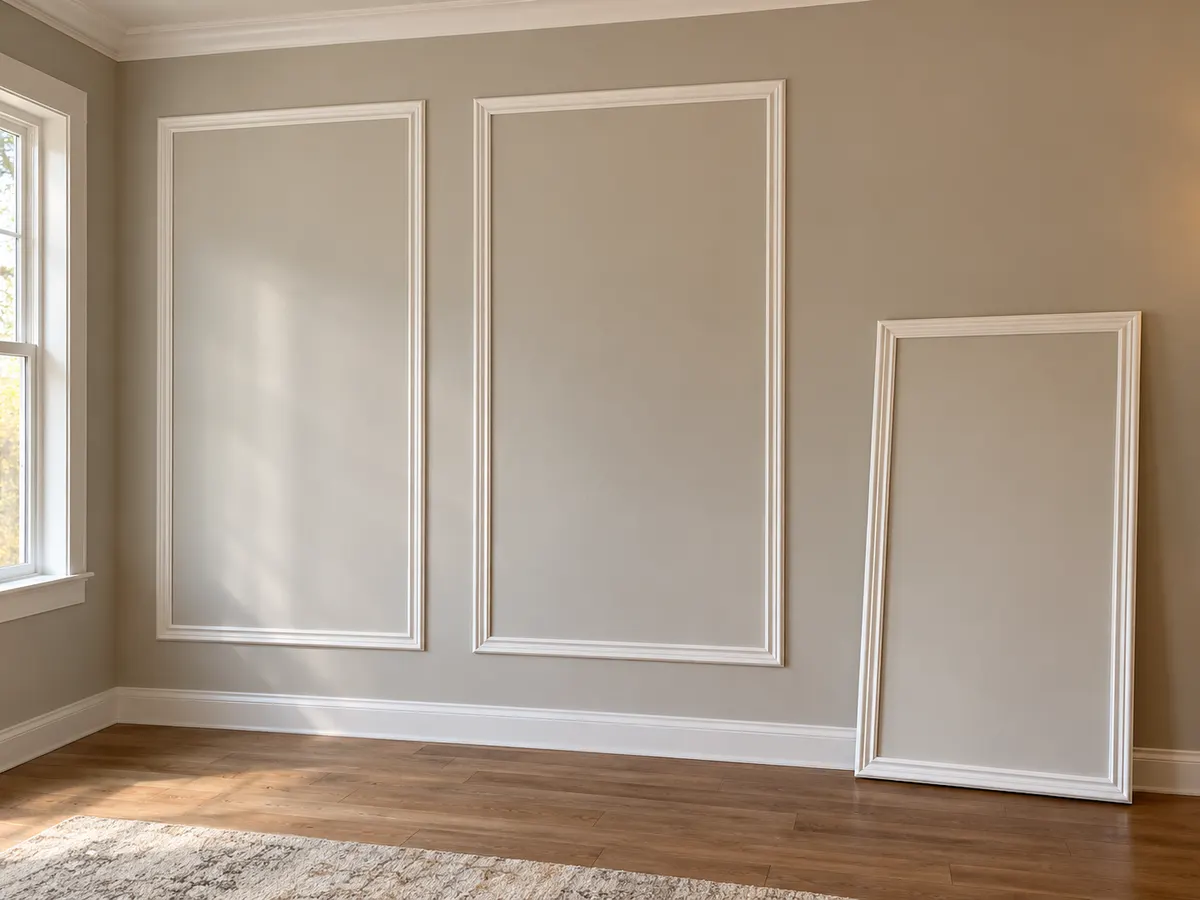
A simple layout can be a manageable weekend project, but preparation and drying determine the schedule. Clean, suitable walls and assembled frames reduce the hands-on work. Repairs, fresh paint, or a permanent caulked finish add waiting time.
Can Decorative Molding Hold a Picture?
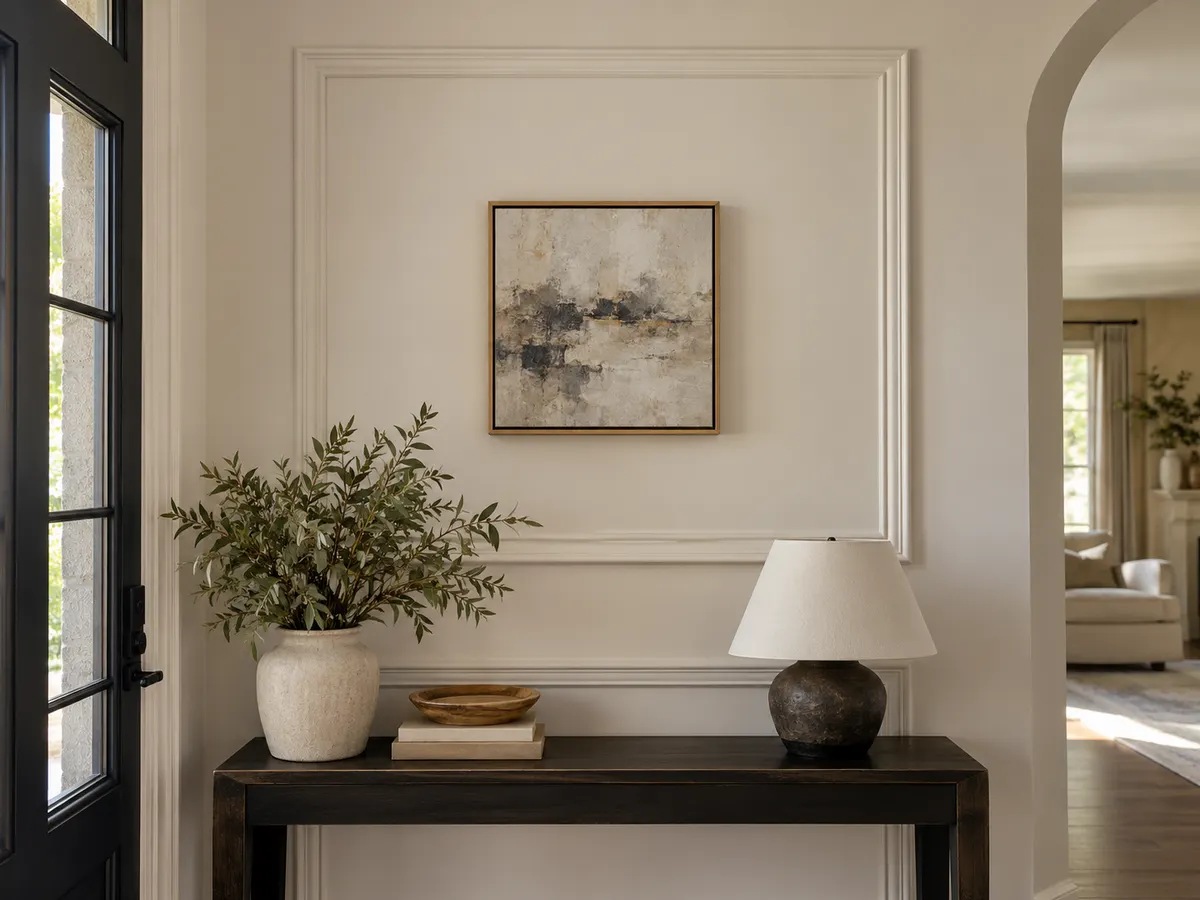
Do not hang artwork from decorative adhesive molding unless it is specifically rated for that load and use. Give the picture its own appropriate wall fixing.
Shop the Wall Makeover
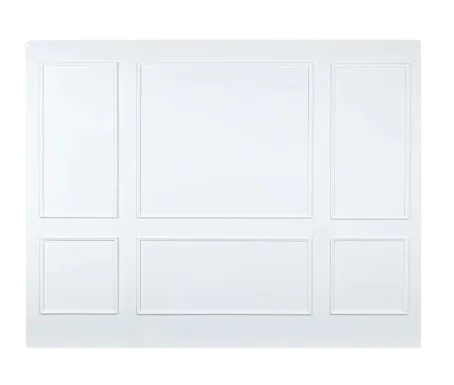 Luxe Architectural Removable & Reusable Six Piece Wall Moulding KitAssembled wood frames with removable adhesive for a project you plan to take down later.
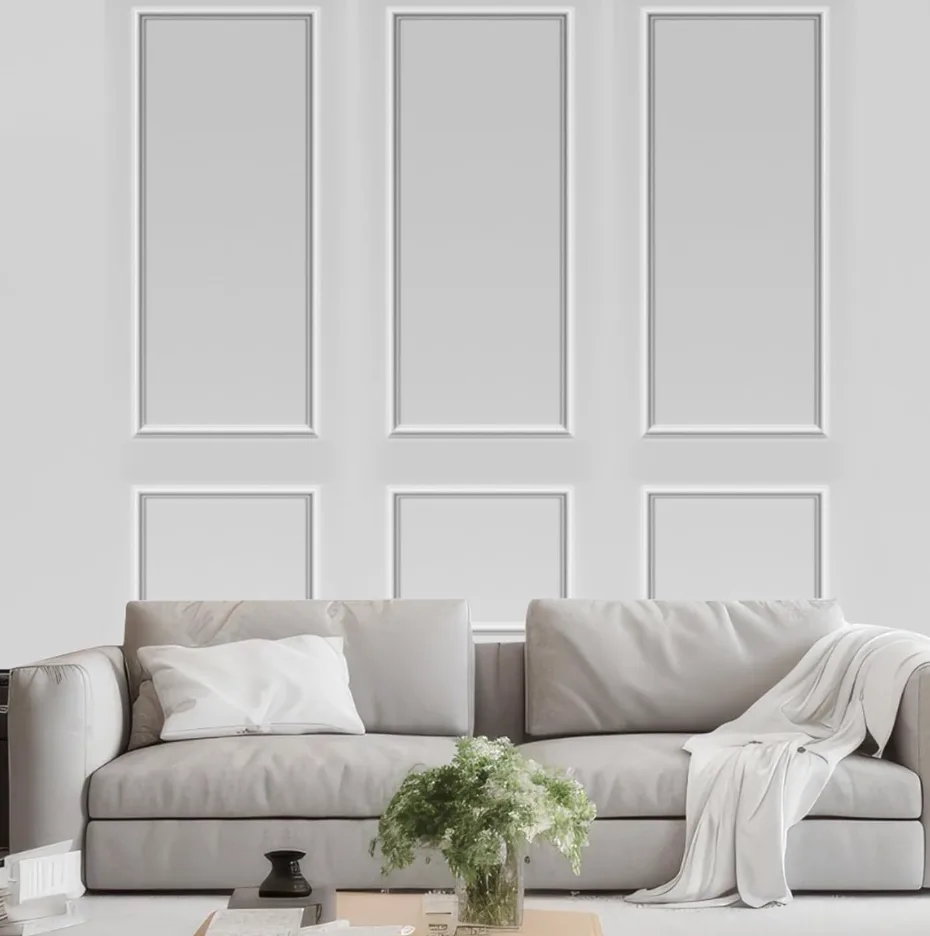 Pangda Peel and Stick Wall Molding KitA pre-cut frame option for a planned rectangular layout where the installation method is permitted.
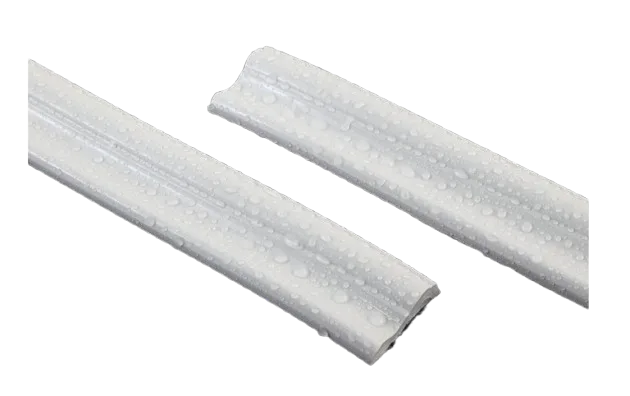 Trimold Self-Adhesive Wall TrimFlexible PVC trim for custom dimensions and continuous decorative lines.
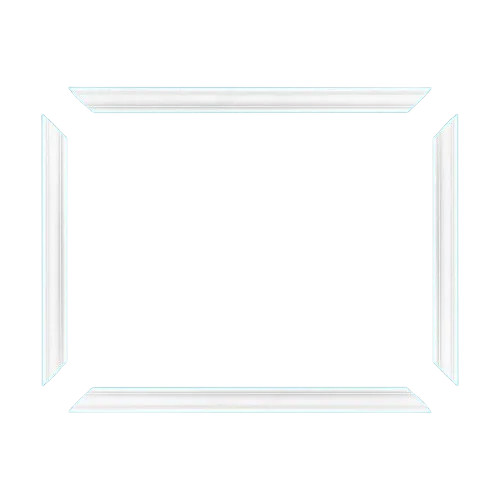 Outwater Pre-Mitered Wall Box Panel FramesPaint-ready pieces with pre-cut corners for assembling individual wall frames.
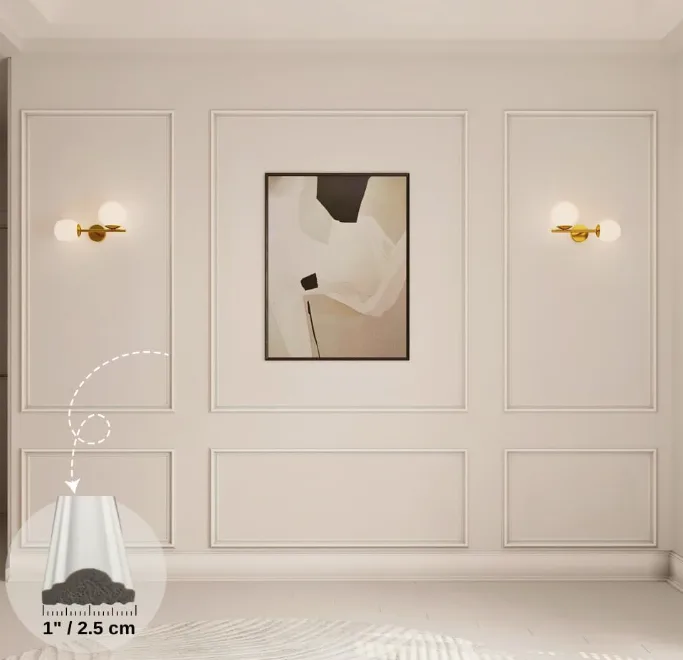 Easy Wallmolding Peel and Stick Wall Panel KitA pre-cut kit for creating a coordinated panel arrangement.