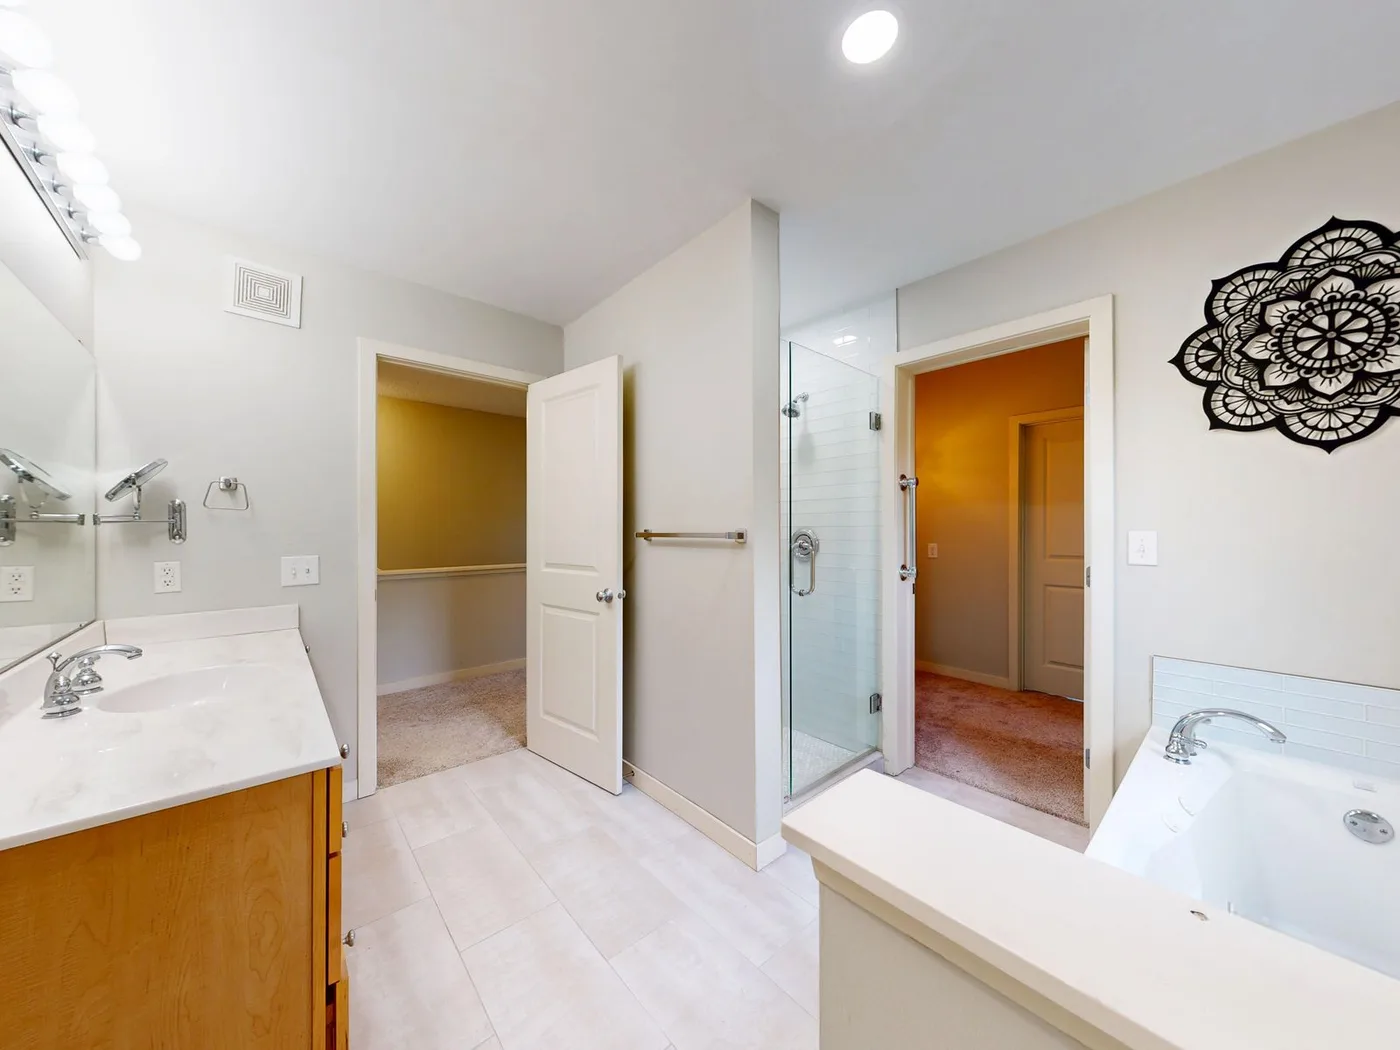
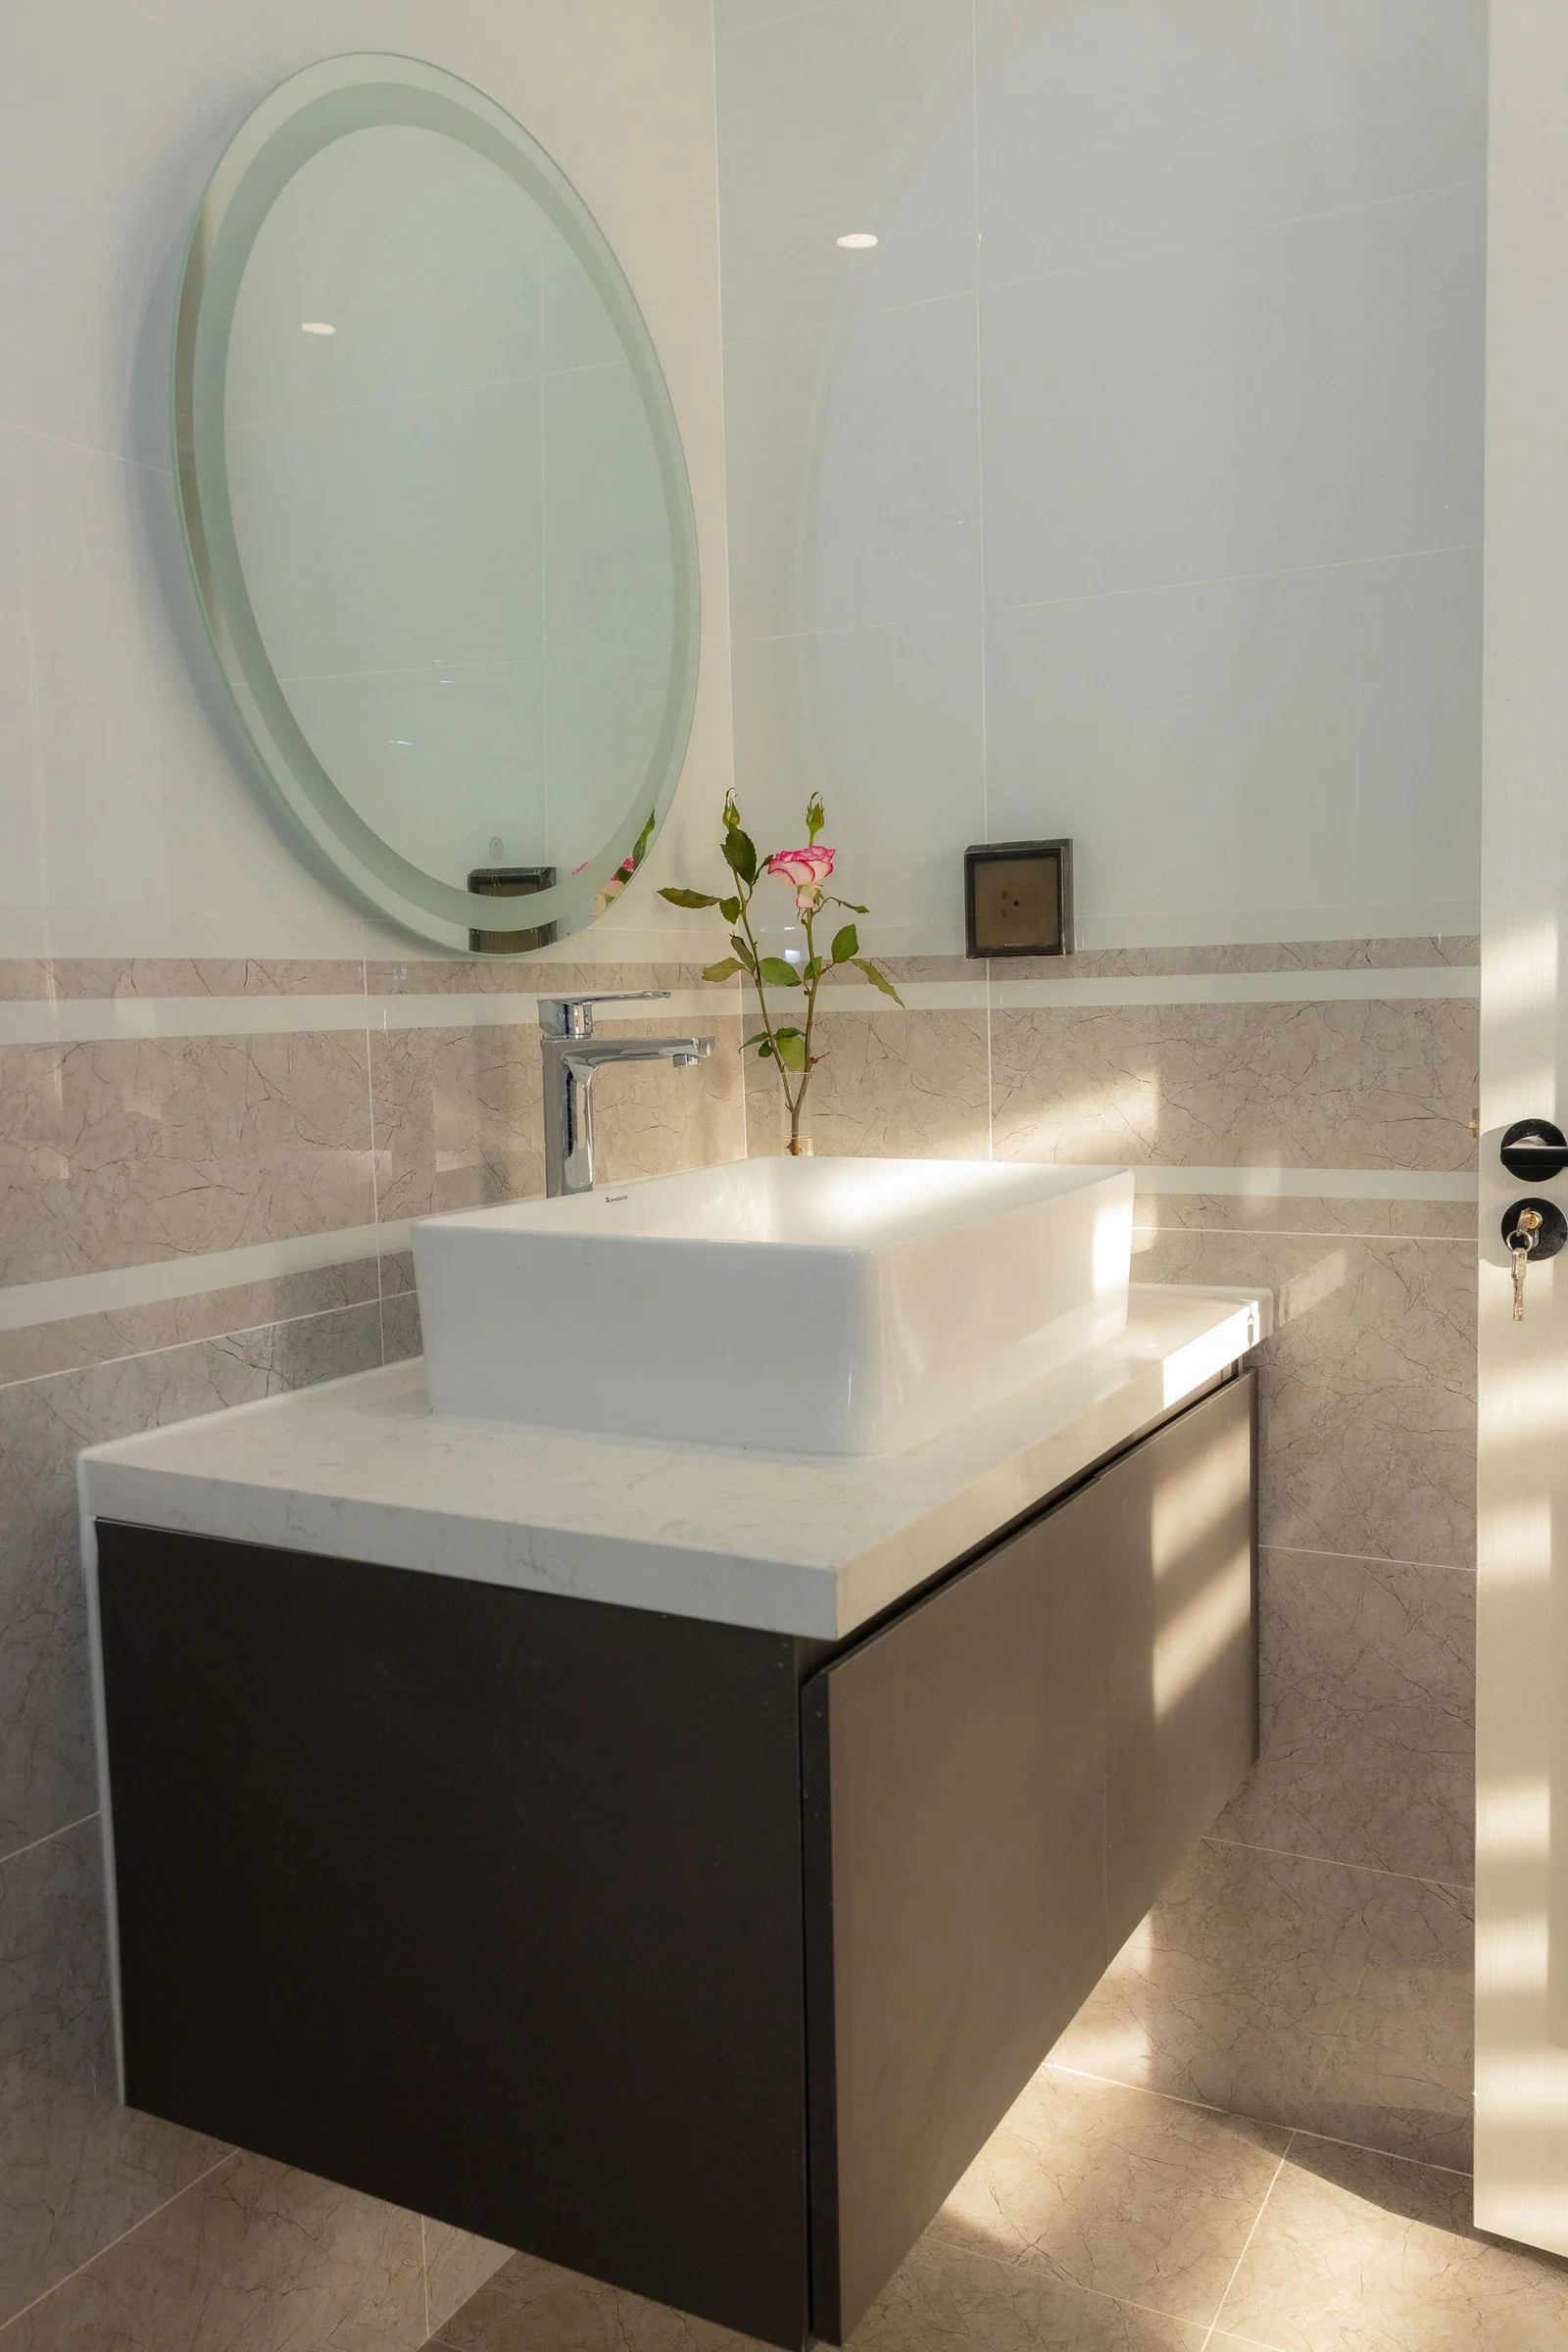
40 Shower Area Design Ideas That Make Your Bathroom Feel Like a Spa

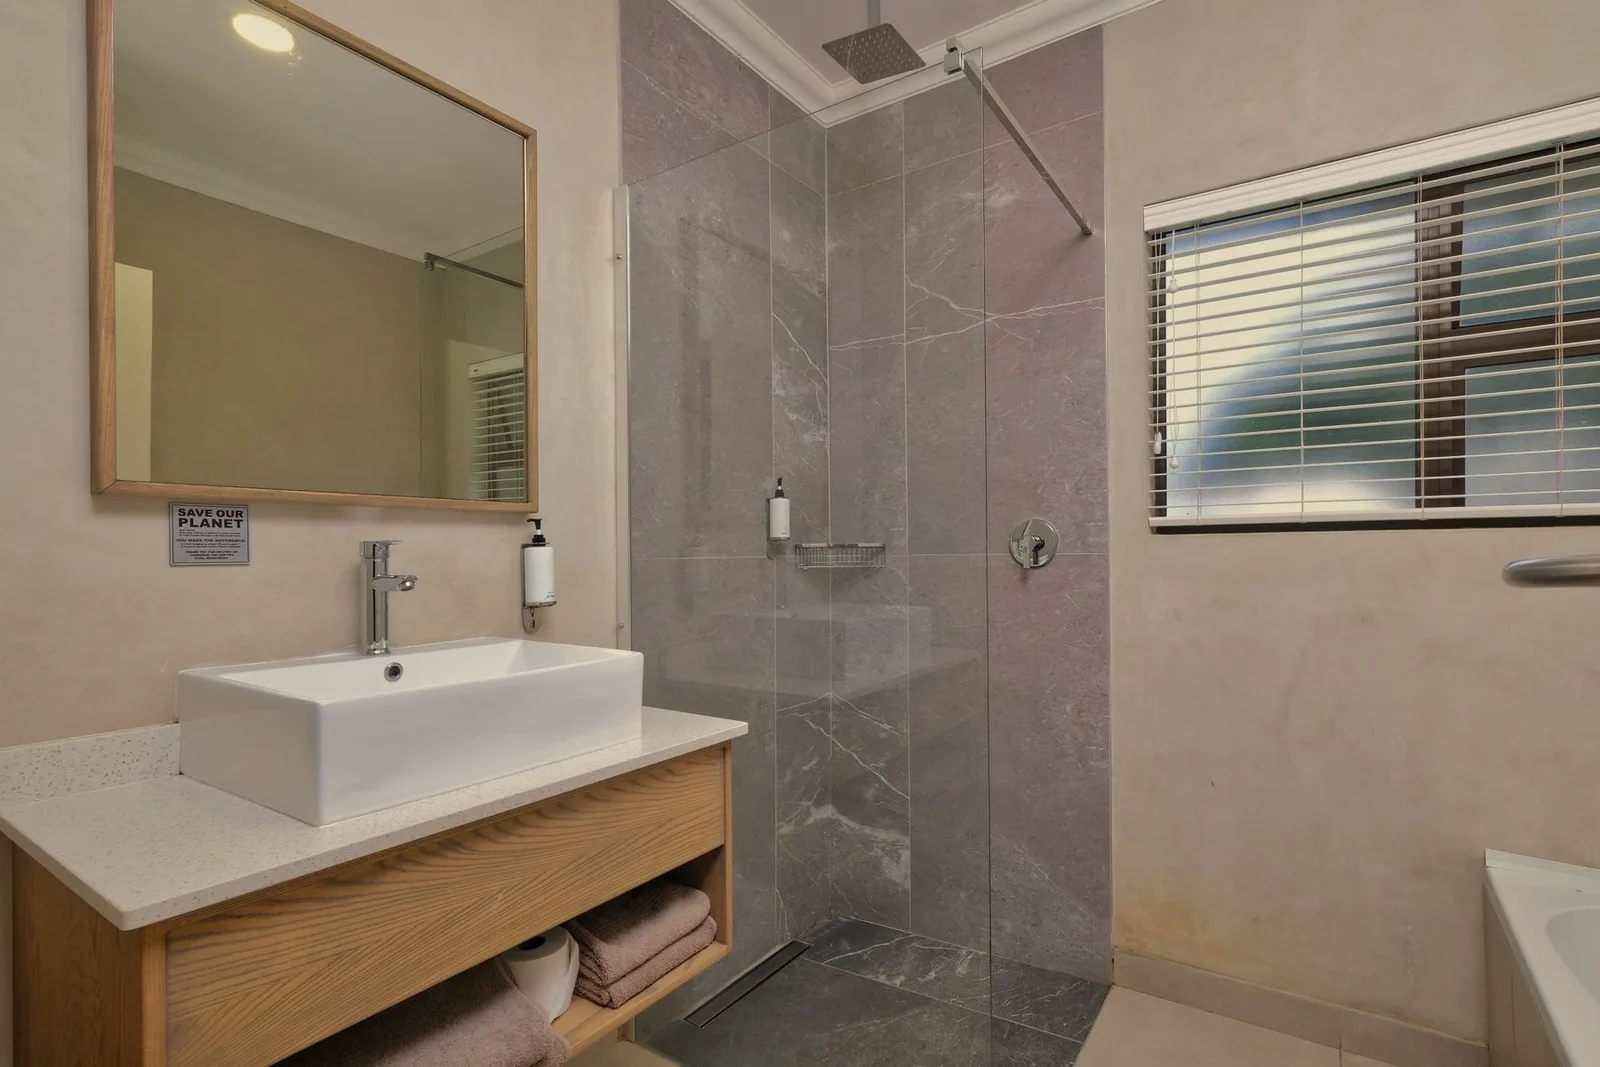
Some days, your shower is a five-minute stop before work. Other days, it’s the first quiet moment you’ve had since breakfast. The best shower area design ideas make room for both, with a space that looks inviting, keeps your essentials nearby, and feels good to use.
The quick answer
- Clear glass and coordinated tile can make a shower feel more open within the bathroom.
- A corner enclosure or sliding door helps with limited space; a recessed shelf stores bottles without projecting into the shower.
- Where space allows, comfortable seating and reachable controls make everyday showering more convenient.
You don’t need every feature on this list. A few choices that suit your room and routine can make those everyday showers something to look forward to.
1. Let Frameless Glass Show Off Your Tile
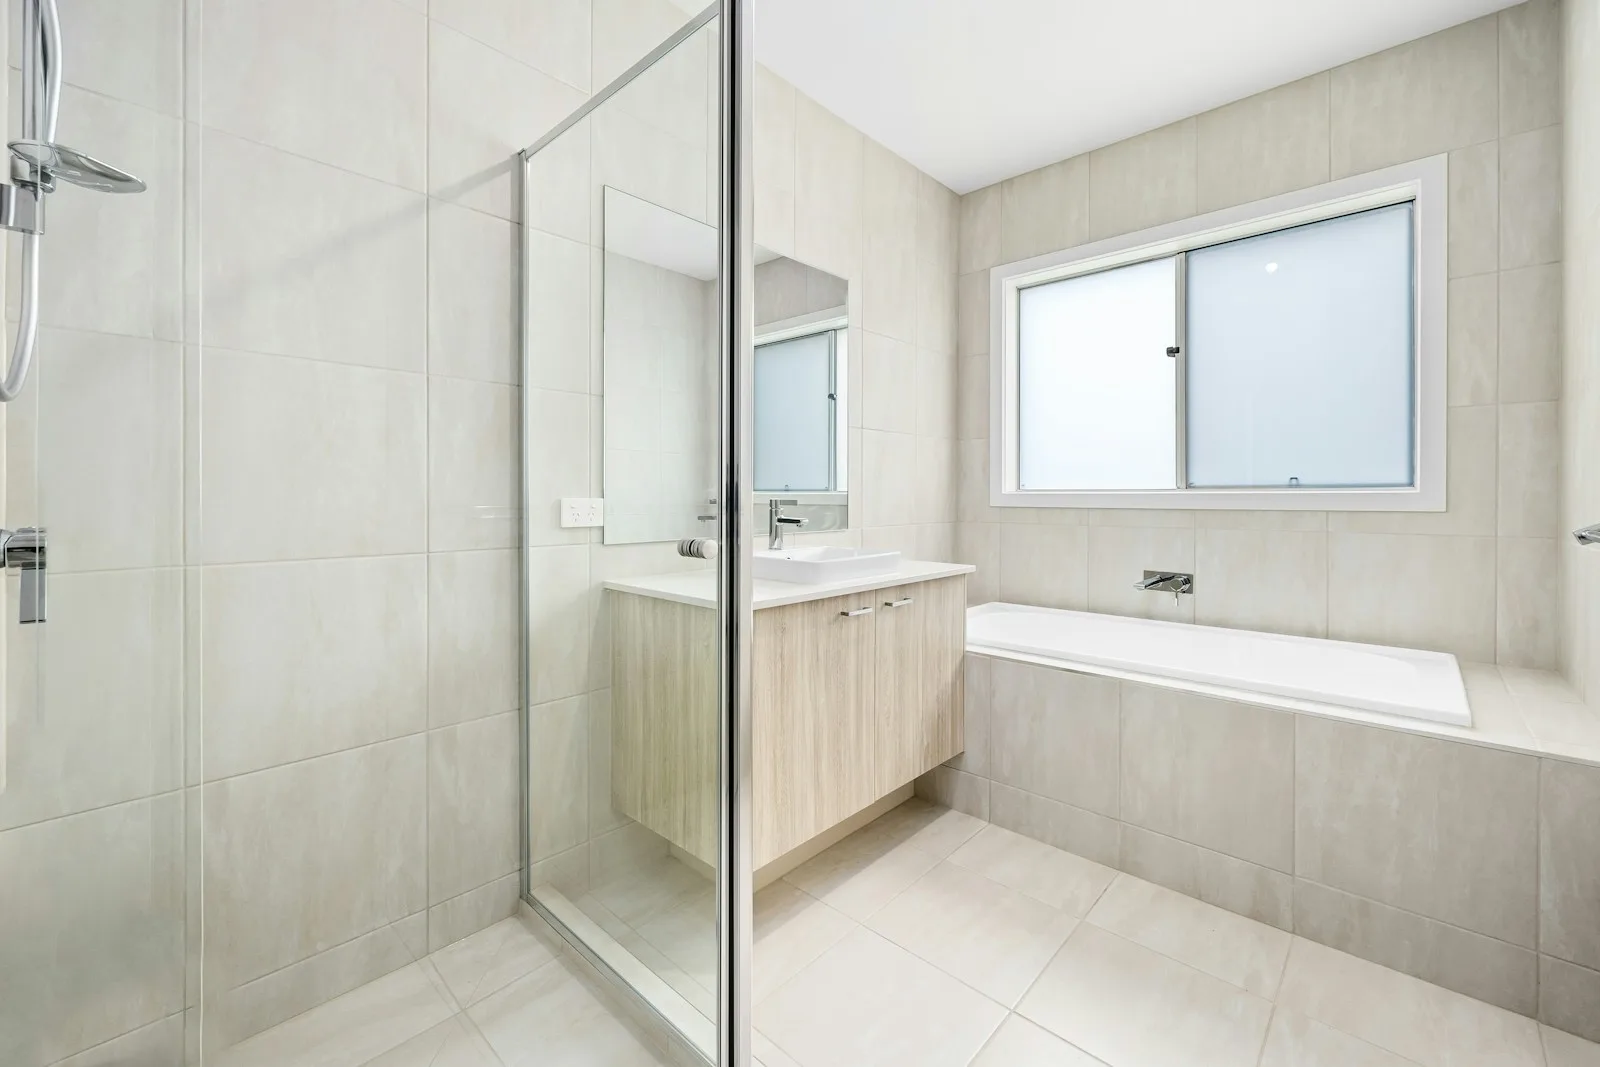
Choose a frameless glass enclosure to keep the shower visually connected to the bathroom. It works especially well when you’ve picked tile you’d hate to hide behind a curtain. Keep the handles and hinges simple, and leave a small squeegee nearby so clearing water droplets becomes an easy part of the routine.
2. Get a Little Privacy With a Half Wall
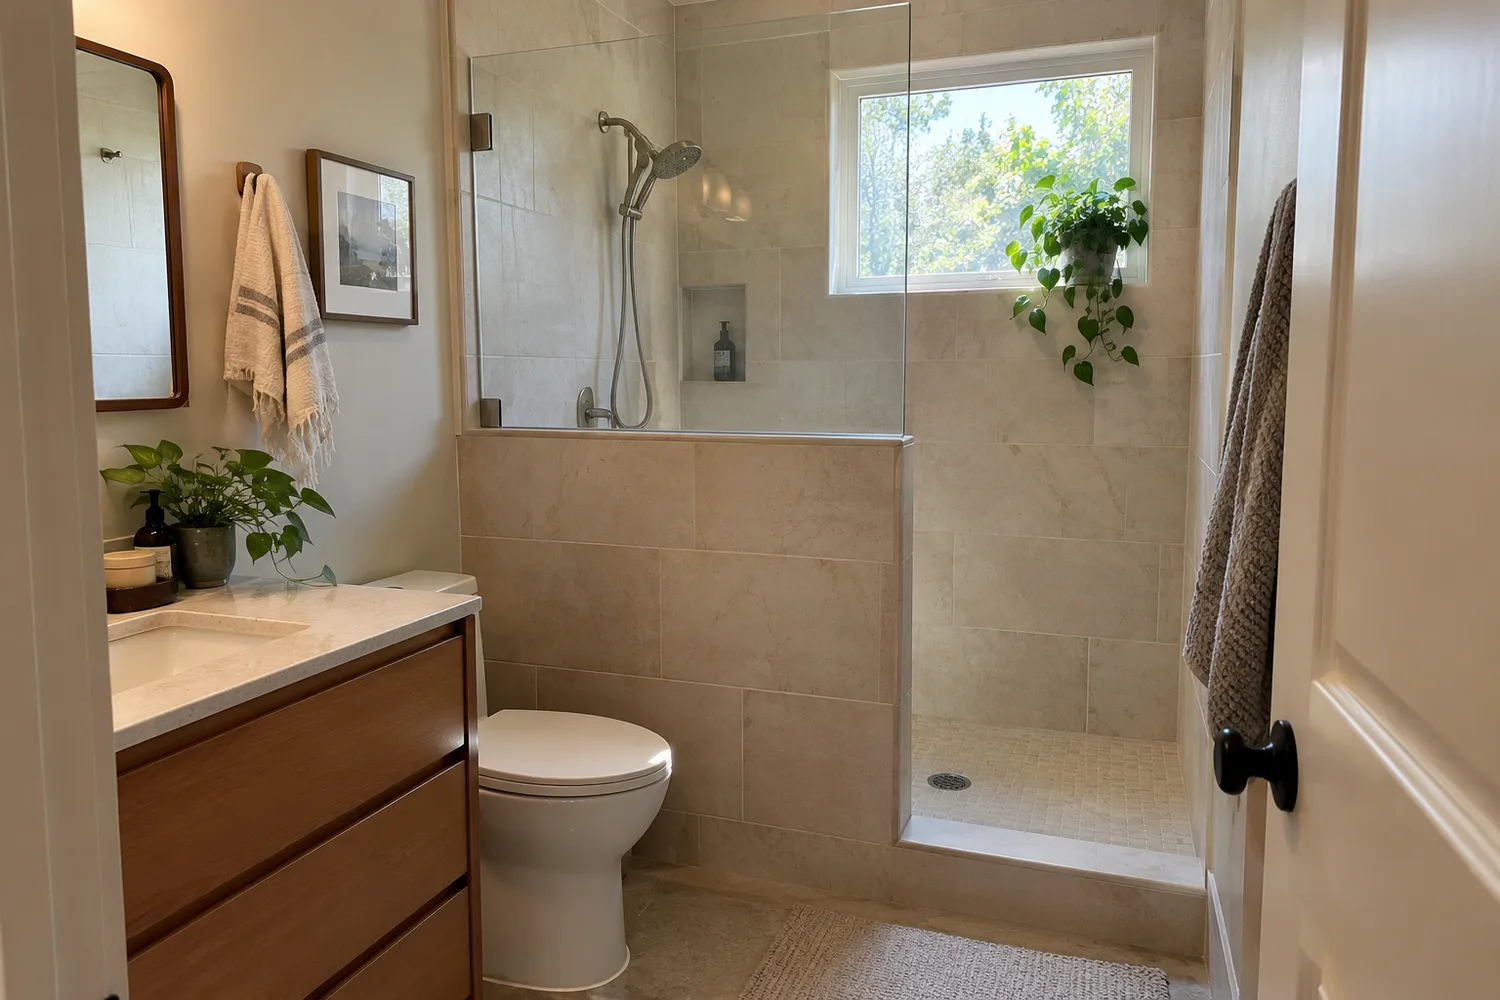
Pair a half wall with glass above it for a balance of privacy and light. This arrangement is handy when the shower faces the bathroom entrance. Repeat the wall tile on the lower partition for a coordinated look, or give its outside face a contrasting finish.
3. Give the Shower a Black Grid Frame
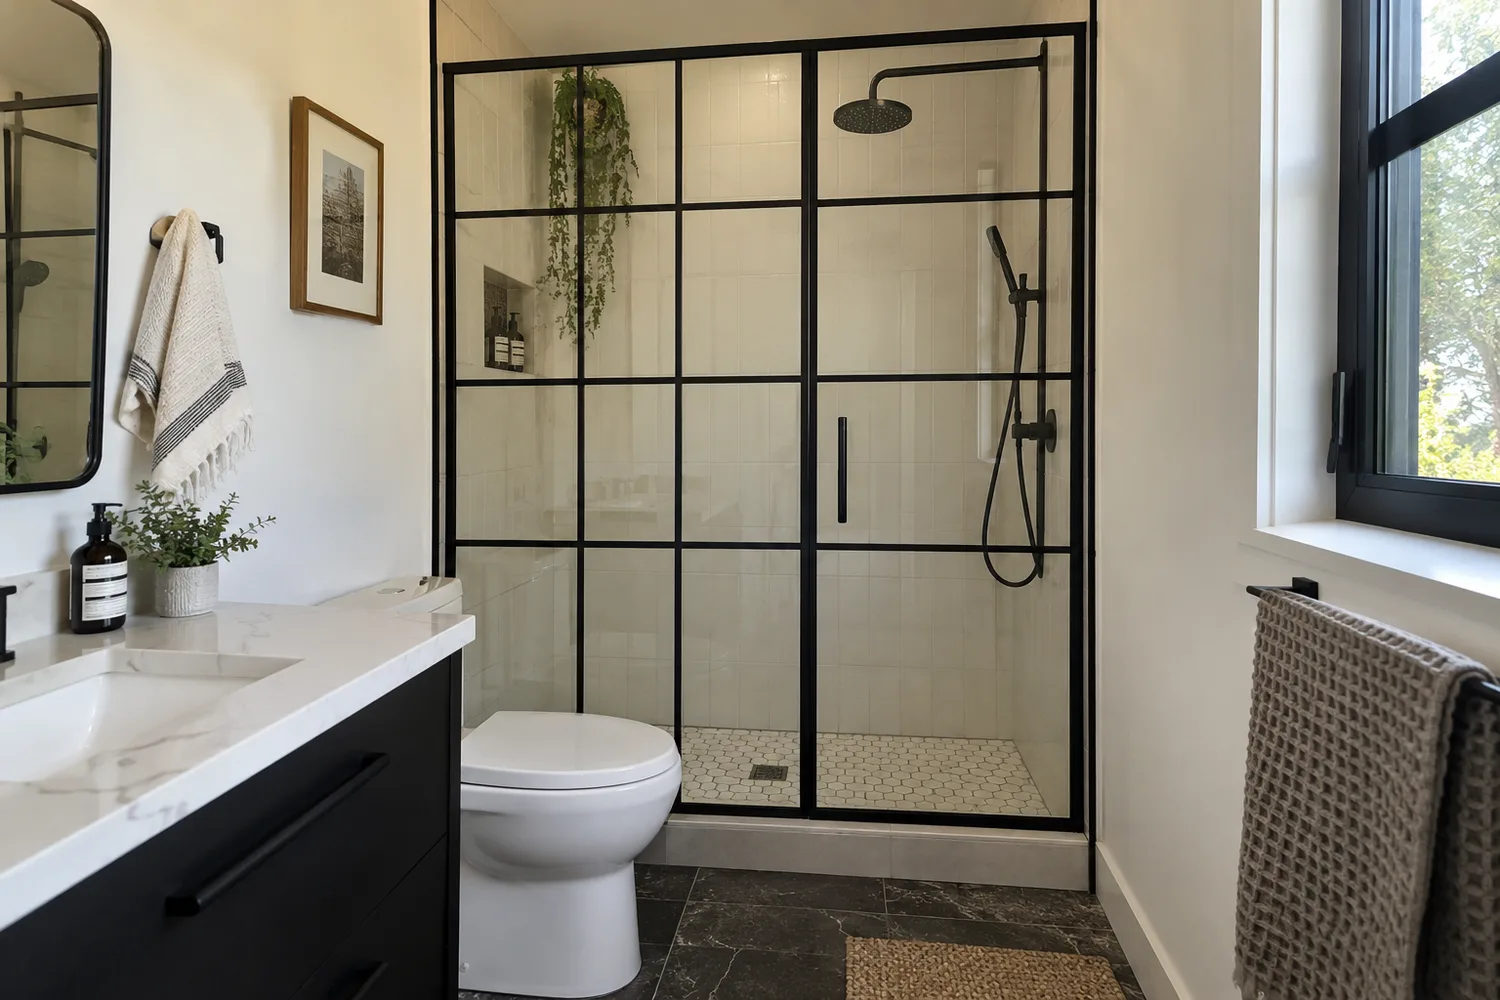
A black-framed screen adds structure to an otherwise quiet bathroom. Against white or pale stone-look tile, the frame becomes the main decorative detail. Repeat black once or twice in a mirror frame or cabinet handle, then give it some breathing room. Every fitting doesn’t need to join the club.
4. Soften the Entrance With an Arch
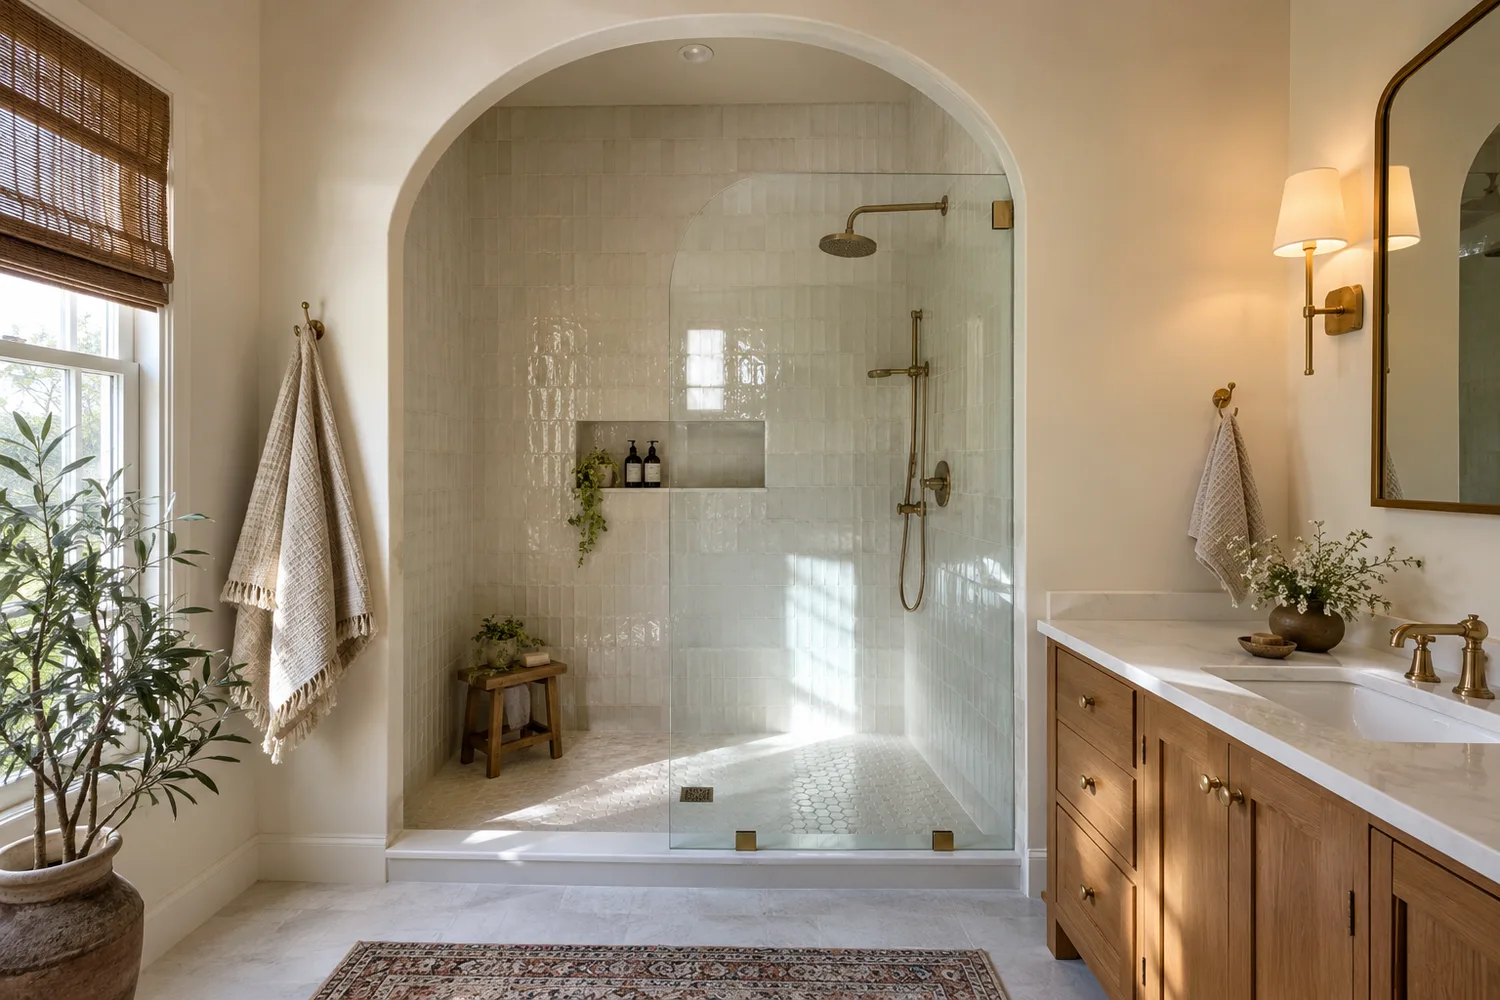
Use an arched opening or curved-top shower screen to add architectural interest. An opening suits a larger renovation, while a shaped screen introduces the idea through the enclosure. Keep the surrounding tile fairly simple so the curve remains easy to see.
5. Try Fluted Glass for a Little Mystery
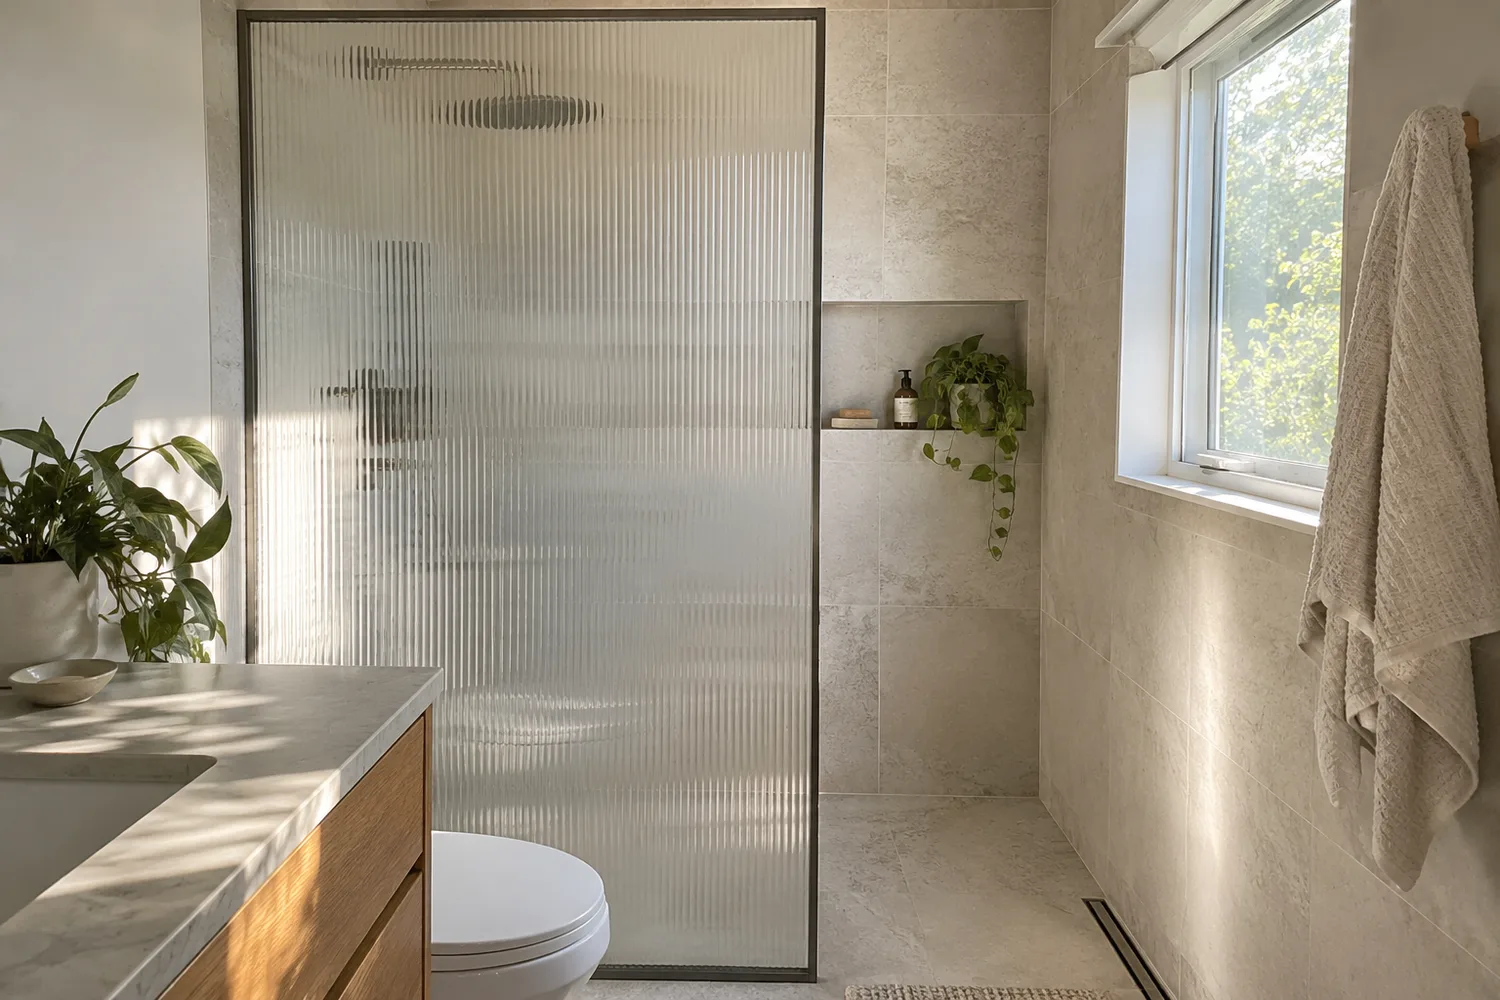
Fluted glass gives the shower a textured screen with some visual privacy. It’s useful when clear glass feels a little too revealing but a solid wall would block the light. The pattern and transparency vary between products, so the finished effect can range from gently blurred to much more concealed.
6. Save Swing Space With a Sliding Door
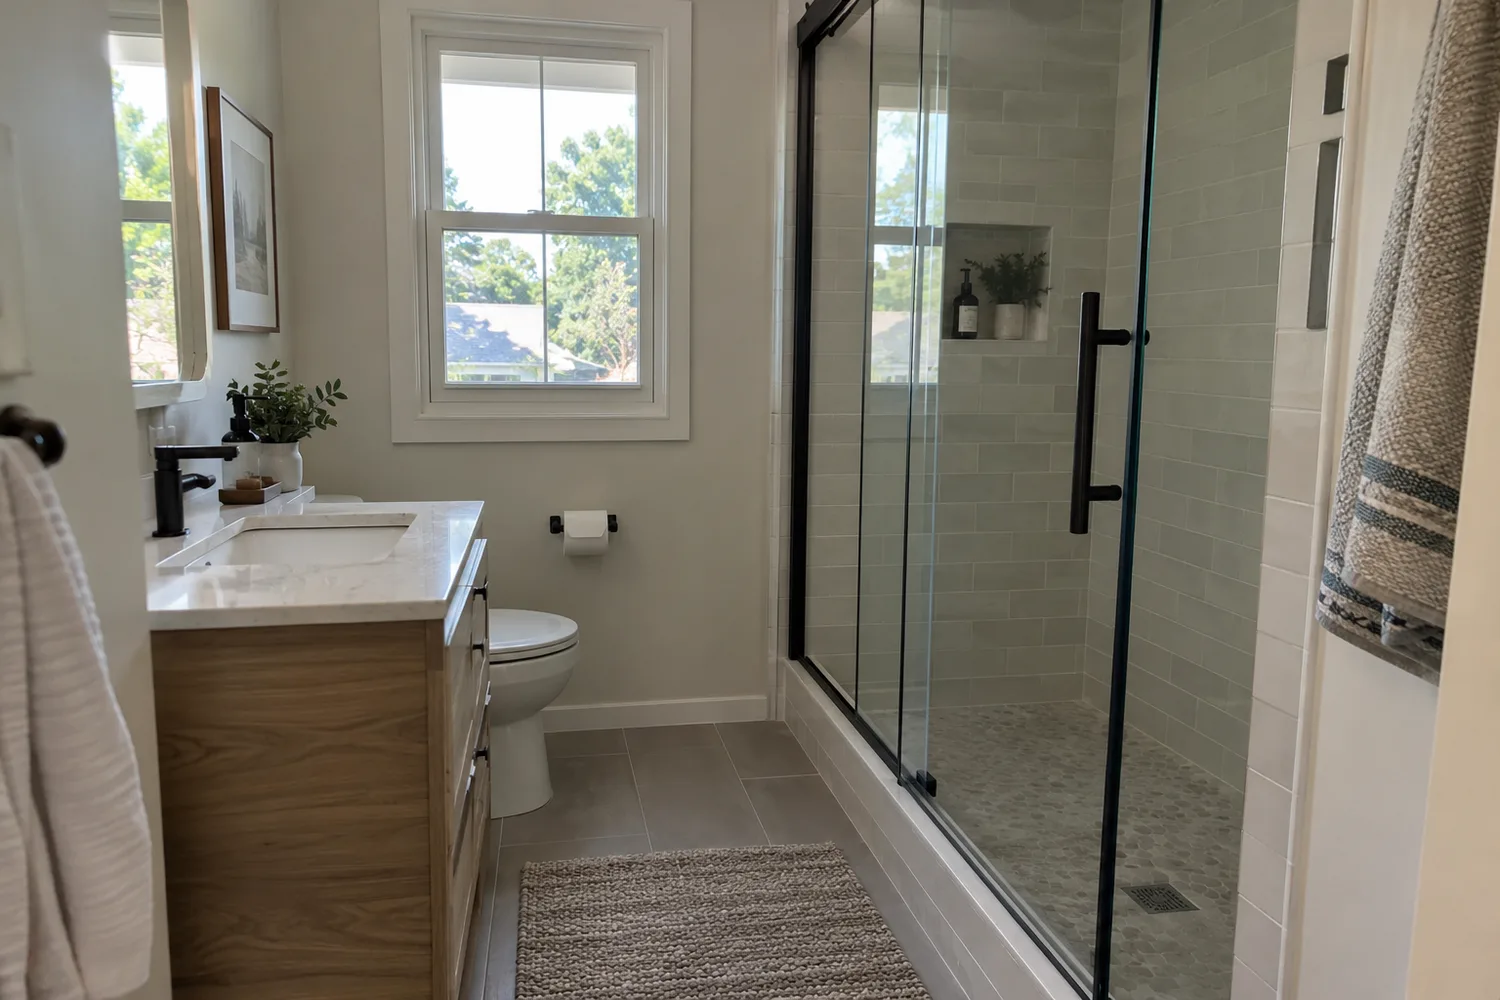
Choose a sliding enclosure when an opening door would bump into the vanity or interrupt the walkway. That makes it worth exploring in a narrow bathroom. Look at the usable opening as well as the overall enclosure size, and leave access to the tracks or rollers for cleaning.
7. Turn a Corner Into a Proper Shower
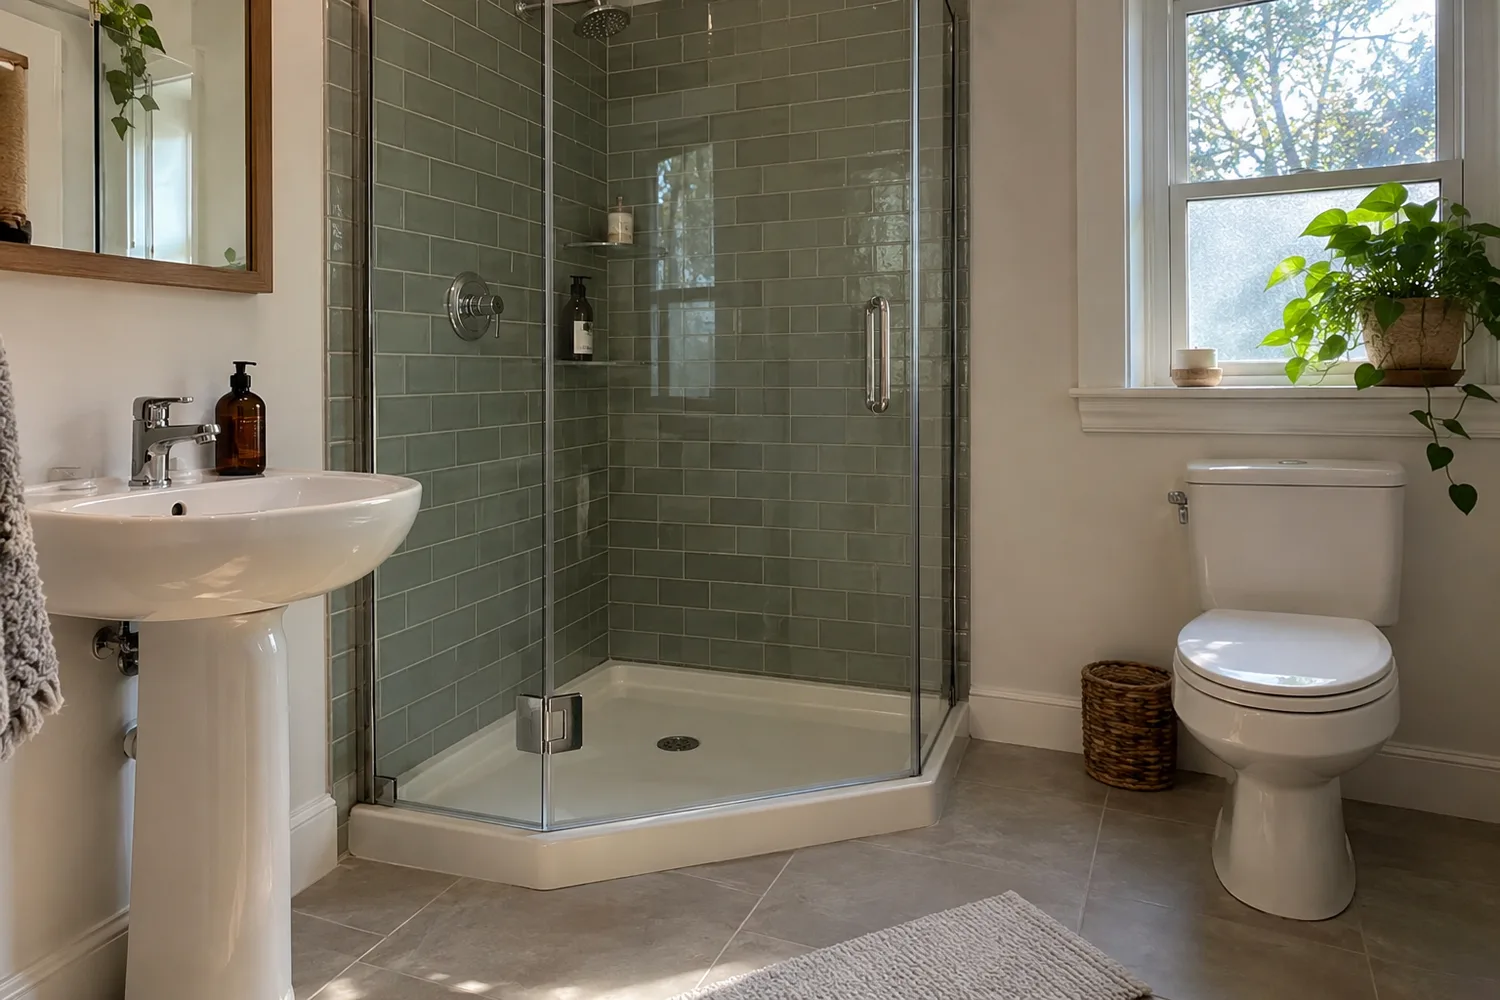
Place the shower in a corner to keep the middle of the room available for movement. A square, rectangular, or curved-front enclosure can suit different layouts. Picture your actual morning routine here: opening the vanity, reaching for a towel, and stepping out without negotiating an obstacle course.
8. Give a Narrow Bathroom a Strong Finish
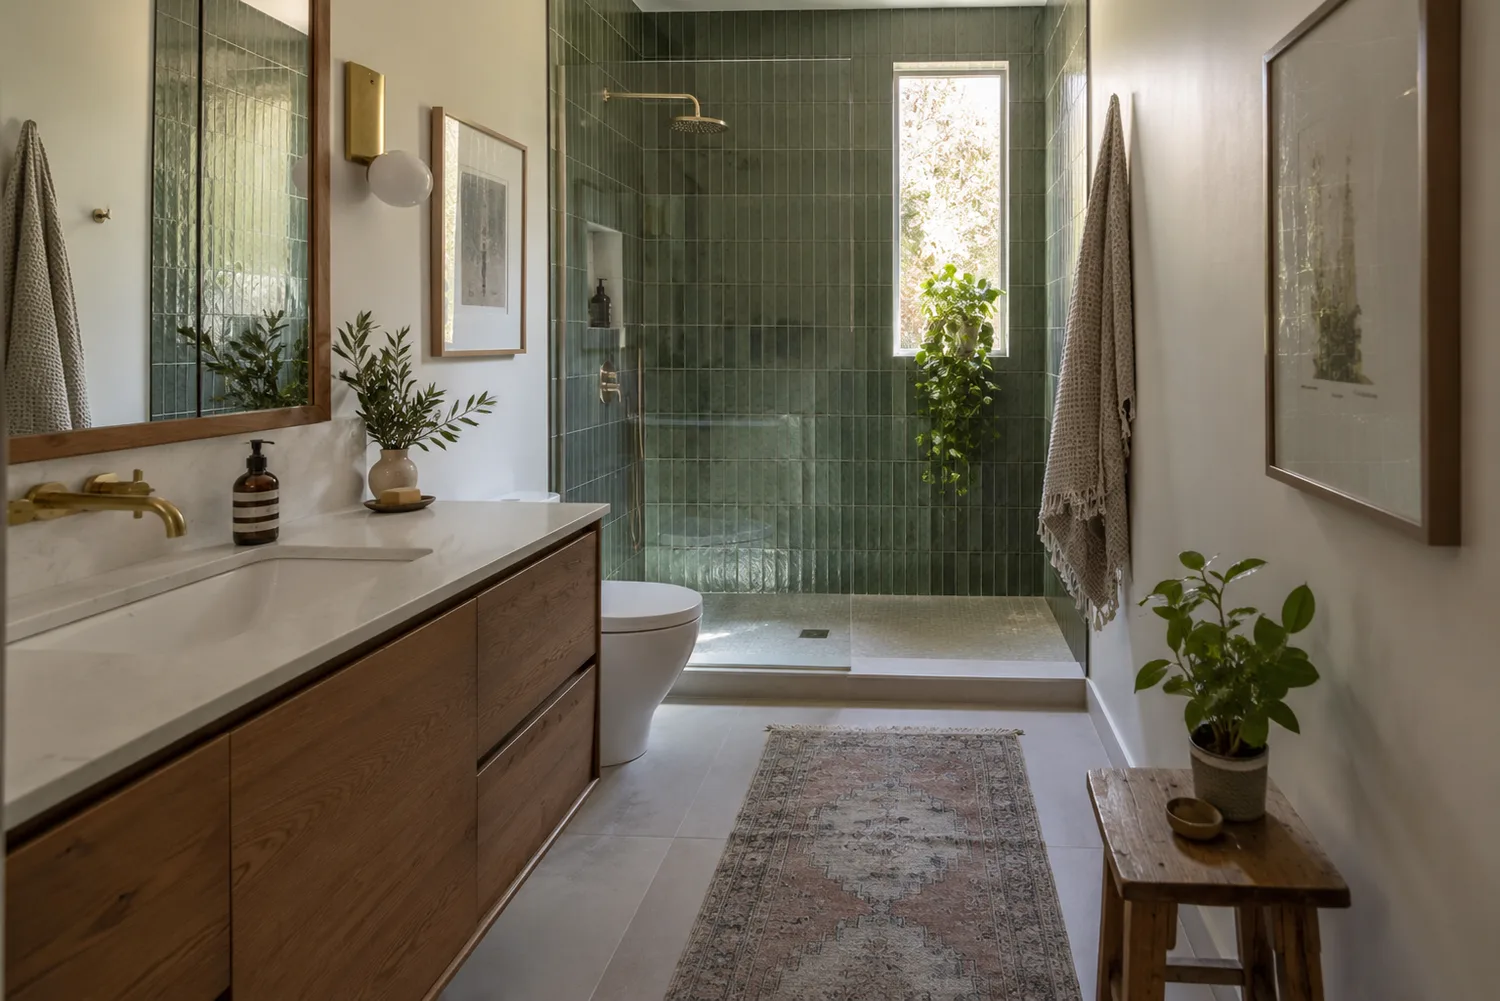
Position the shower at the end of a long bathroom to create a clear destination. A glass screen keeps the back wall visible, making it a good place for green tile, a herringbone pattern, or a recessed shelf. Keep the route from the doorway to the shower straightforward.
9. Create a Smooth Entrance With a Curbless Shower
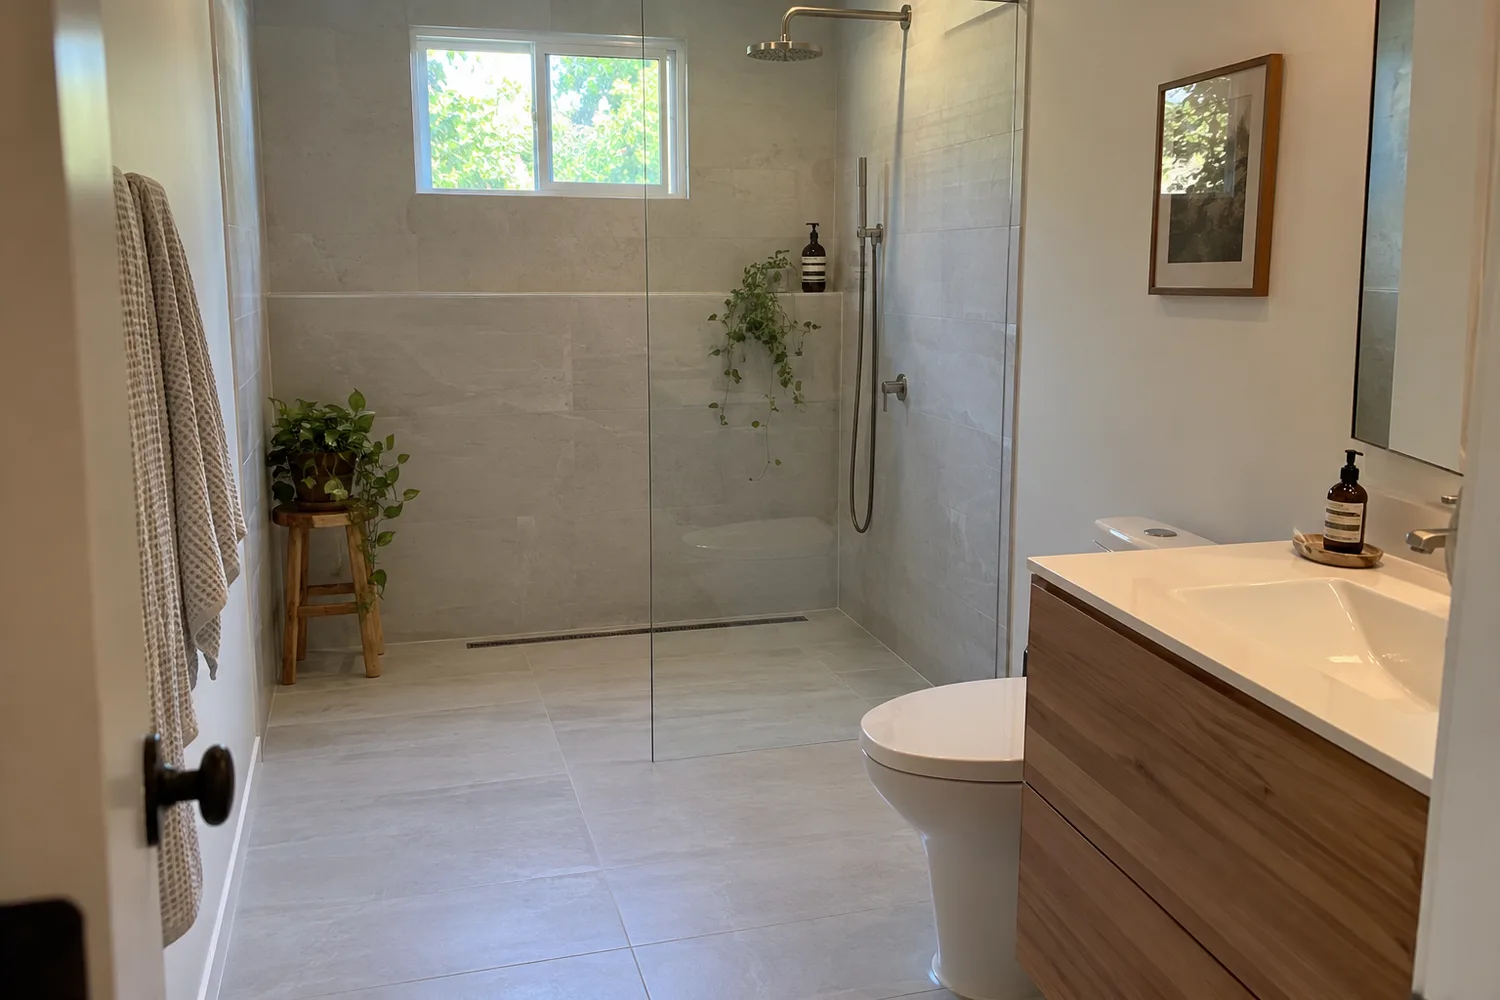
A curbless shower removes the raised step at the entrance. The visual effect is especially appealing when the shower floor coordinates with the rest of the room. This belongs in the renovation plan early, since the floor structure, slope, drainage, and waterproofing all affect whether the design will work.
10. Give the Bath and Shower Their Own Wet Zone
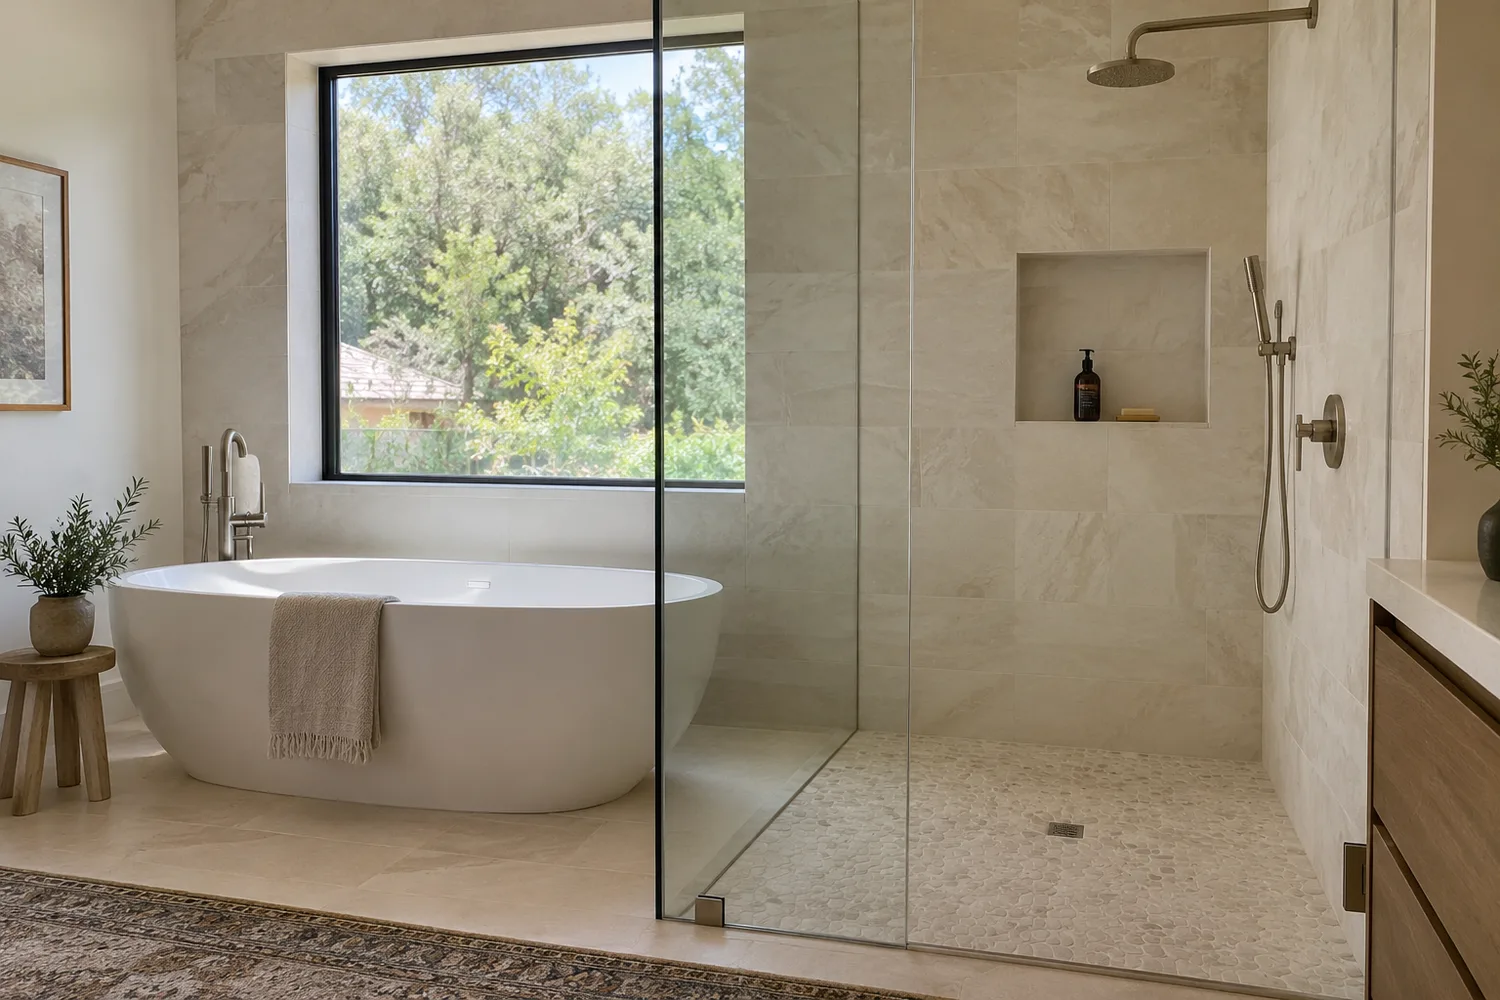
Place the bathtub and shower behind a shared partition when there’s enough room for both to function comfortably. It creates a defined bathing area while keeping the vanity outside the main splash zone. Allow room around the tub for cleaning, especially along the side nearest the shower.
11. Get the Marble Look With Porcelain
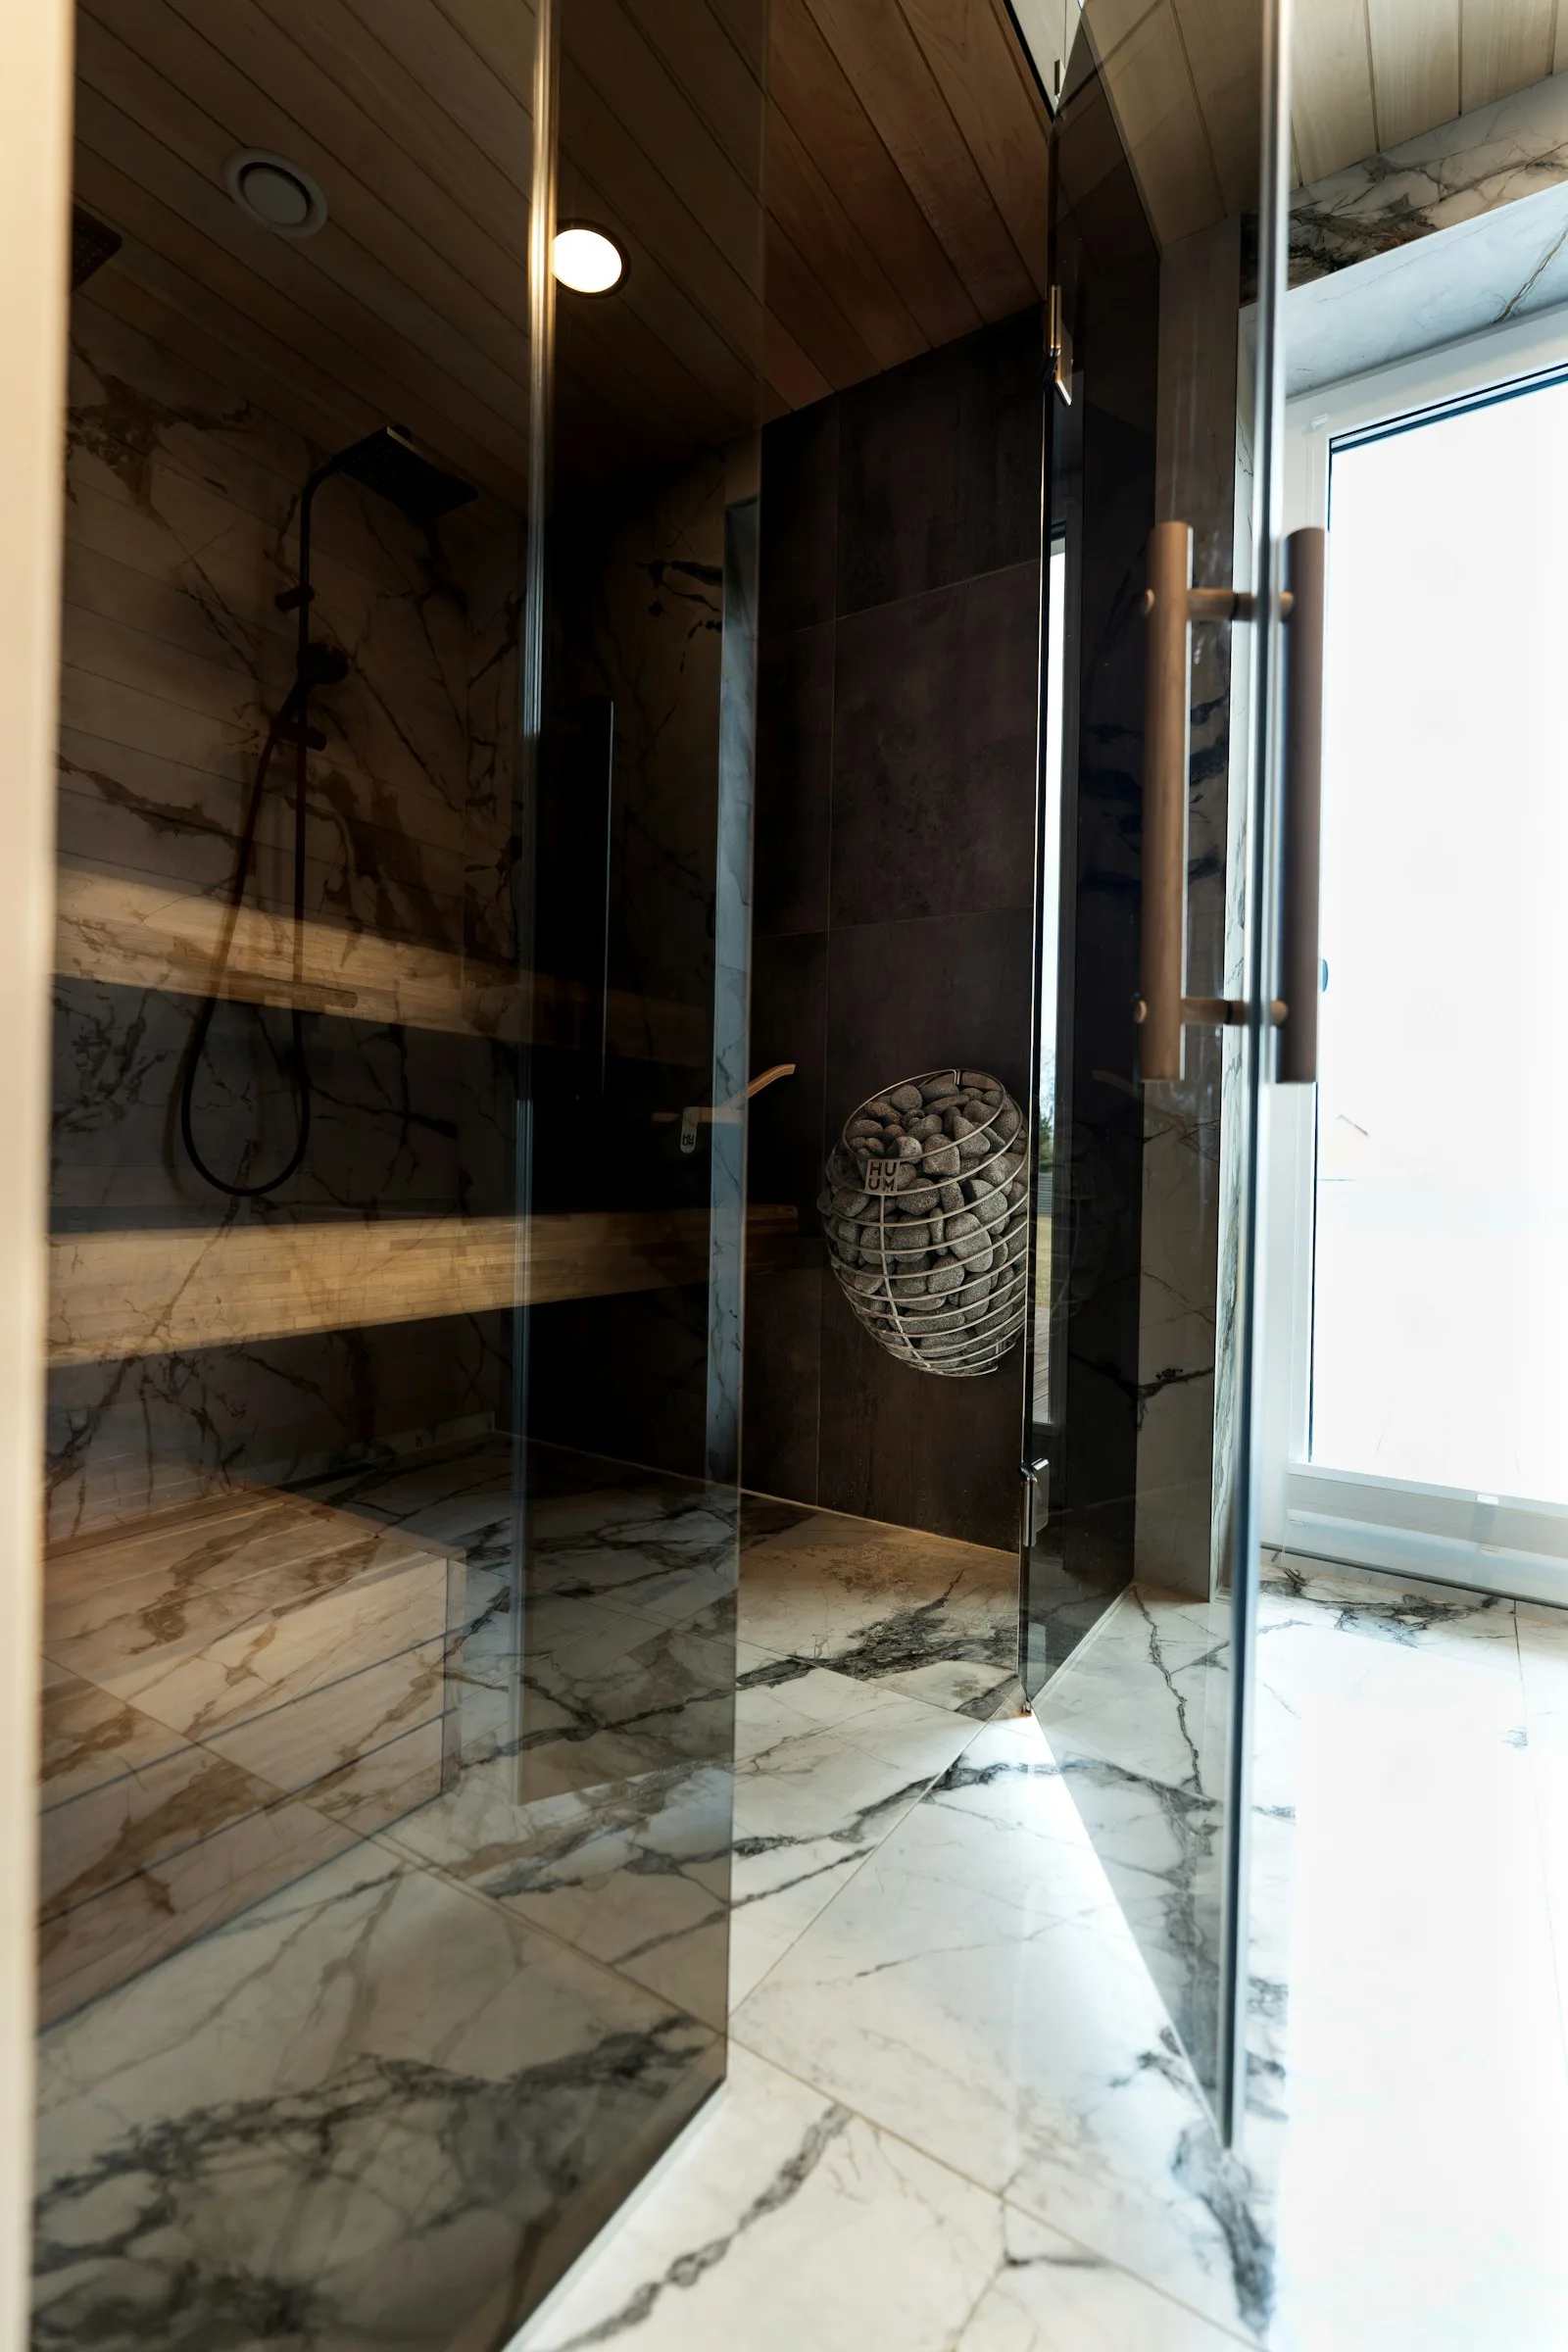
Marble-look porcelain gives you a veined surface without choosing natural marble. Let the tile carry the design, then pair it with uncomplicated hardware. Before installation, lay out the pieces to check how the printed patterns repeat. A little planning helps avoid the same dramatic vein appearing three times in a row.
12. Go Bigger With Wall Tiles
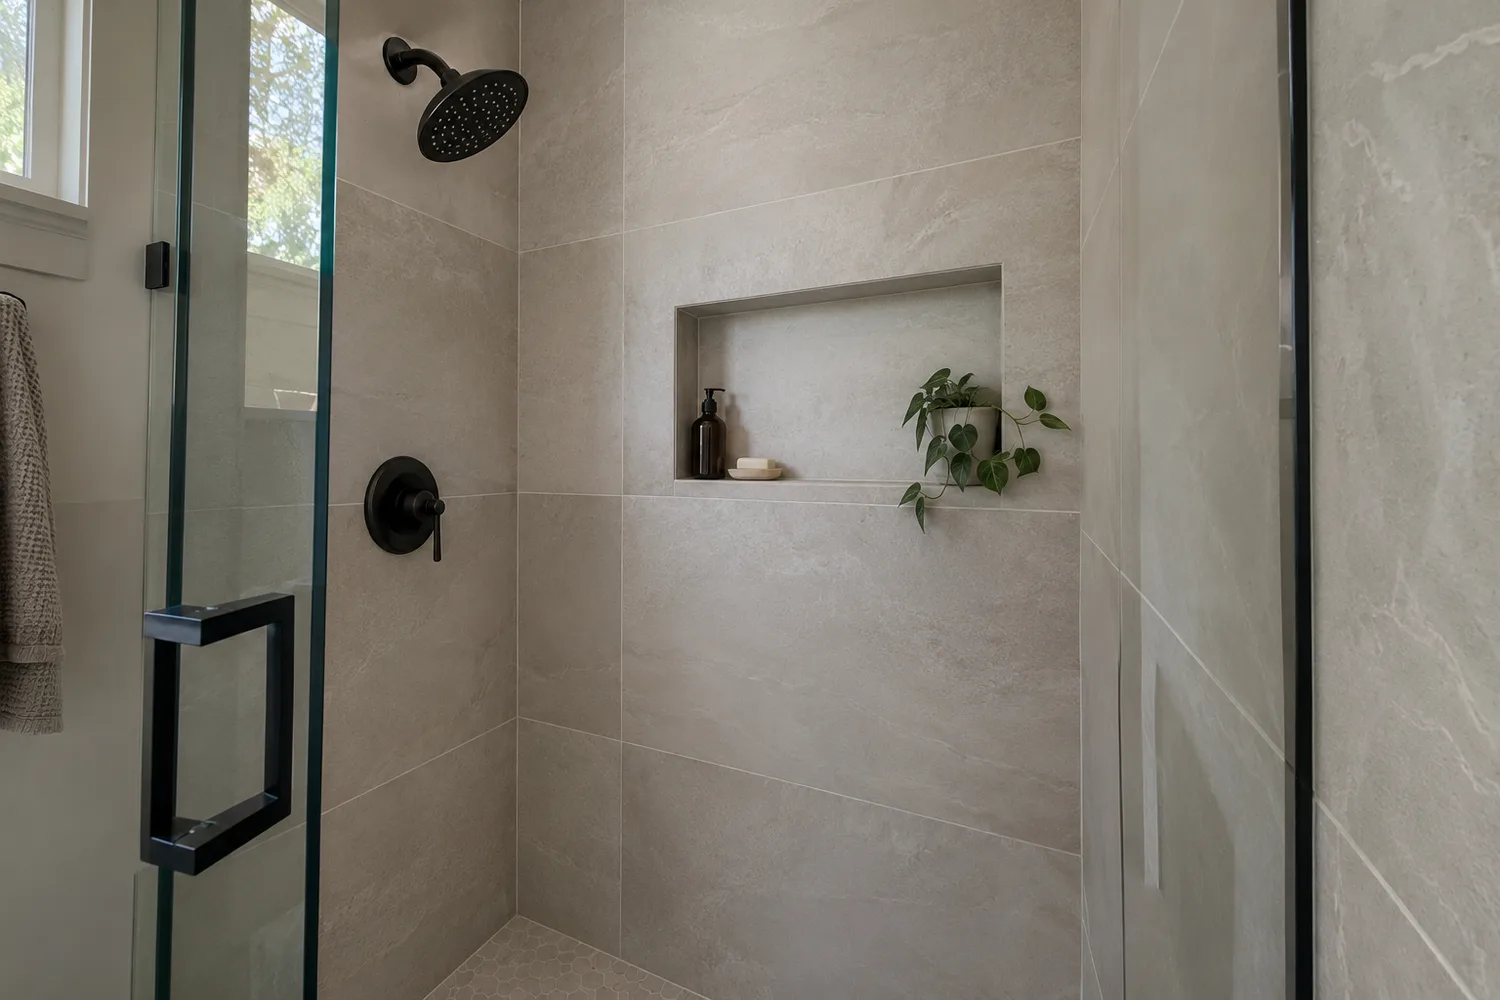
Use large-format wall tiles when you want fewer grout joints and a less busy backdrop. They can look good in a compact shower, too. Plan the tile layout around corners, fittings, and niches so the finished wall avoids awkward slivers. The largest tile available won’t automatically create the neatest result.
13. Let Handmade Tile Bring the Texture
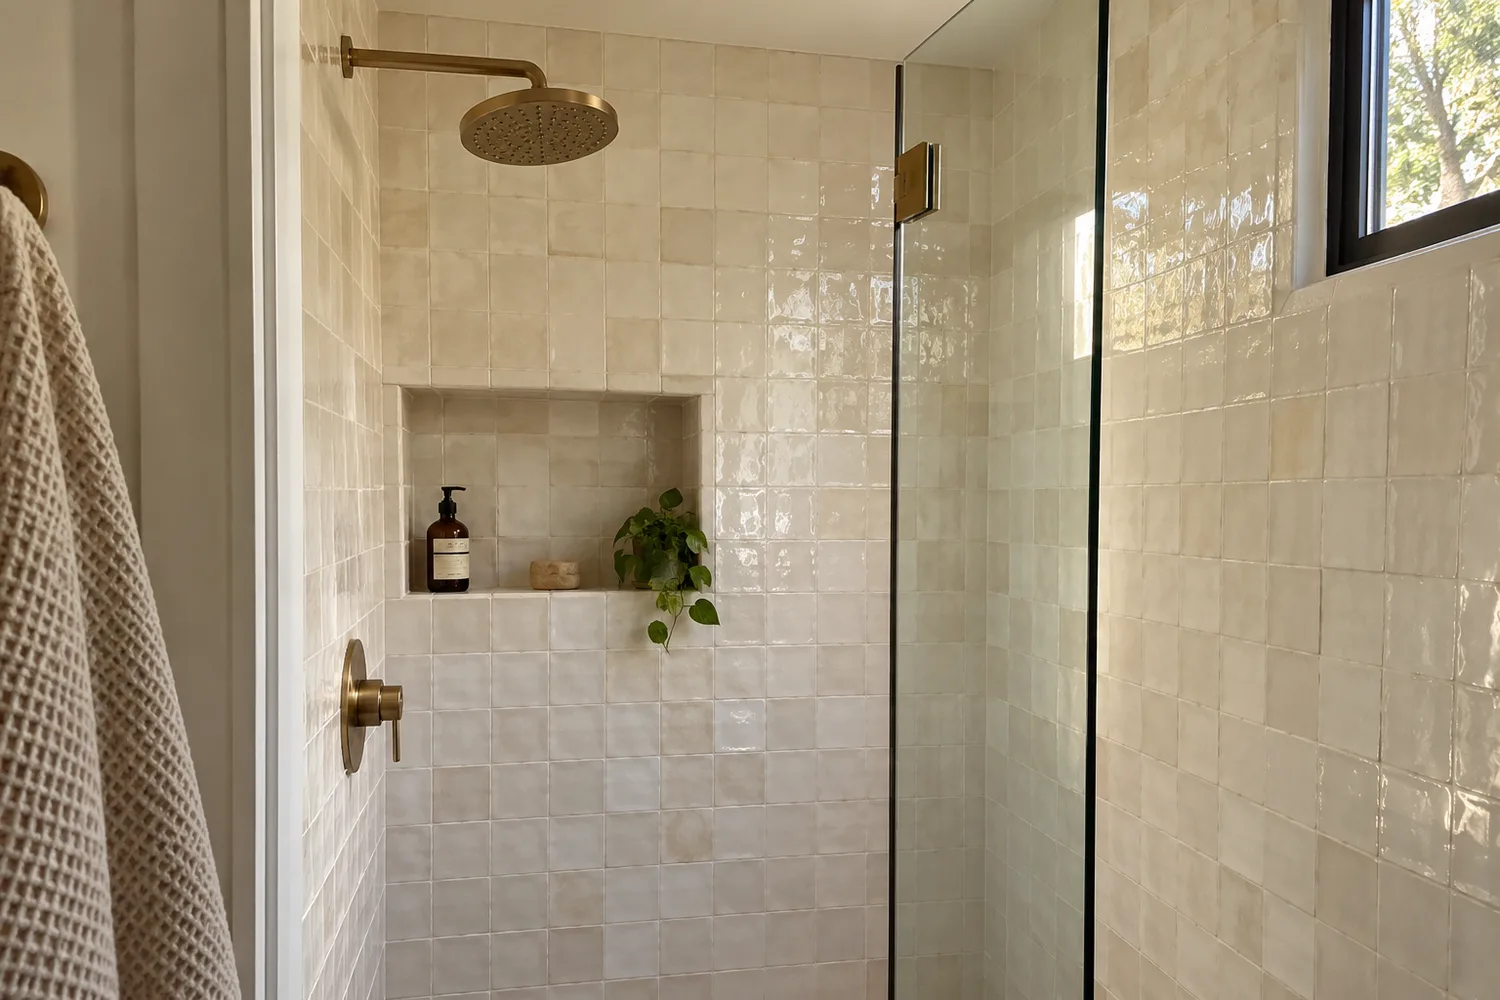
Handmade tile adds depth through small differences in color, shape, and surface. It’s a lovely choice when you want a simple palette with plenty to look at. Emery & Cie’s zellige range offers inspiration for this look. Our guide to handmade tile variation, layout, and care explains what makes those differences part of the design.
14. Stack Subway Tile Vertically
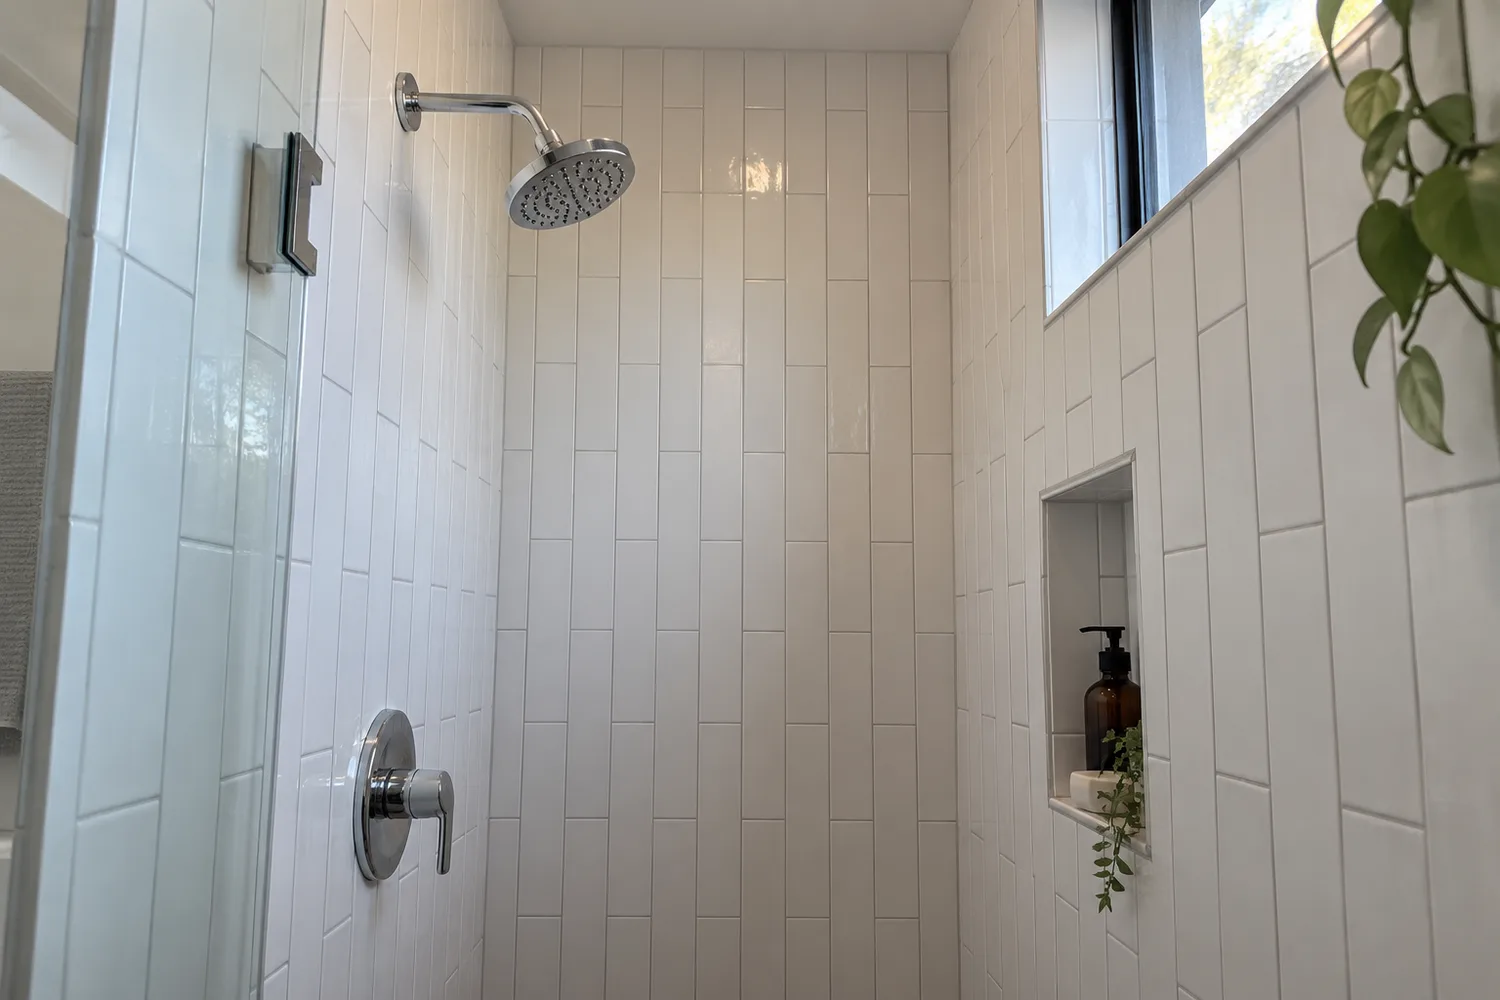
Arrange subway tiles in vertical stacks to emphasize the height of the shower wall. The orderly lines suit a simple enclosure and understated fittings. Grout close to the tile color keeps the effect gentle; a contrasting grout makes the arrangement much more noticeable.
15. Give One Wall a Herringbone Pattern
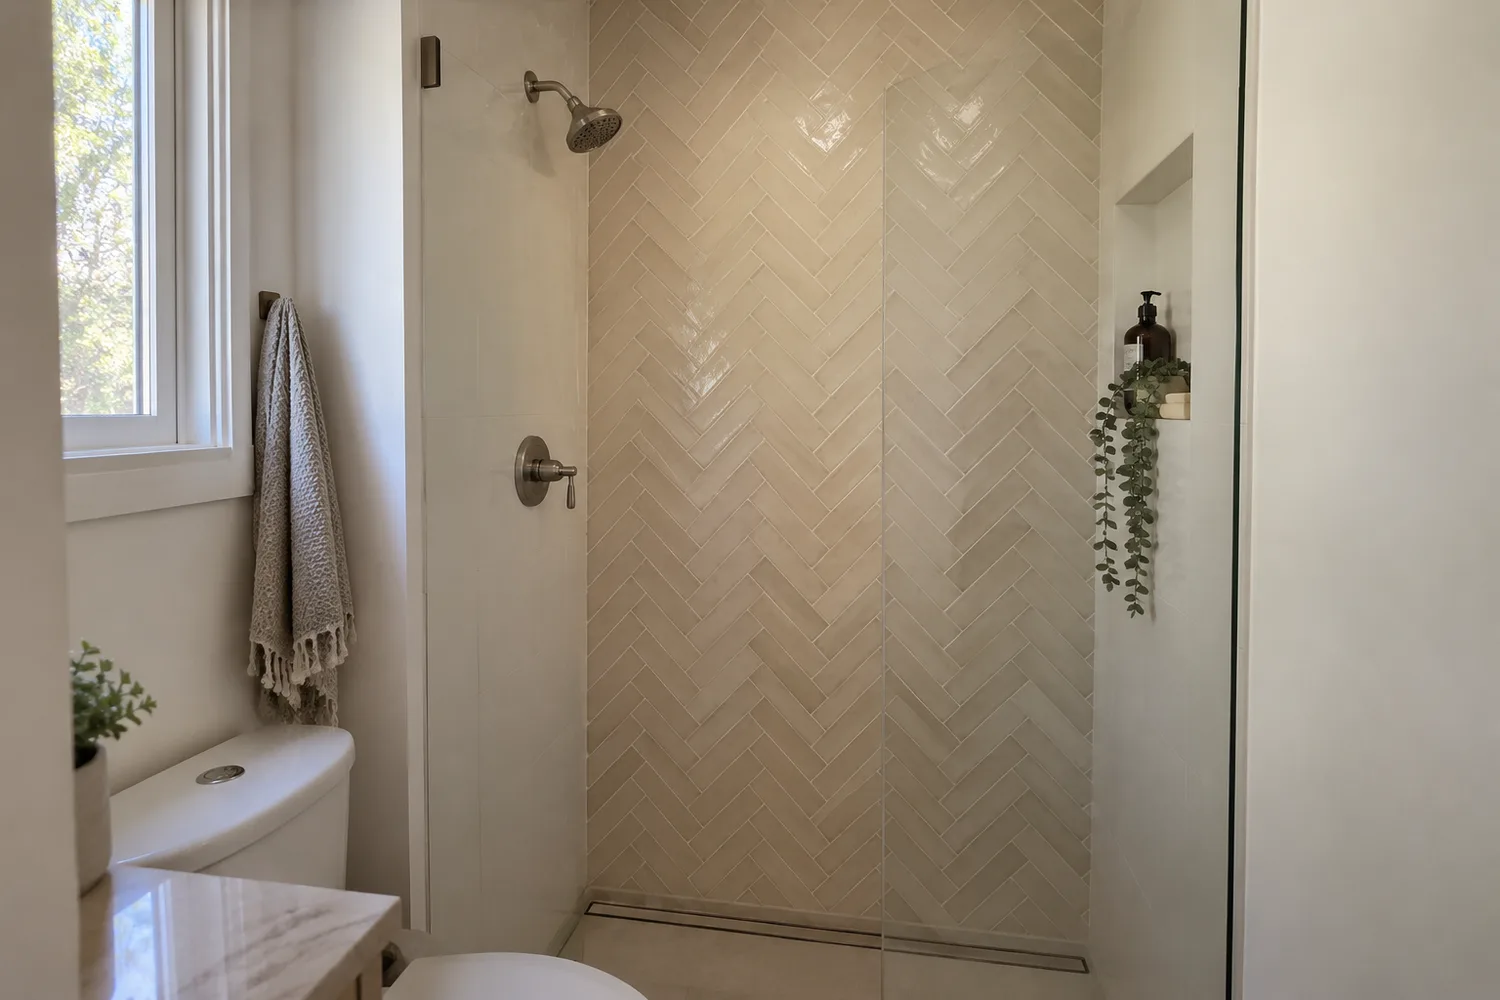
Keep herringbone to one wall if you want a feature without surrounding yourself with pattern. The wall behind the showerhead or bench is a natural place for it. Plain neighboring walls give your eye somewhere to rest, while a coordinated grout color keeps the overall effect softer.
16. Make the Shower Floor a Mosaic Moment
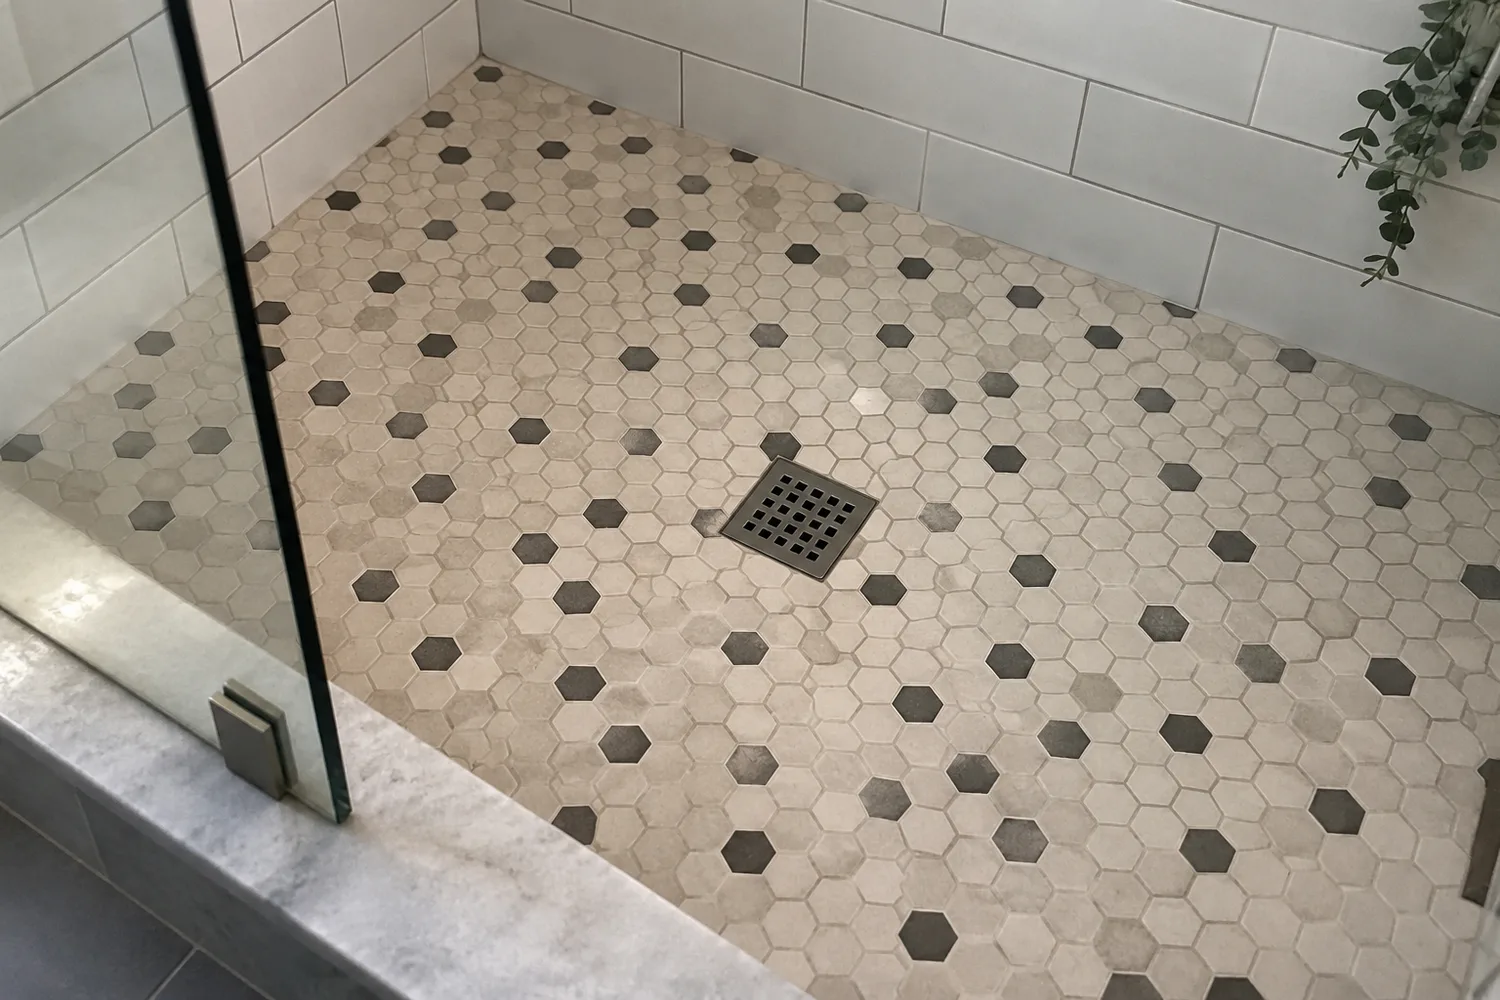
Use a shower-floor-approved mosaic to introduce pattern beneath simpler walls. Penny rounds, small hexagons, and square mosaics each create a different feel. More grout joints do not guarantee a slip-resistant floor, so the selected product’s suitability matters. Carry one color from the mosaic into the wall tile to connect the two.
17. Pick One Wall for a Bold Pattern
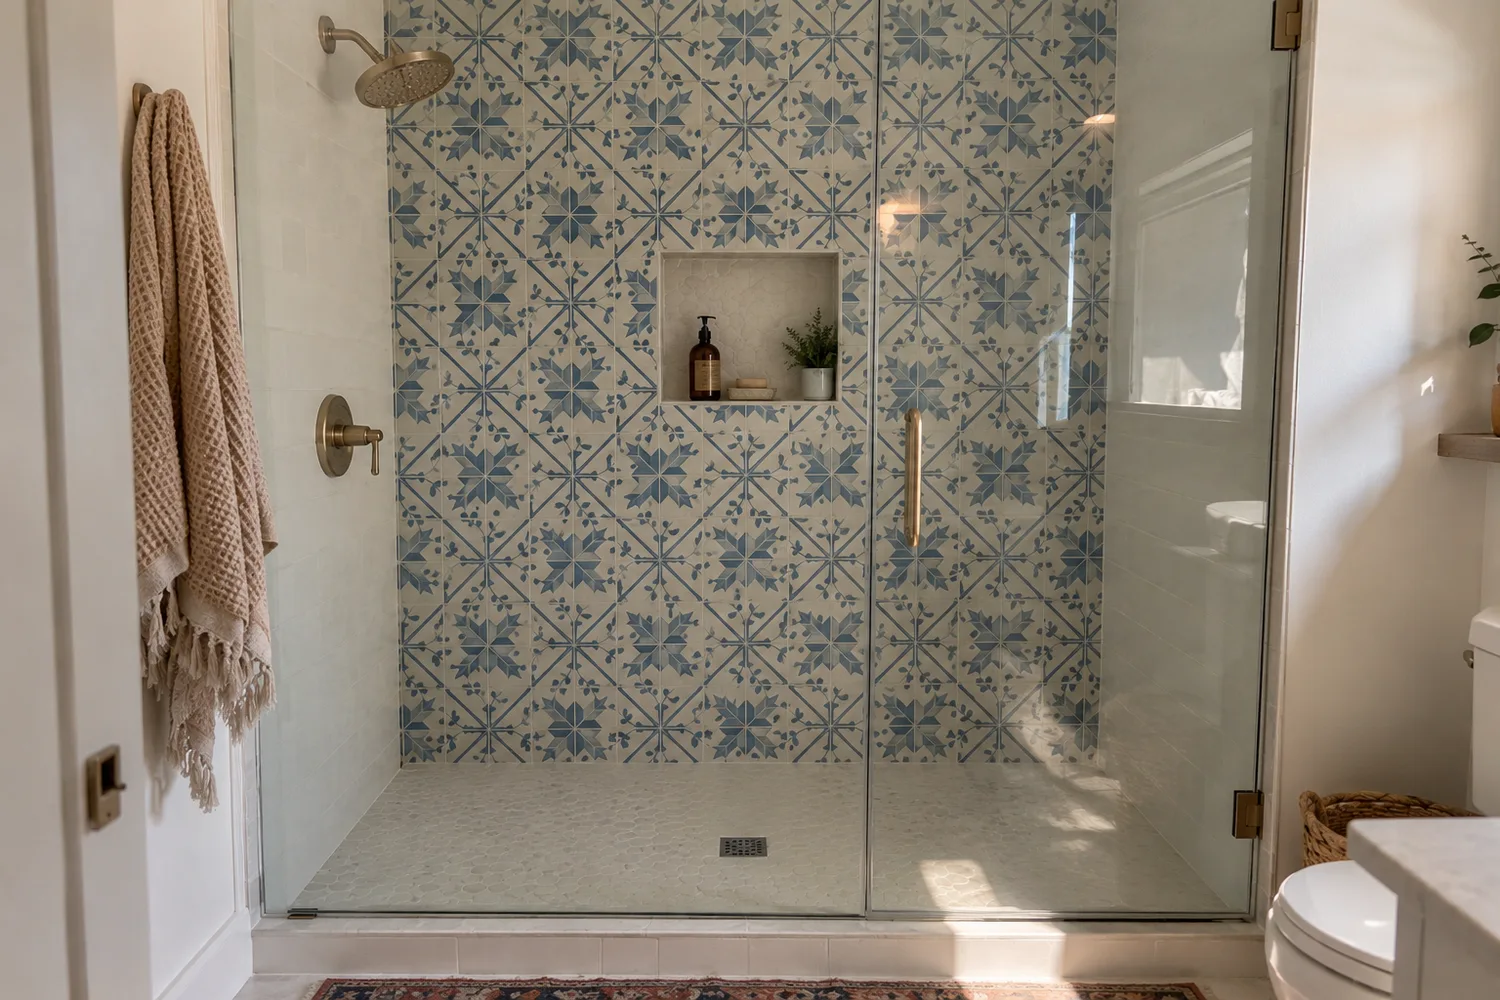
Put your boldest tile on one wall and let the surrounding surfaces stay quiet. This gives you a strong focal point without needing decorative objects inside the shower. If the pattern contains several colors, pull one of the softer shades into the floor or neighboring walls.
18. Carry One Floor Color Through the Room
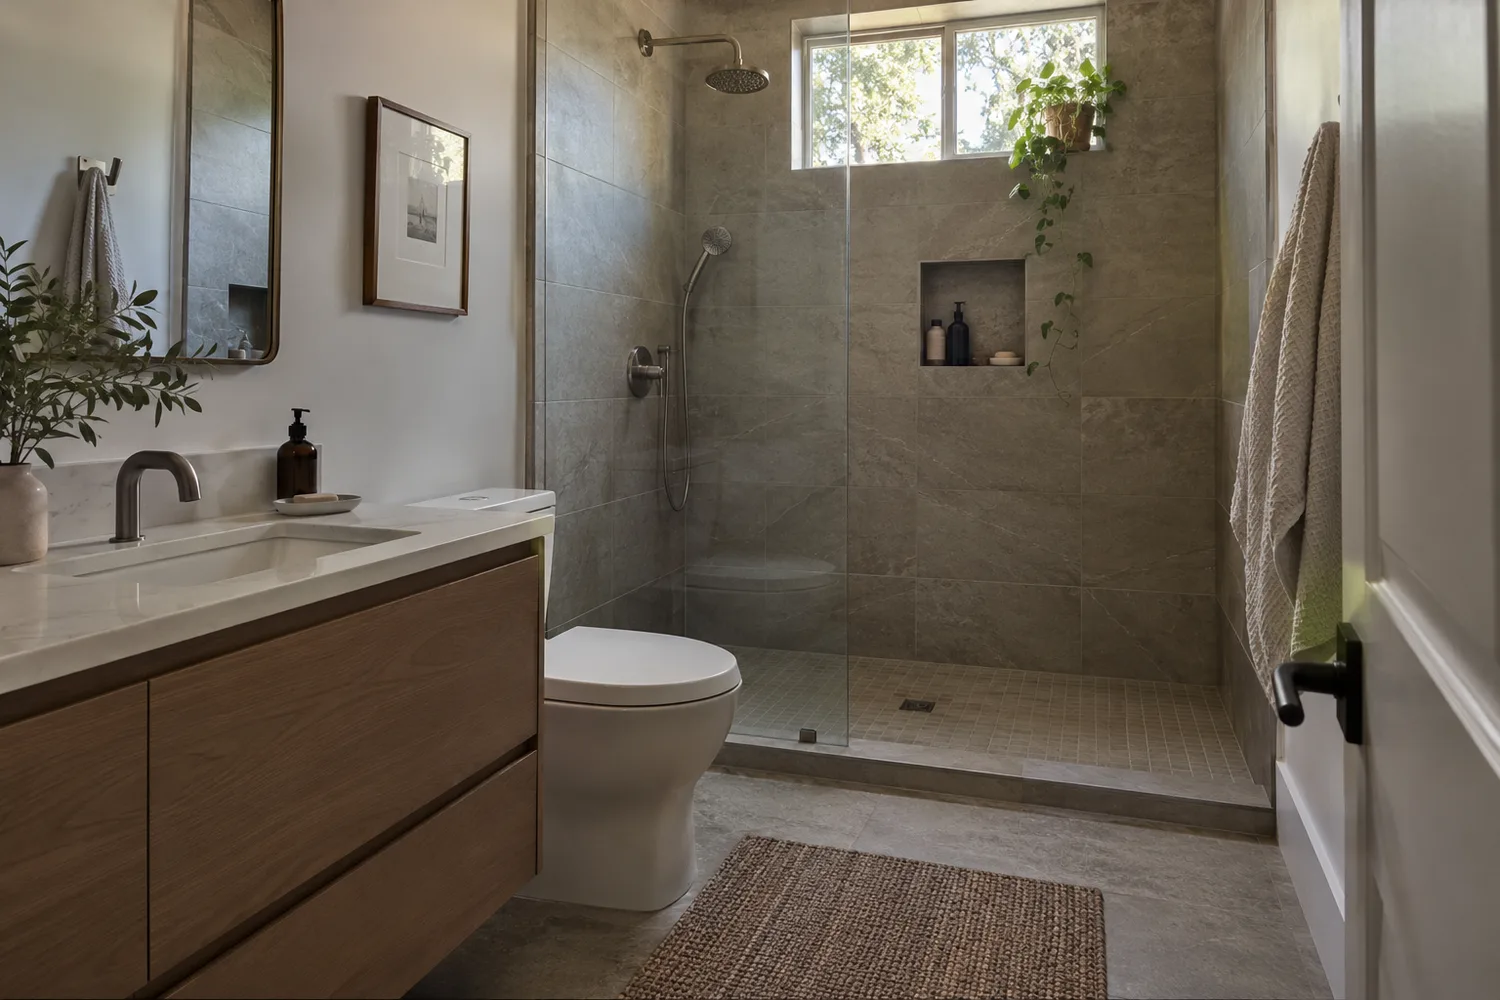
Coordinate the bathroom and shower flooring to reduce the visual break between them. You can use different tile sizes in a similar shade, such as larger tiles outside and smaller shower-suitable tiles inside. Think of it as wearing separates in the same color: they relate without needing to be identical.
19. Frame the Shower Like a Doorway
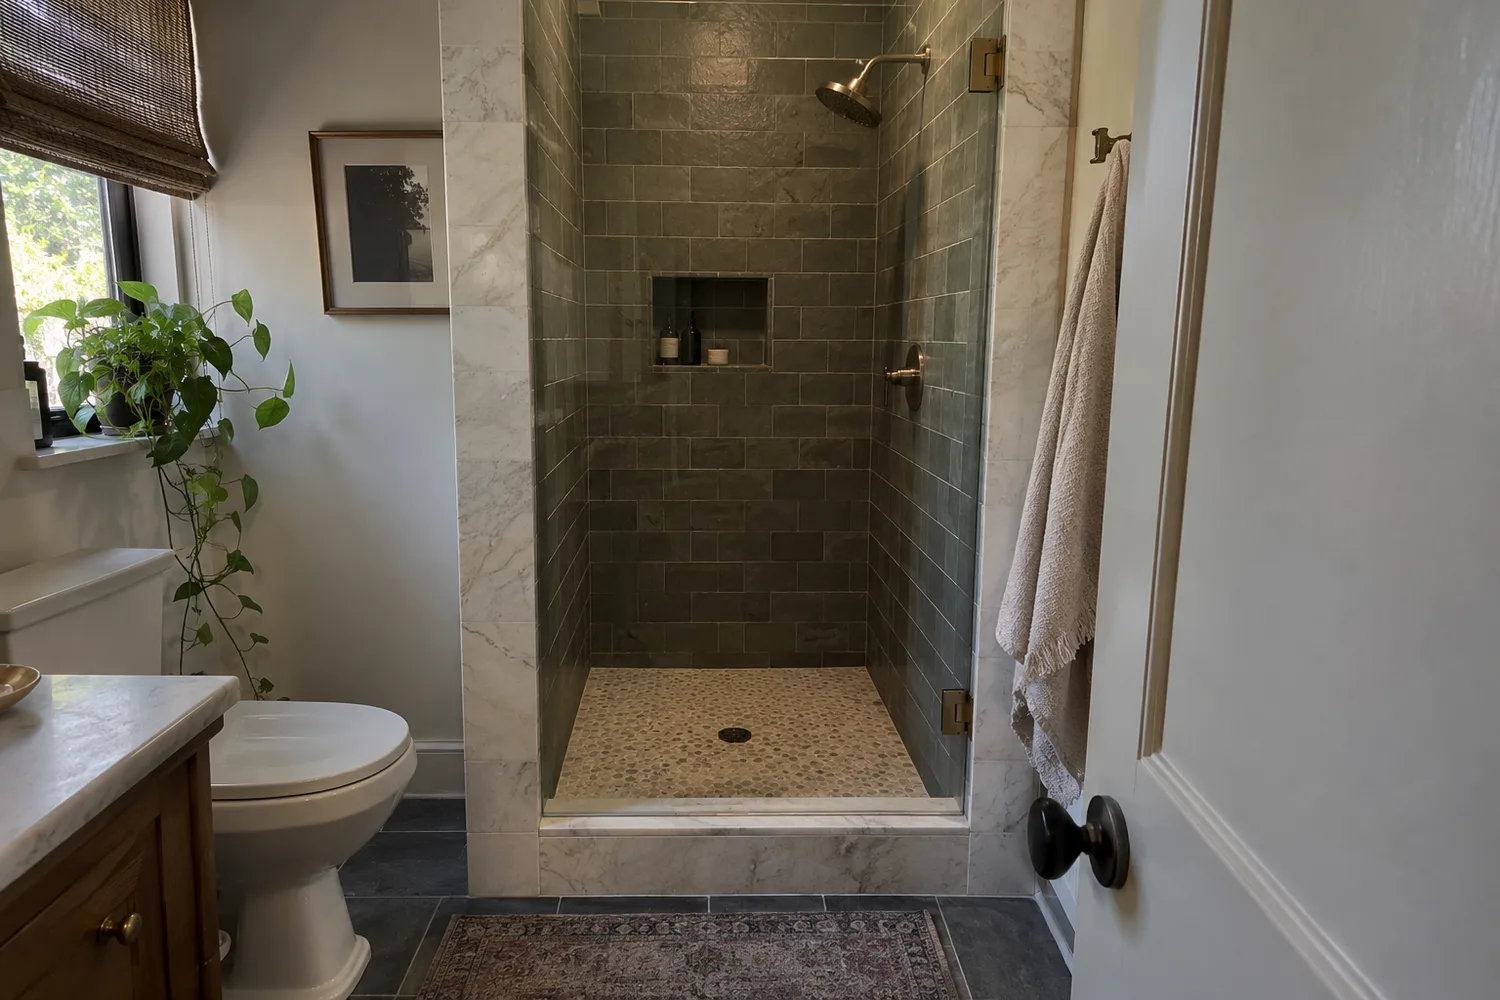
Outline the shower opening with stone or contrasting tile to give it more presence. A pale surround can brighten the edge of a dark shower, while a darker border makes a light enclosure stand out. Repeat the border material on a niche shelf or bench top for a small connection.
20. Add a Strip of Sculptural Tile
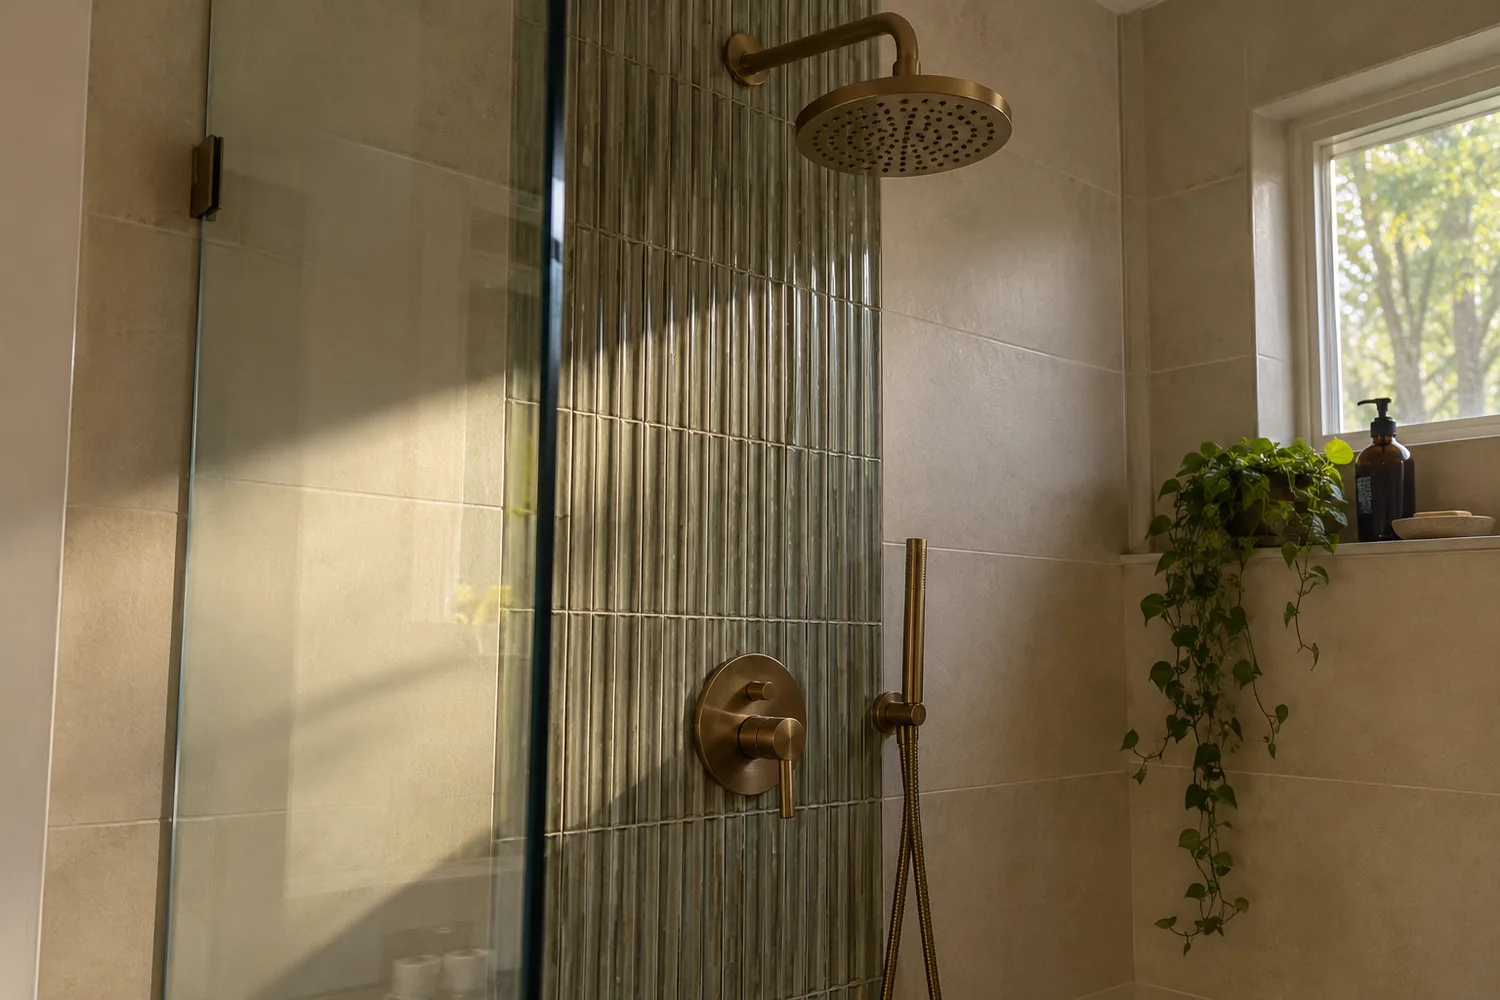
Use ribbed or dimensional tile on a limited area when you want texture without a busy pattern. A narrow feature beside the fittings can be enough. Raised surfaces also create more edges to clean, so a small section offers a practical way to enjoy the effect.
21. Bring in a Quiet Shade of Green
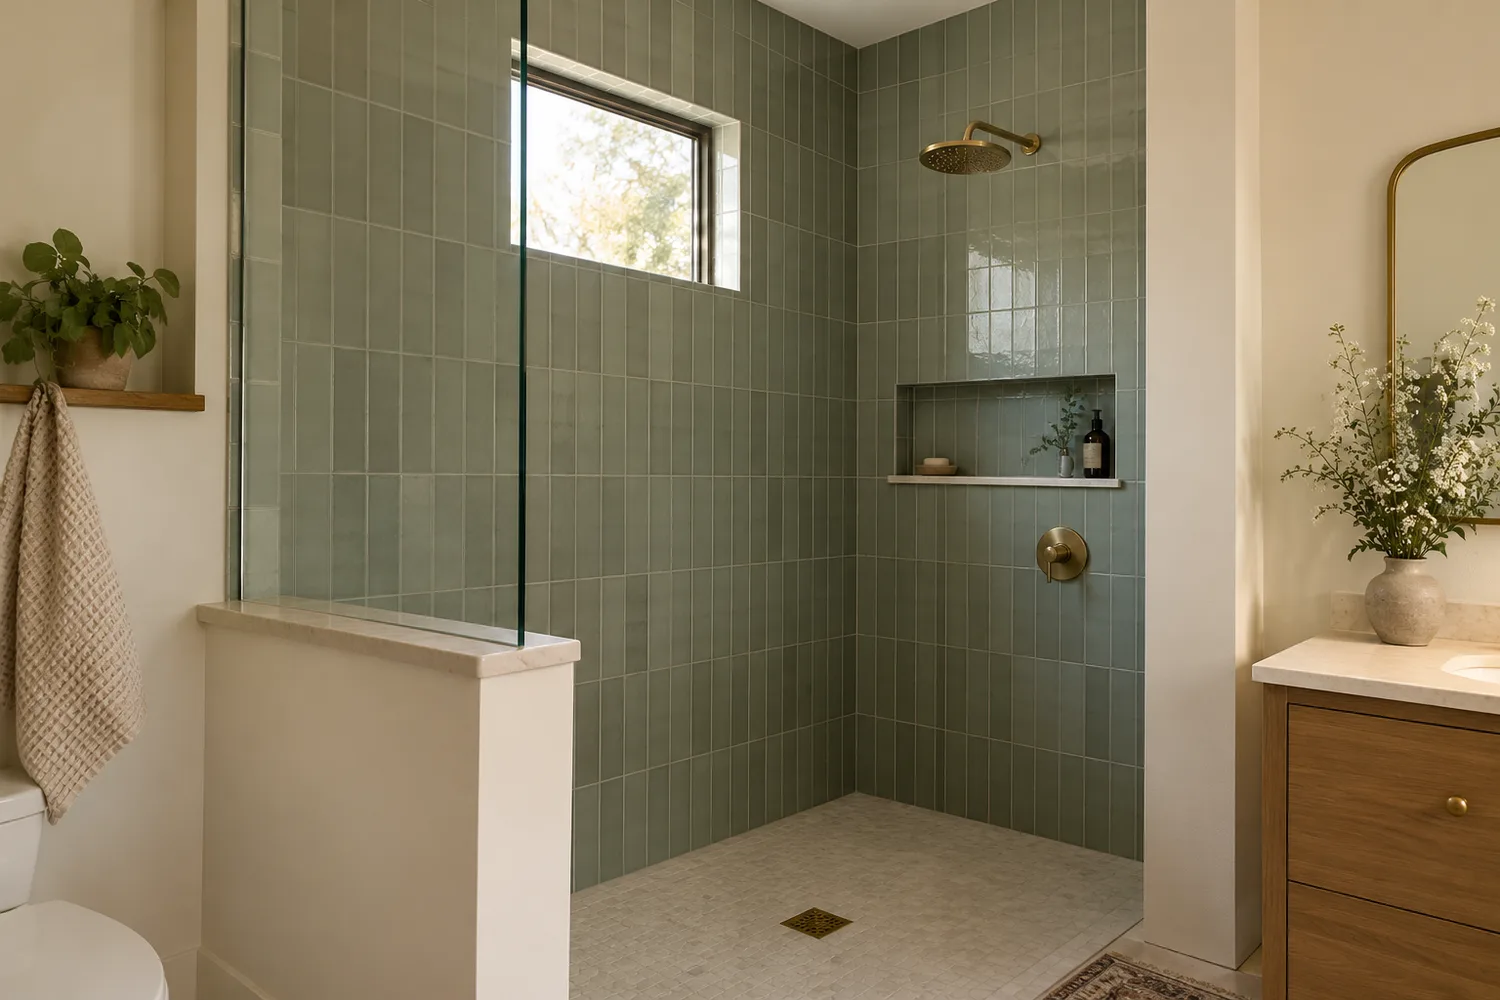
Pair green shower walls with warm white and restrained metal finishes for a gentle palette. For a specific color reference, Heath Ceramics’ M119 Ogawa Green Manganese has a cool-toned matte green glaze with small brown flecks. View a sample in your bathroom light before committing to a full wall.
22. Go Blue Without Going Full Beach House
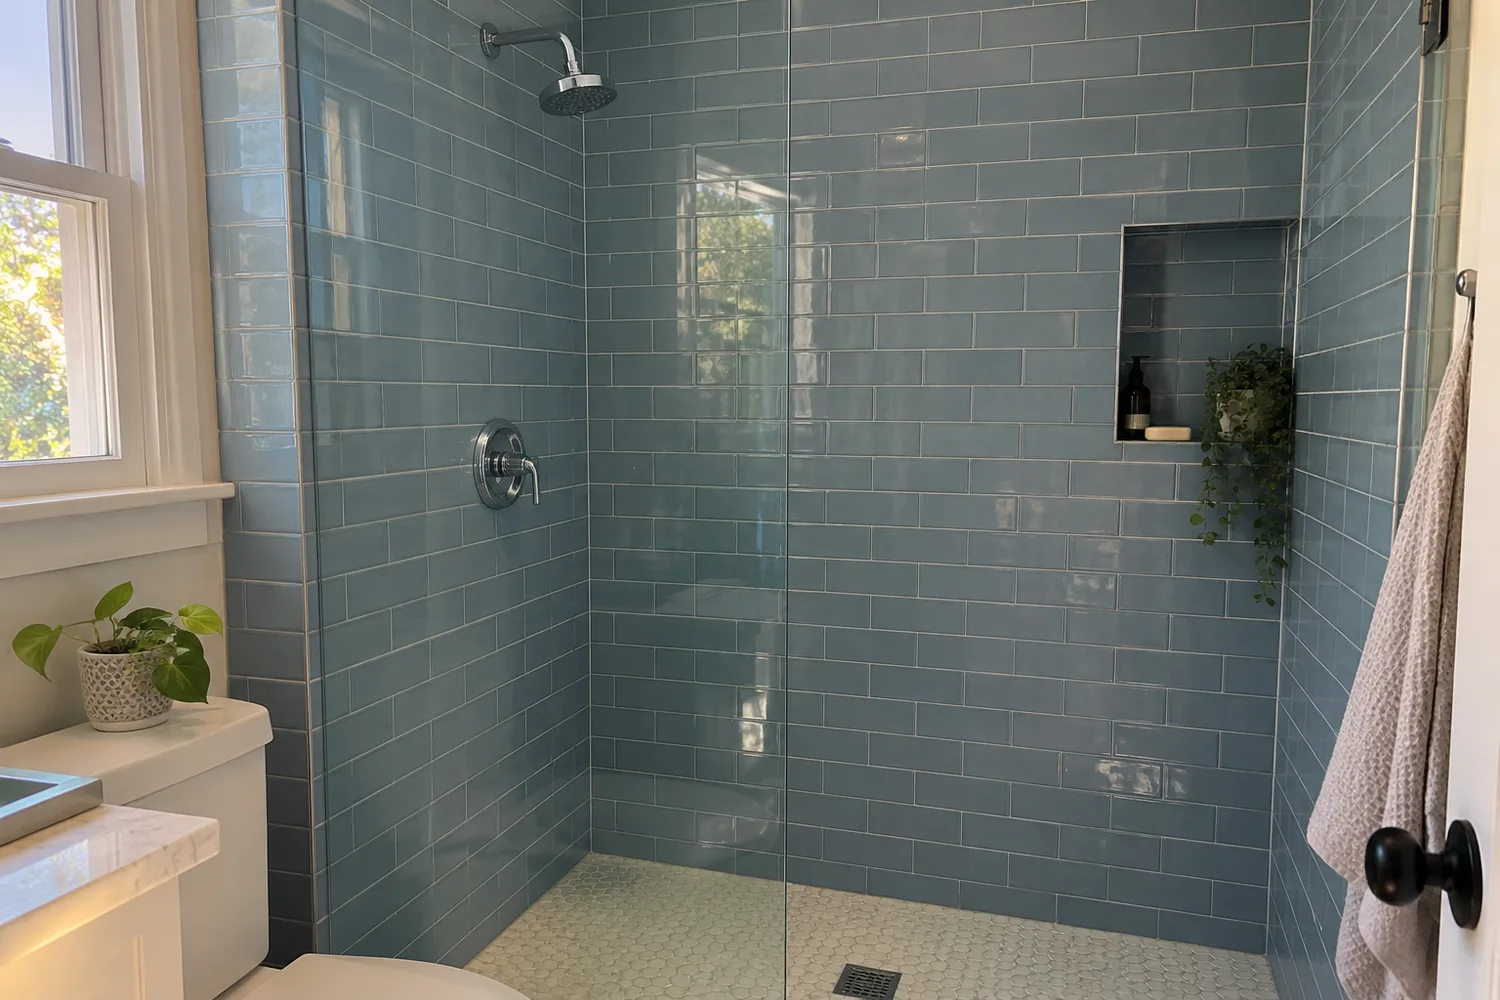
Choose a muted blue tile and keep the rest of the room simple. Slate blue pairs nicely with warm neutrals, while a deeper blue can give the shower more definition. You can leave the shells and anchors out of this one. The tile already sets the mood.
23. Warm Things Up With Blush Pink
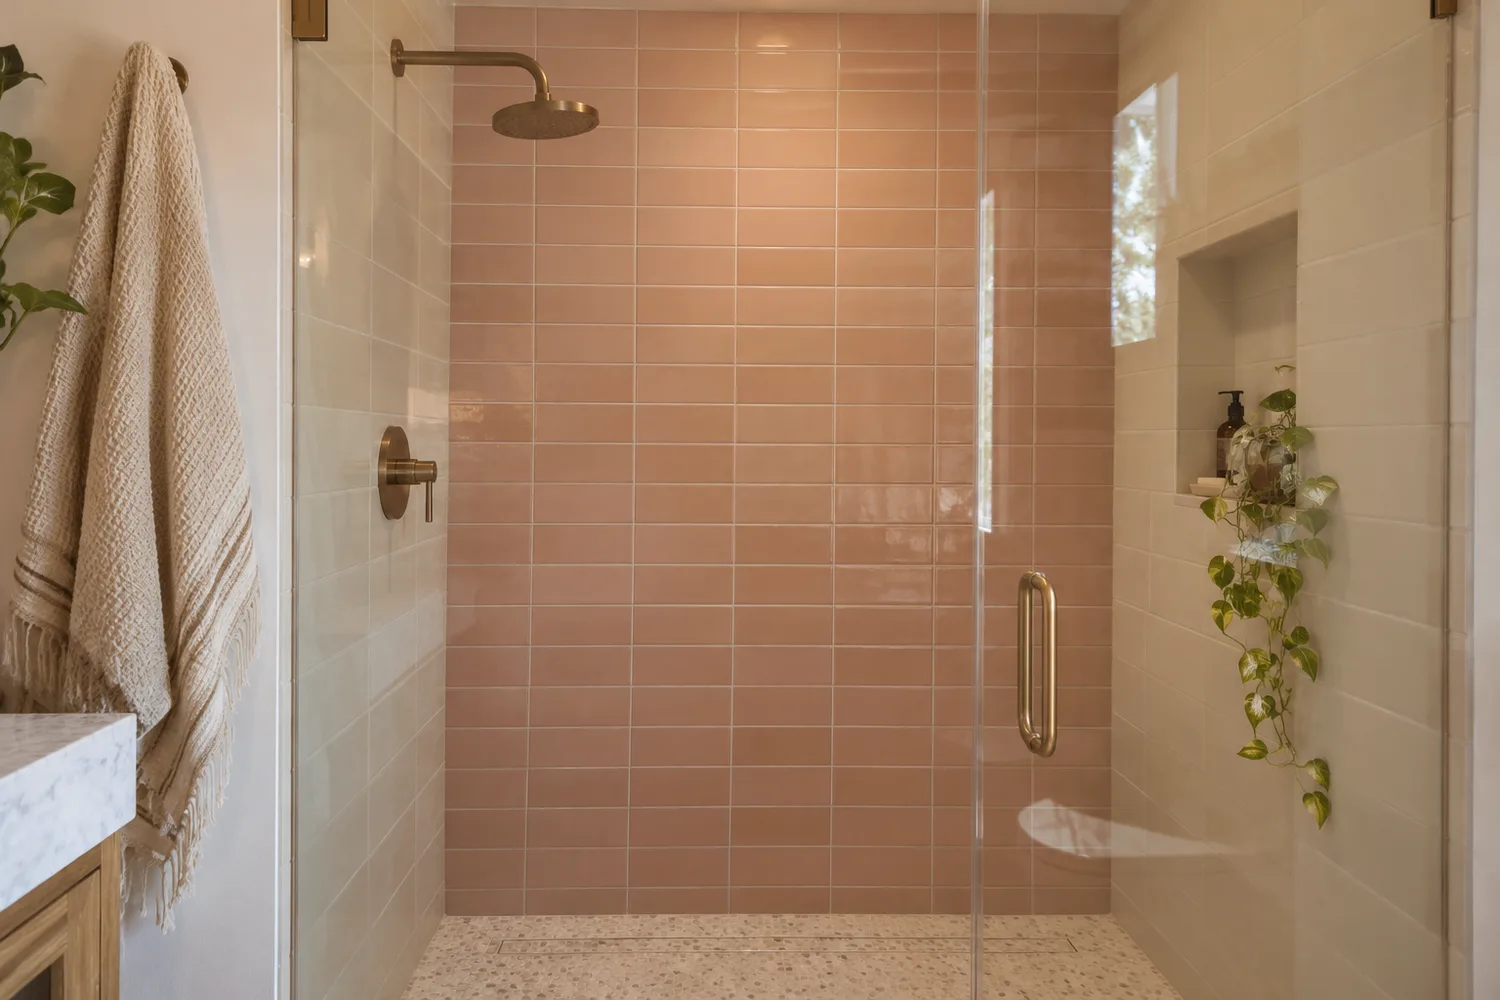
Combine muted pink with cream, brown, or warm metal finishes to keep the palette grounded. A dusty shade usually feels gentler than a bright candy pink across a large surface. For a smaller dose, use it inside the niche or on the back wall.
24. Layer Cream, Sand, and Stone
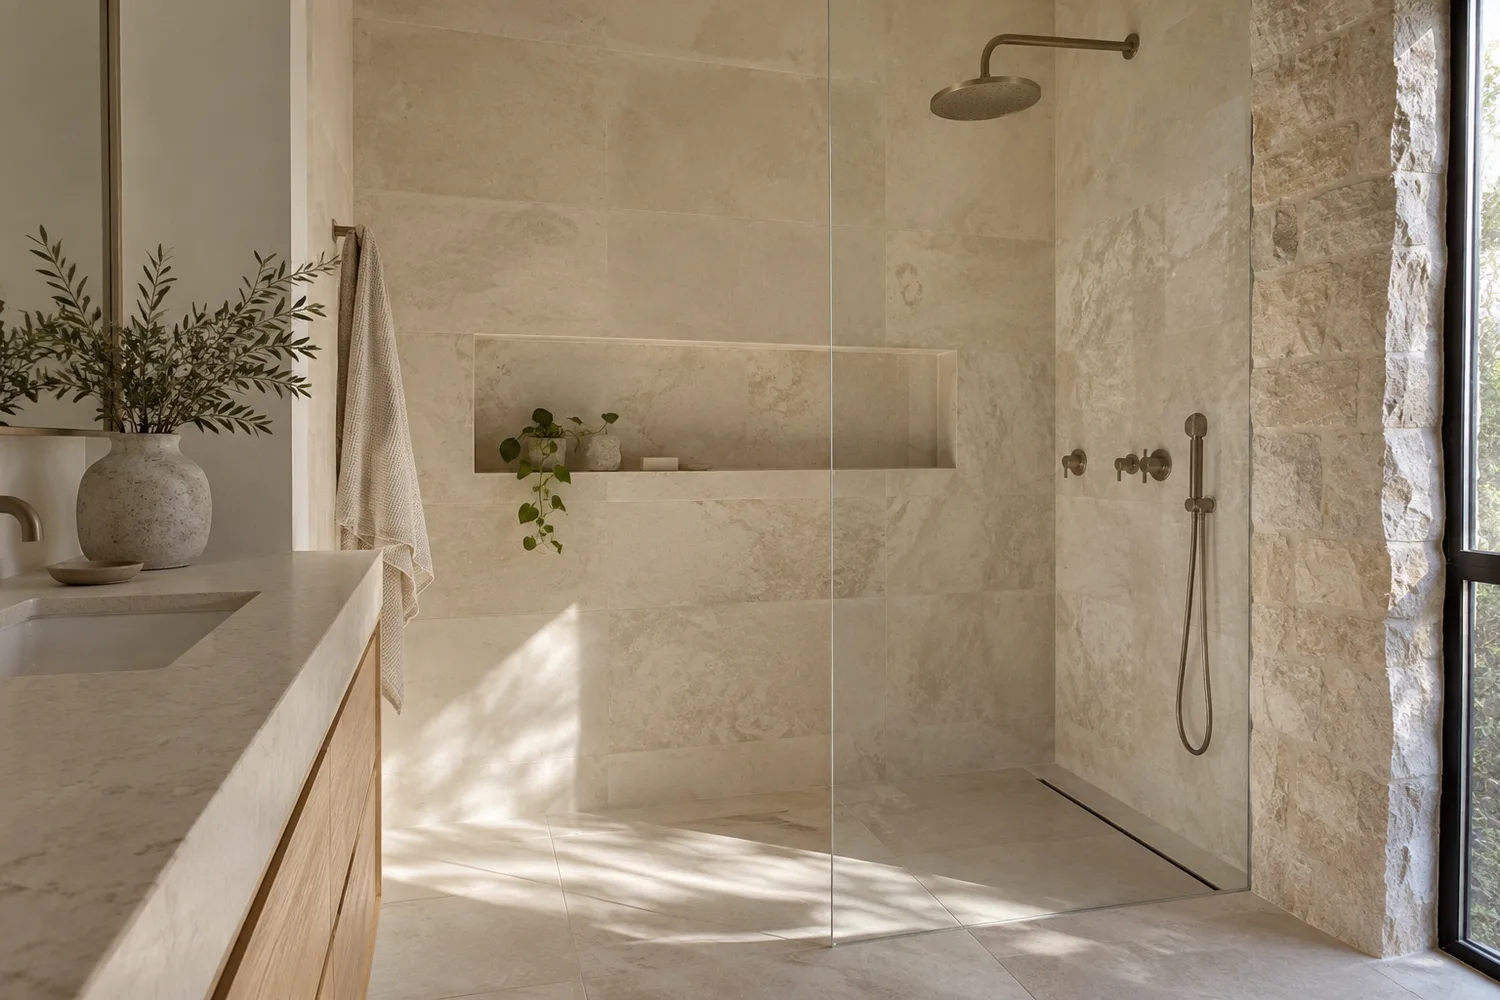
Mix neighboring neutral shades instead of relying on one identical beige everywhere. Cream walls, a sandy floor, and a lightly textured bench can create depth while staying quiet. View the materials together, since a pink undertone in one tile can become much more obvious beside a yellow-toned neighbor.
25. Make a Small Shower Moody
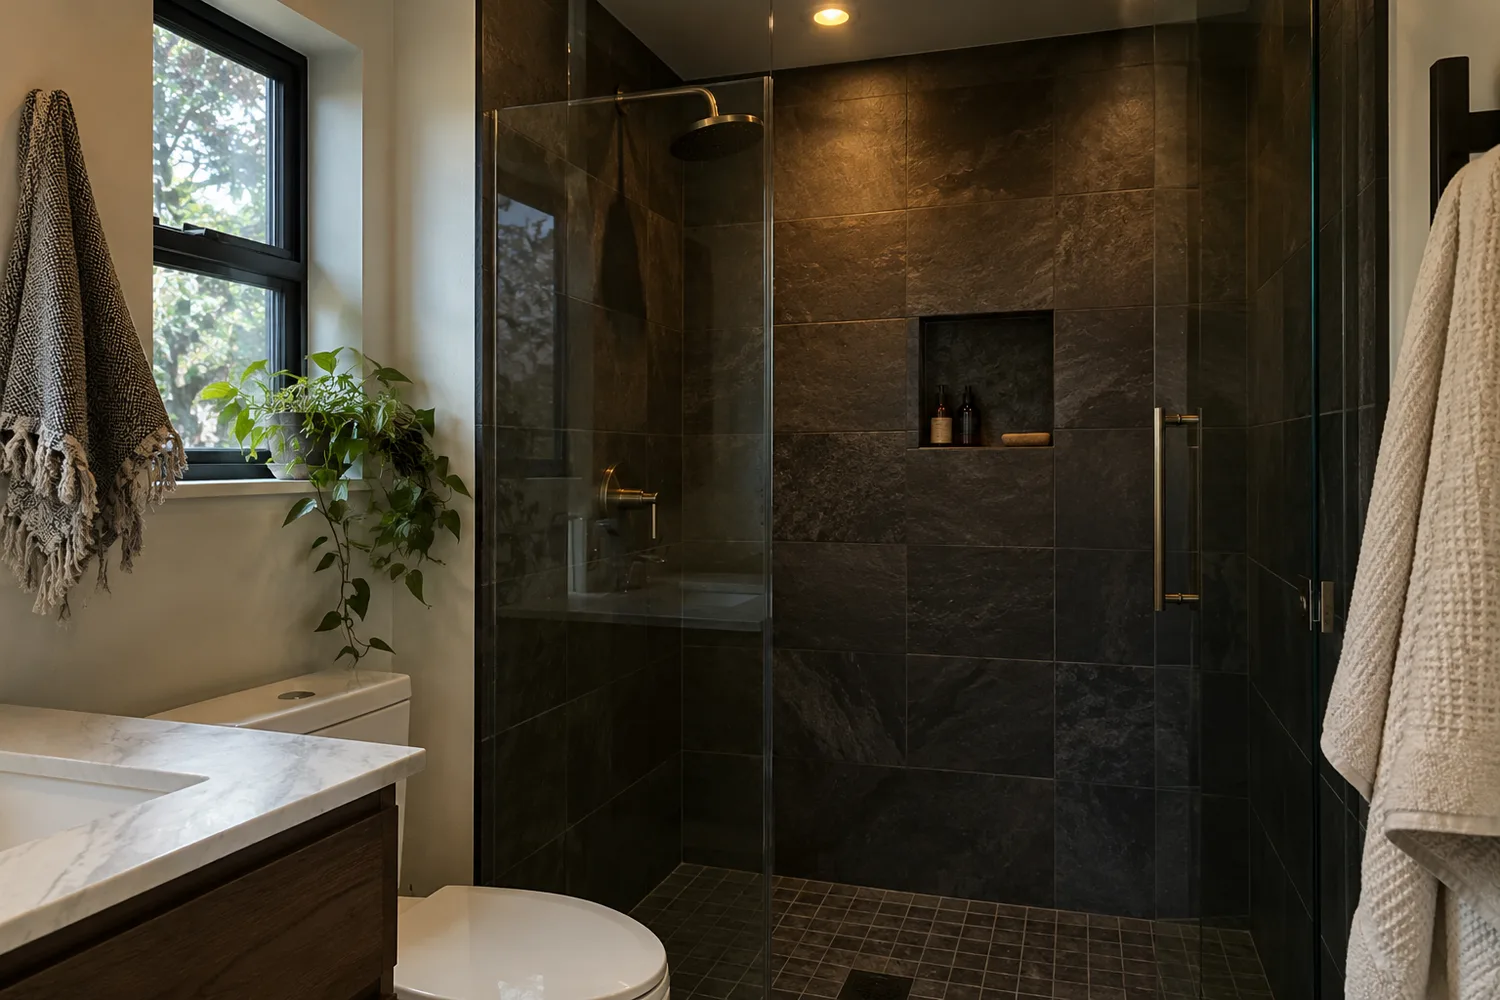
Use charcoal, deep green, or dark blue when you want the shower to feel intimate. Give the space enough light to see comfortably, especially around the controls and floor. Dark tile creates atmosphere, but it can also make pale soap residue and mineral deposits more noticeable.
26. Keep Black and White Interesting
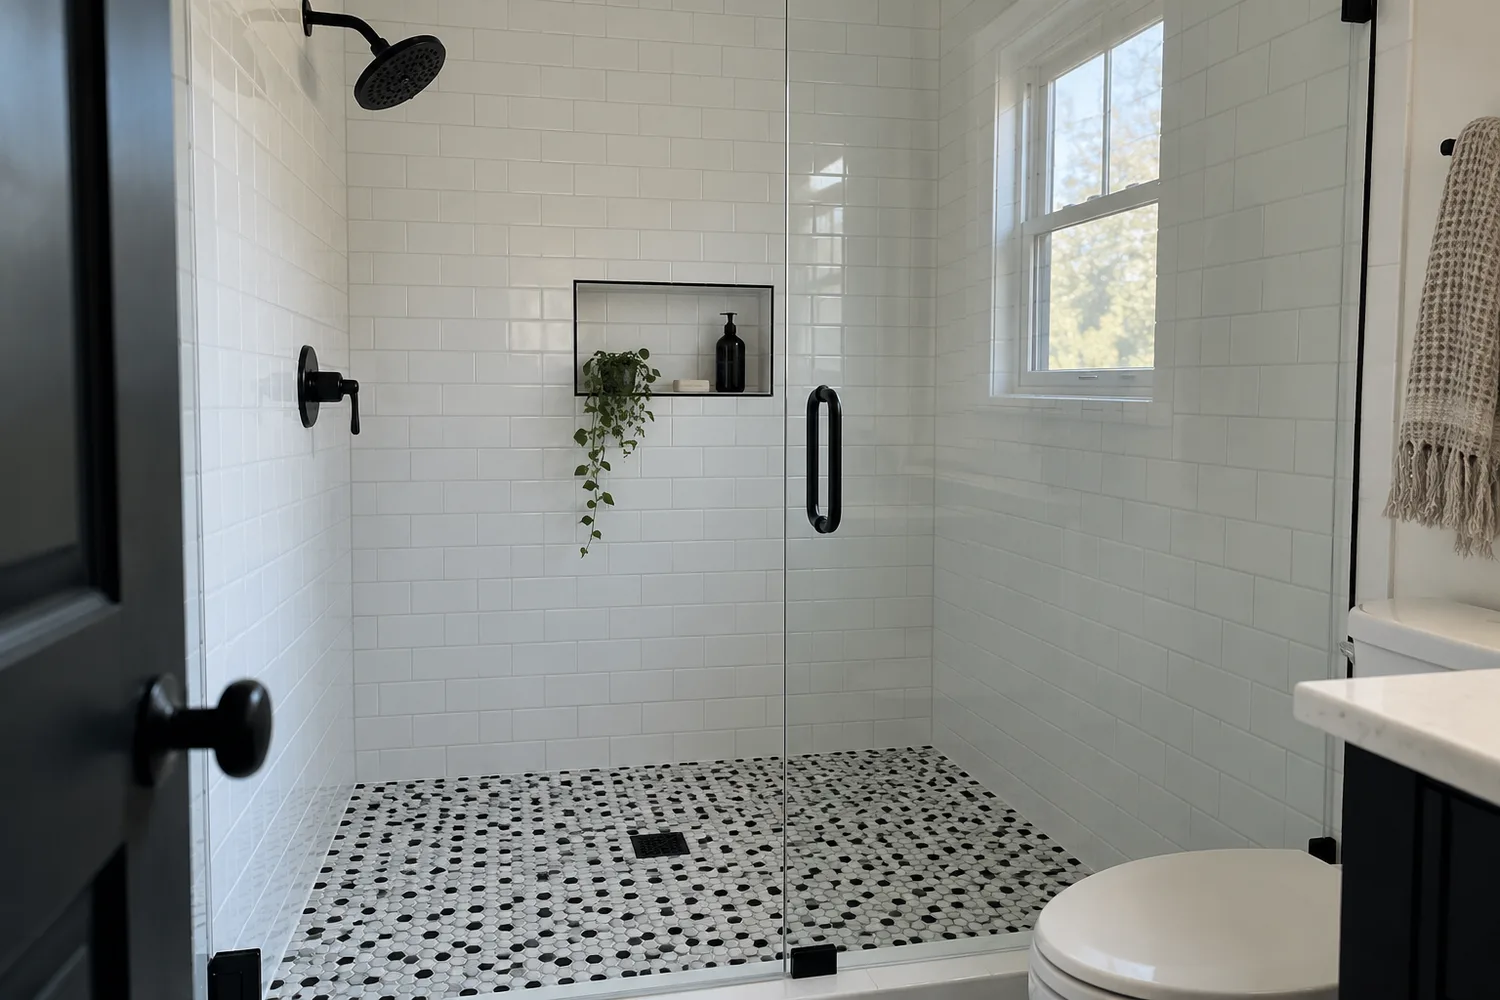
Pair white walls with a black-and-white shower floor for contrast that stays easy to coordinate. A small patterned mosaic gives the floor detail while the walls remain quiet. Repeat black in one enclosure detail or fitting, then keep towels and nearby accessories simple.
27. Add Warmth With Brass Fixtures
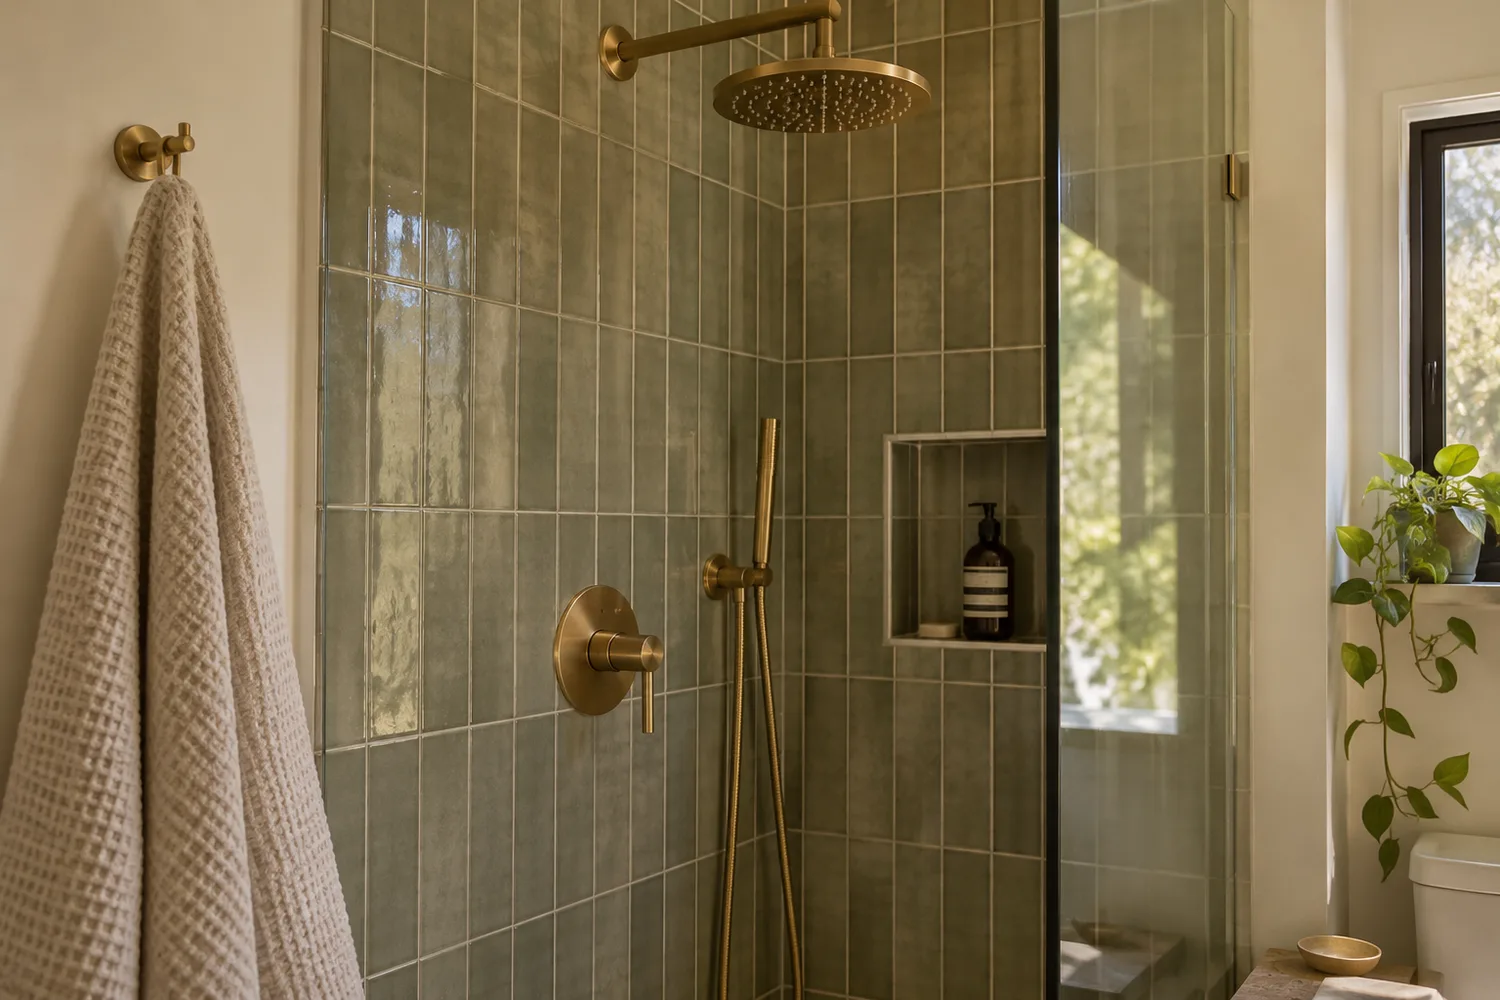
Brass-colored fittings add warmth to cream, green, pink, and stone-look surfaces. You don’t have to match every metal in the bathroom, but repeating the finish helps it feel intentional. Different coatings and living finishes age differently, as our guide to bathroom finishes that age gracefully explains.
28. Give the Shower a Traditional Twist
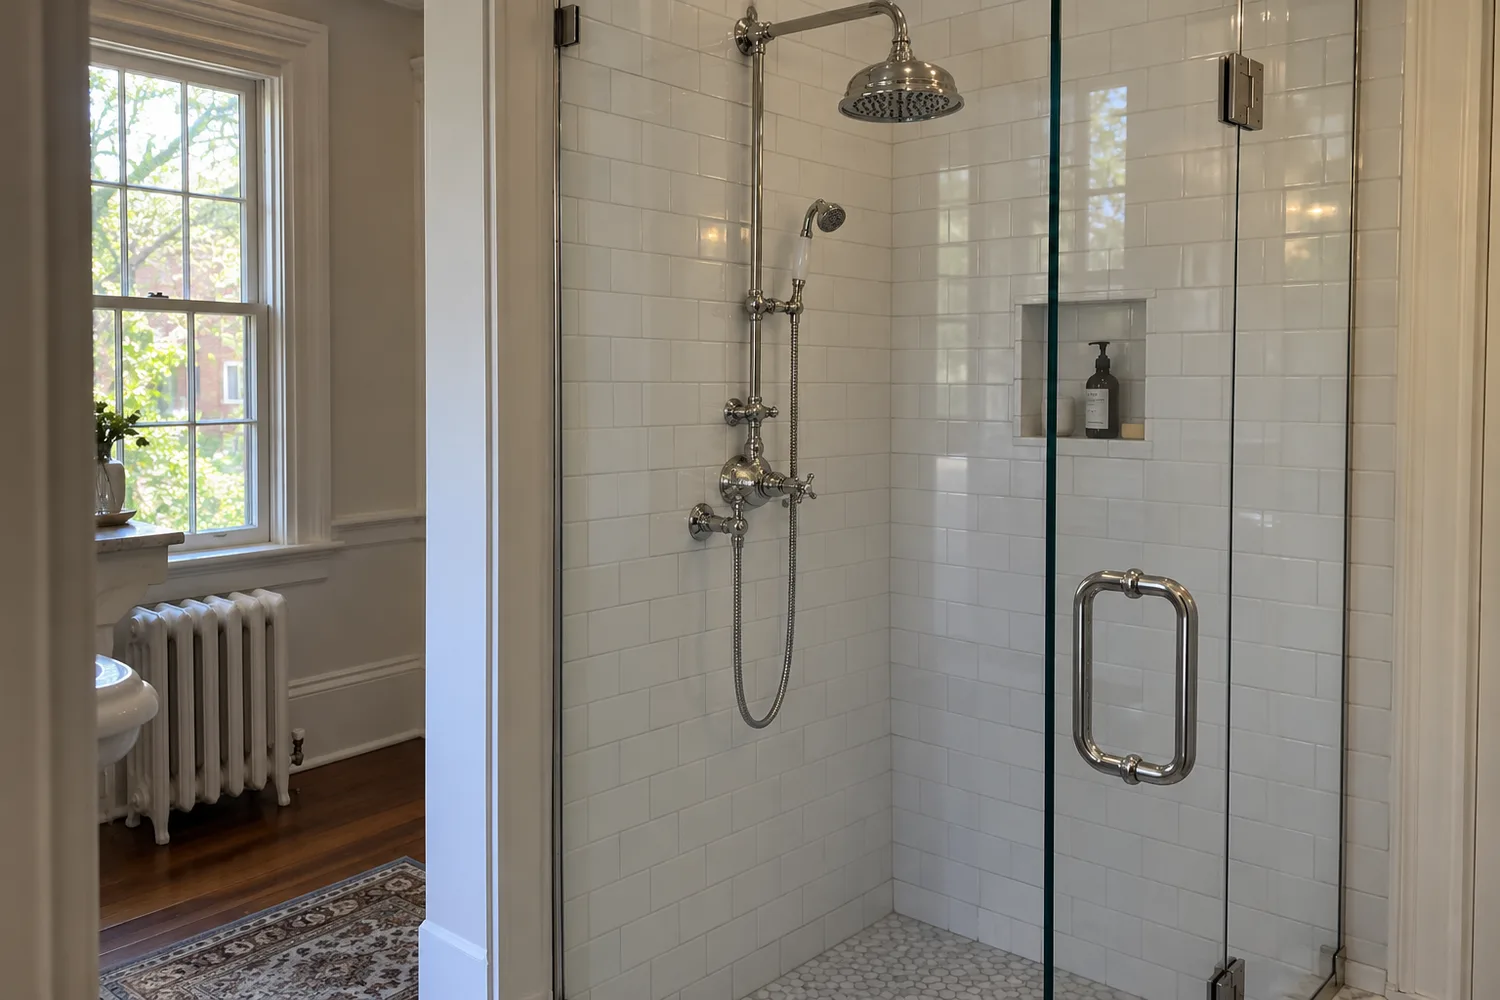
Pair traditional-style shower fittings with subway tile, marble accents, or a framed enclosure. This is a useful direction when a very minimal shower would feel disconnected from an older home. Keep the decorative details selective so the space feels comfortable alongside the rest of the bathroom.
29. Pair a Rain Showerhead With a Handheld
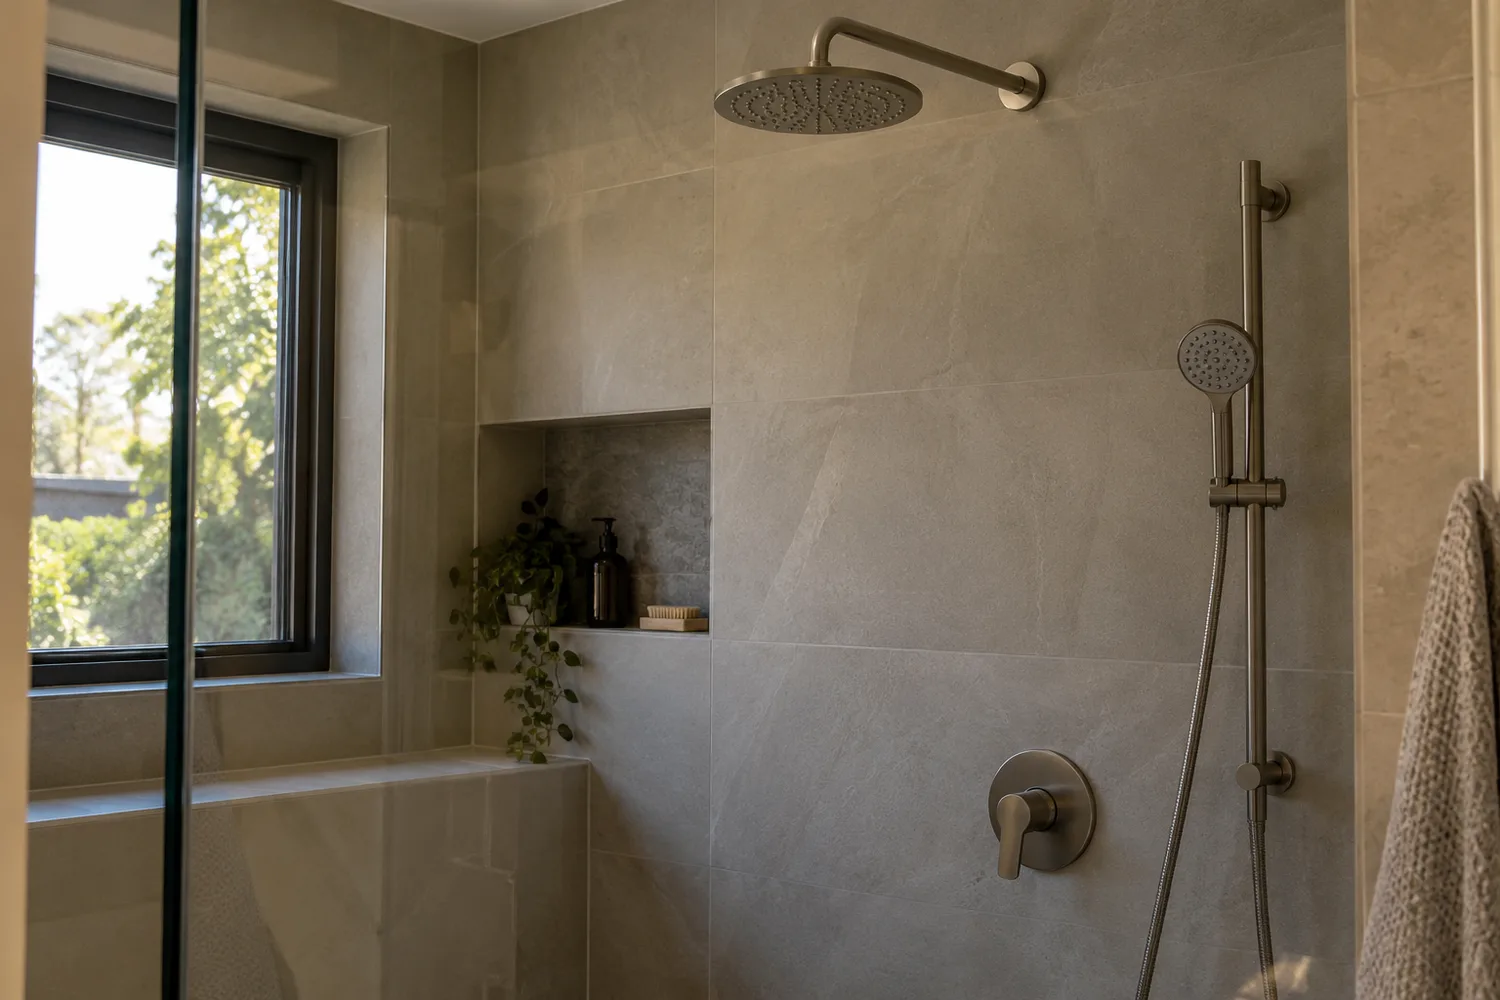
Combine a rain showerhead with a handheld for a more flexible setup. The handset makes targeted rinsing and cleaning the enclosure easier. The Roper Rhodes Recite Dual Function Concealed Shower System includes both, with a square overhead head and brushed brass finish. It’s a useful example for a modern scheme.
30. Keep the Fittings Visually Simple
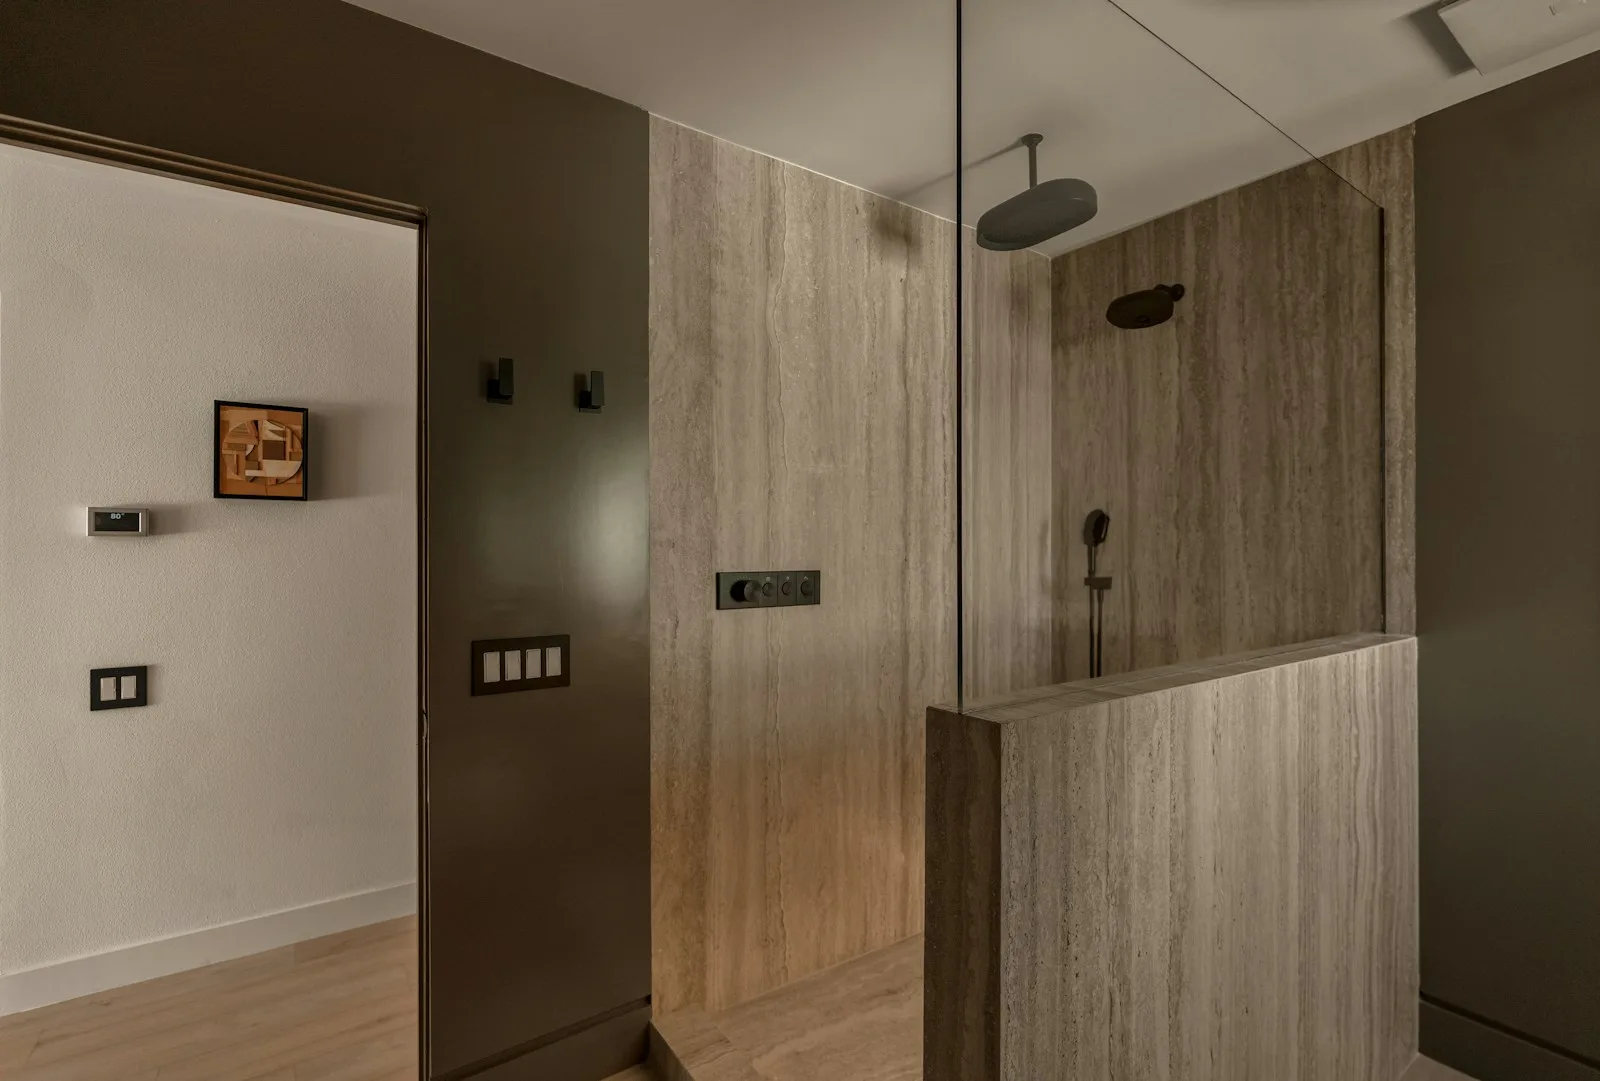
Choose a concealed shower system when you want the pipework hidden behind the wall. The visible controls and outlets can then sit neatly within the tile layout. This is a renovation choice, so plan the valve position and future servicing access before the wall is finished.
31. Put the Controls Within Reach of the Entrance
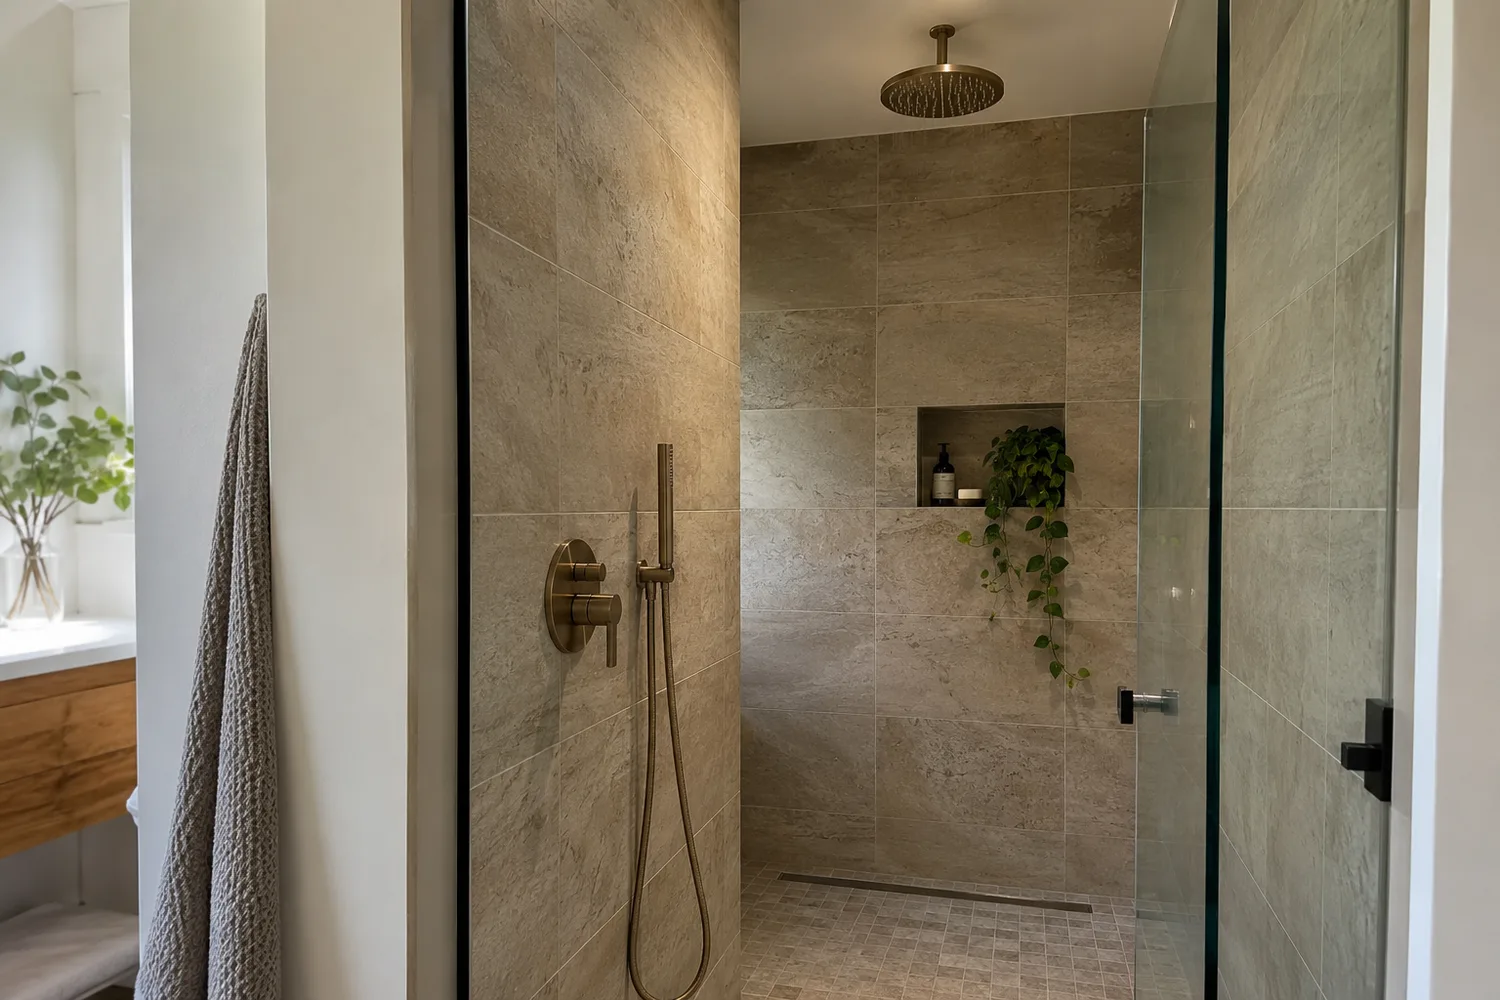
Position the controls where you can turn on the shower before standing beneath the water. They don’t always have to sit directly under the showerhead. Talk through the reach from the entrance while planning the plumbing, including how the door or screen affects access.
32. Build In a Bench You’ll Actually Use
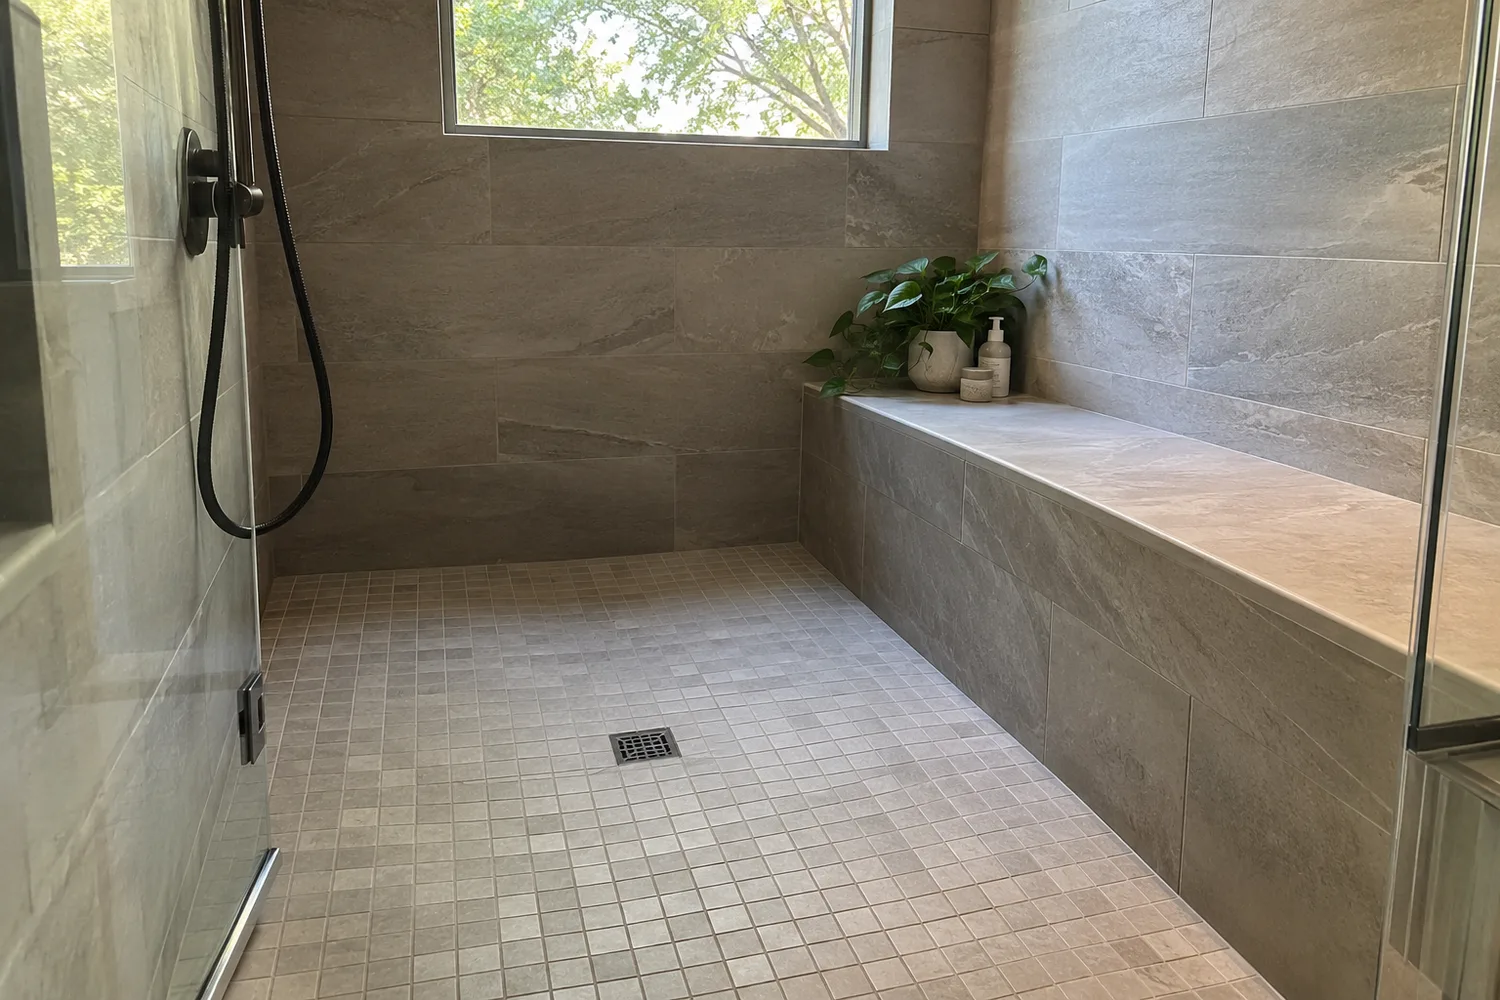
Include a built-in bench when there’s enough space to sit comfortably without crowding the shower. It can provide a place to rest or make washing easier. Plan its size around the person using it, and have the top detailed to drain rather than hold a puddle.
33. Bring in a Teak Shower Seat
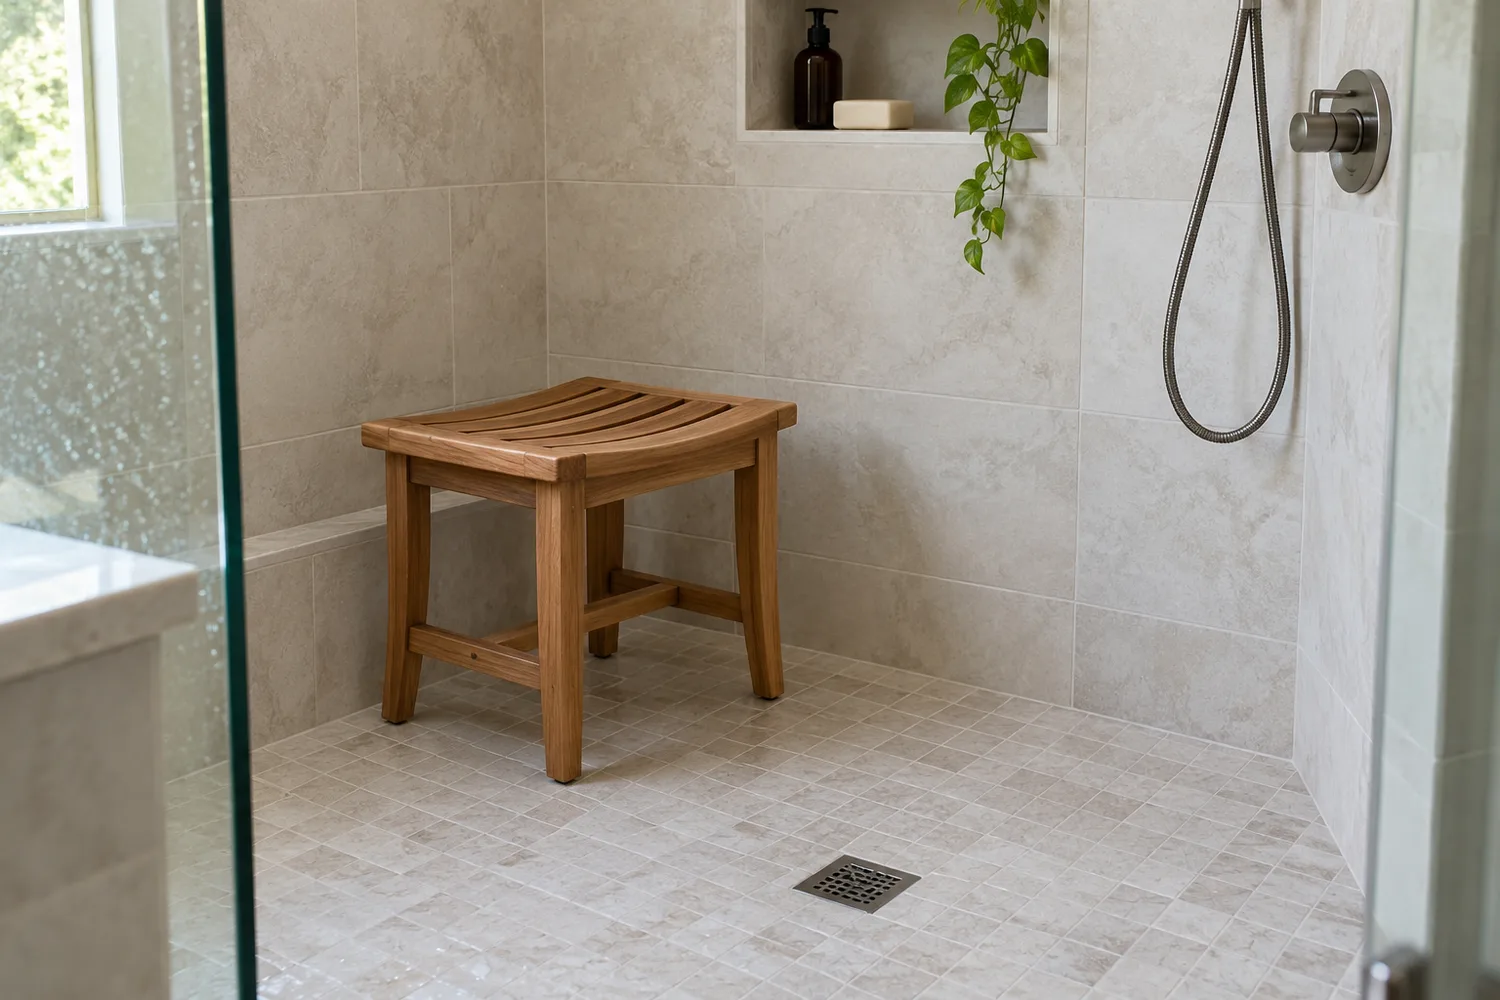
A purpose-made teak shower seat adds removable seating without building a permanent bench. Choose one intended for sitting, with a suitable load rating and stable feet. Teak still needs cleaning and drying care, so leave enough space to move the seat and reach the floor underneath it.
34. Recess the Shampoo Shelf
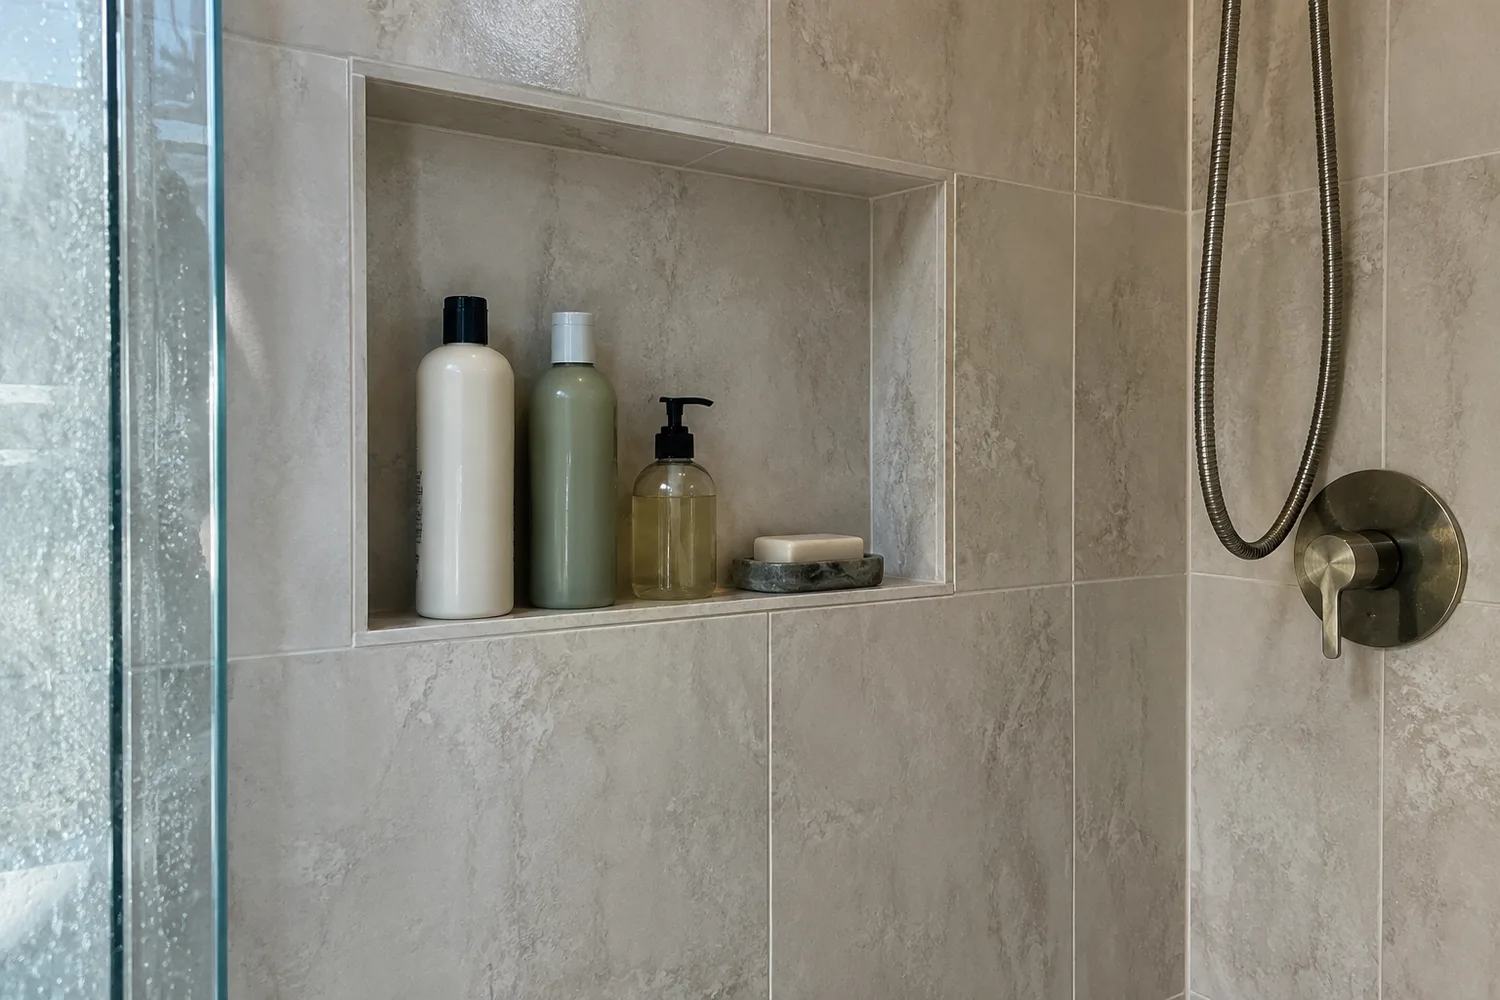
Build a recessed niche around the toiletries you actually use. Those tall pump bottles need more clearance than a small bar of soap. Divide the niche if several people share the shower, or keep one simple opening. Our small bathroom storage plan has more ideas for keeping essentials accessible.
35. Run a Ledge Along the Wall
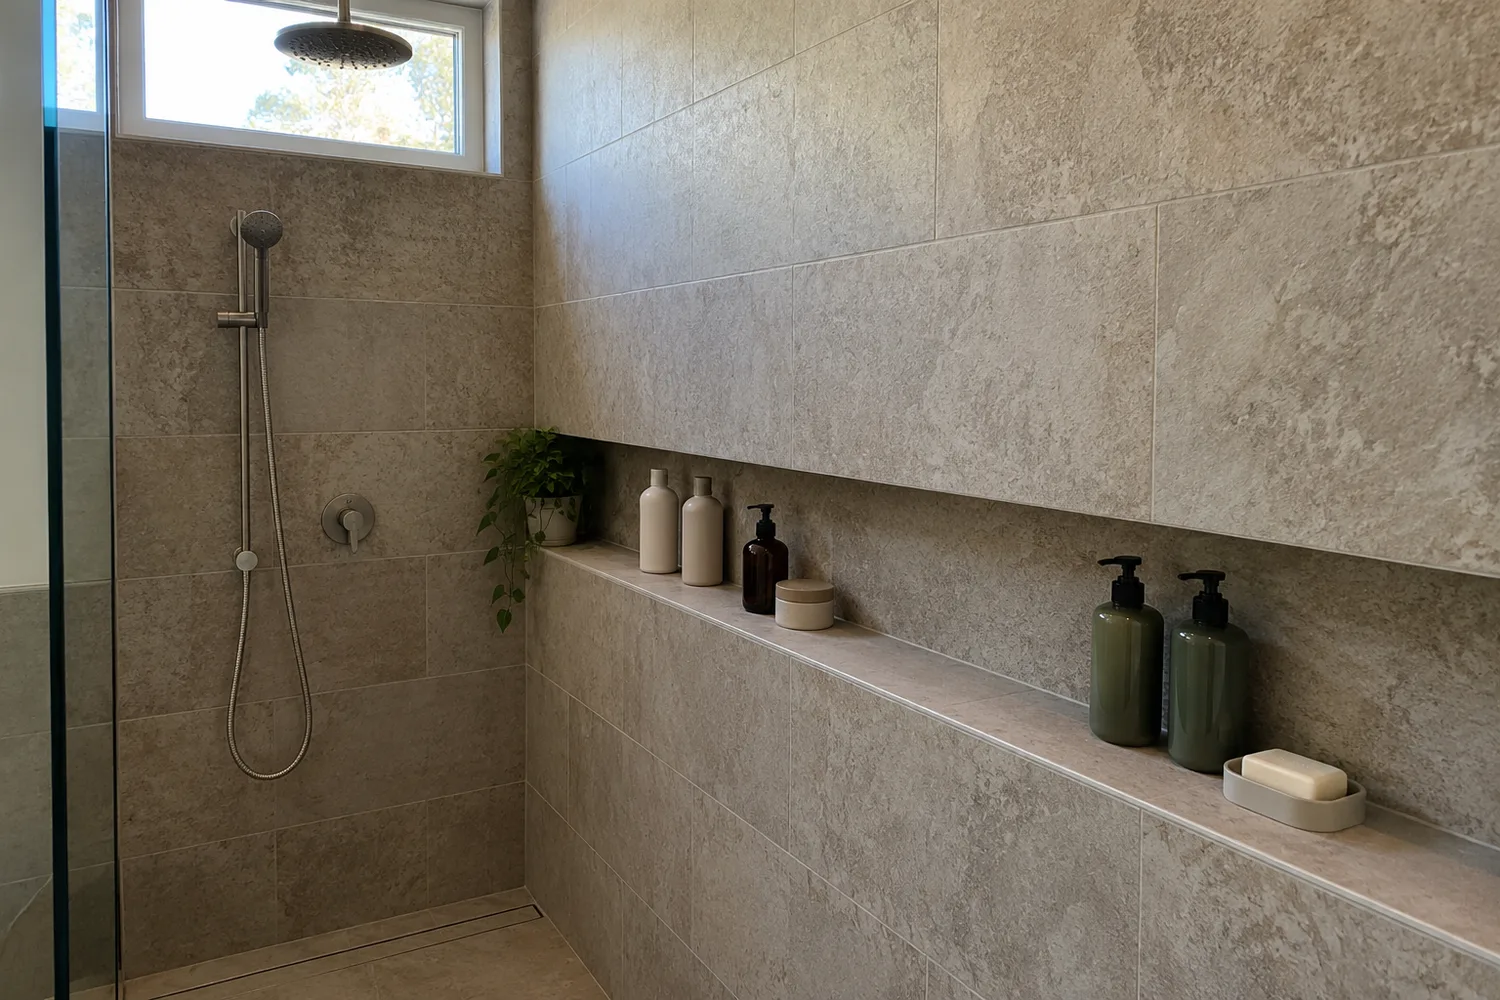
Use a long ledge when one small niche won’t hold the everyday essentials. It creates a simple horizontal line and makes bottles easy to rearrange. Keep its depth practical, and plan the top to shed water. A storage ledge should only double as a footrest if it’s designed to support that use.
36. Make Use of a Small Corner Shelf
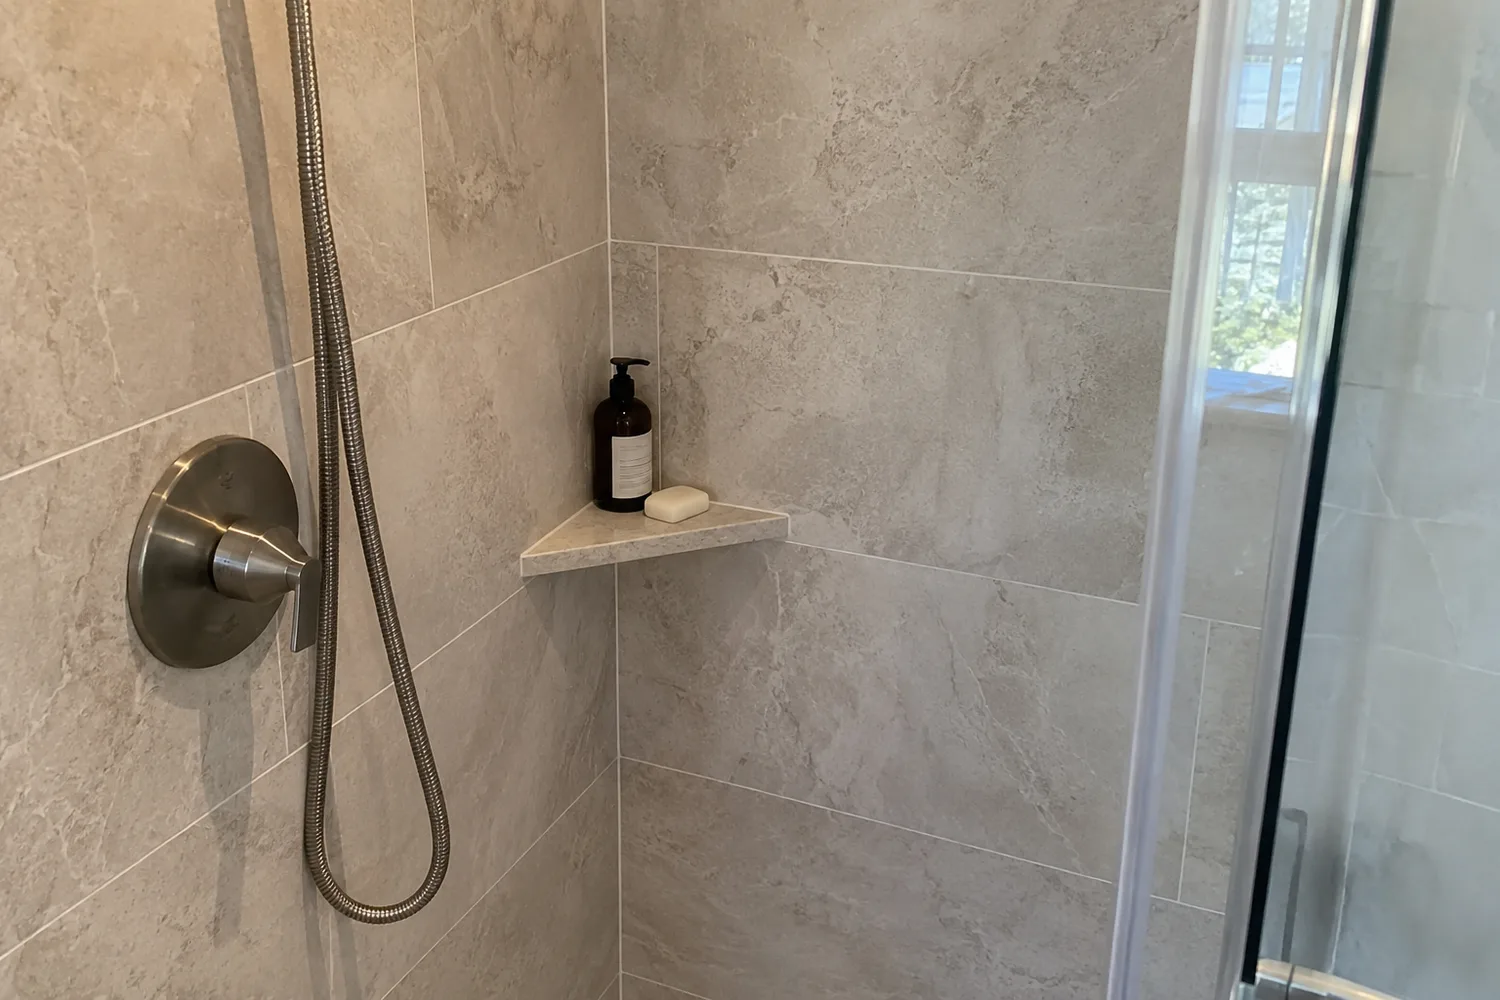
Add a shower-suitable corner shelf when you need storage without a larger wall alteration. It can hold the daily basics while leaving the main wall clear. Keep it away from elbows and shoulders, and use a mounting method appropriate for the surface and waterproofing behind it.
37. Give the Niche a Soft Glow
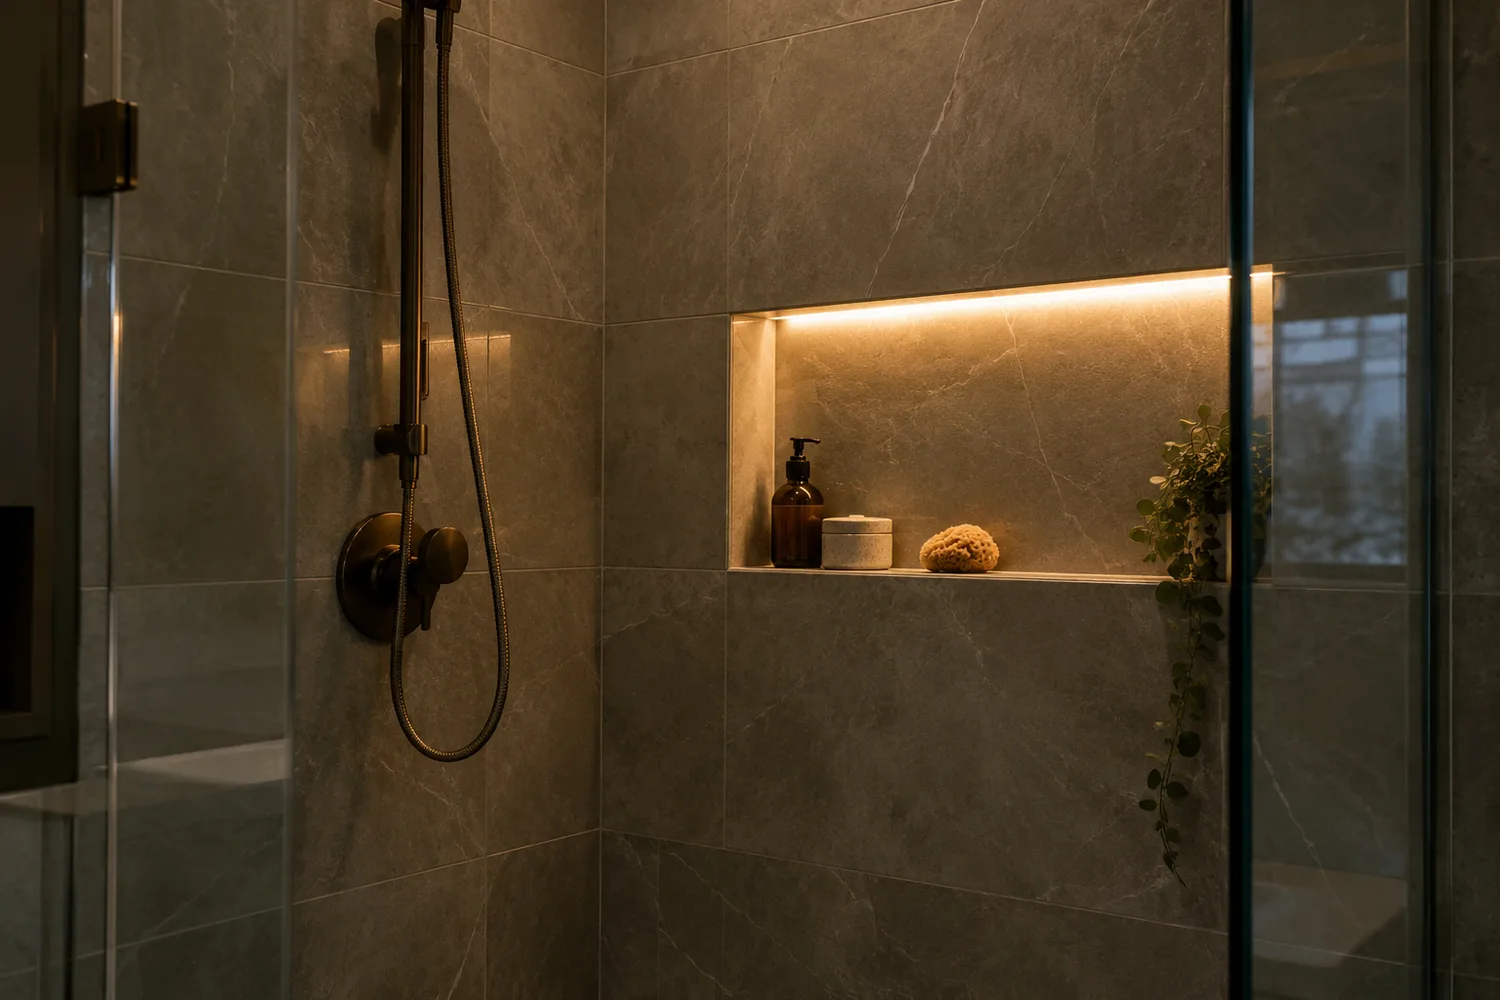
Integrated niche lighting can add a softer layer alongside the main shower light. Use a lighting system specified for the actual shower location, with its installation planned before tiling. For ideas elsewhere in the room, explore our bathroom light fixture picks.
38. Bring Daylight in From Above
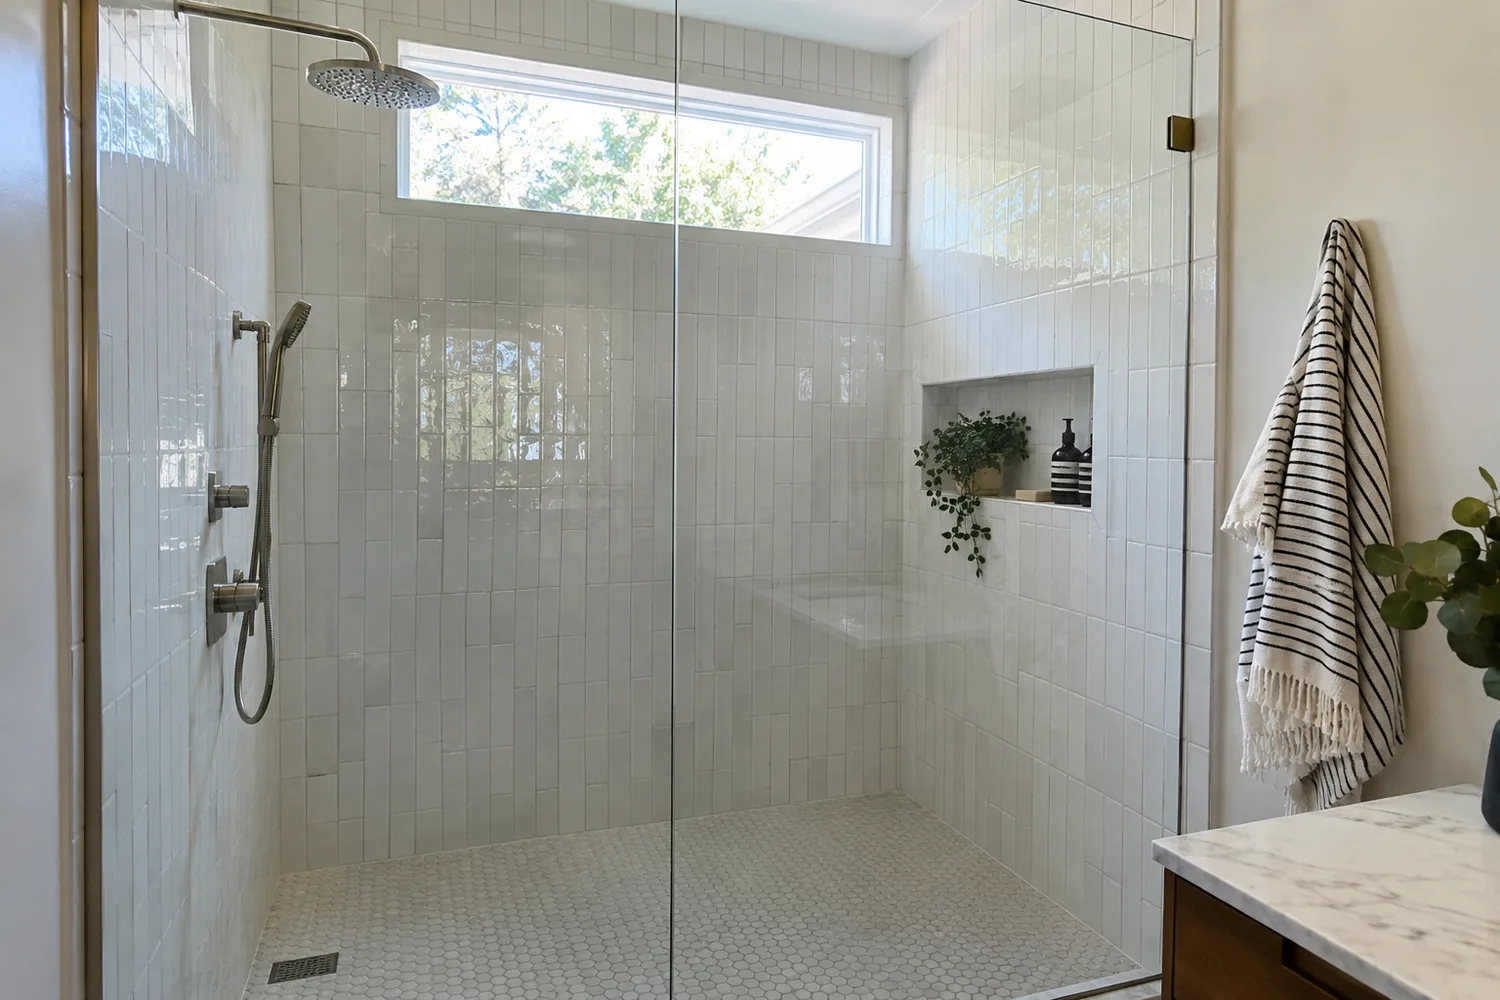
Use a high window or skylight to bring natural light into the shower while protecting privacy. A high opening can be especially useful when neighboring homes are close. The frame, surrounding surfaces, and any ledges need suitable detailing for their location, particularly where shower spray can reach them.
39. Give the Shower Curtain the Full Treatment
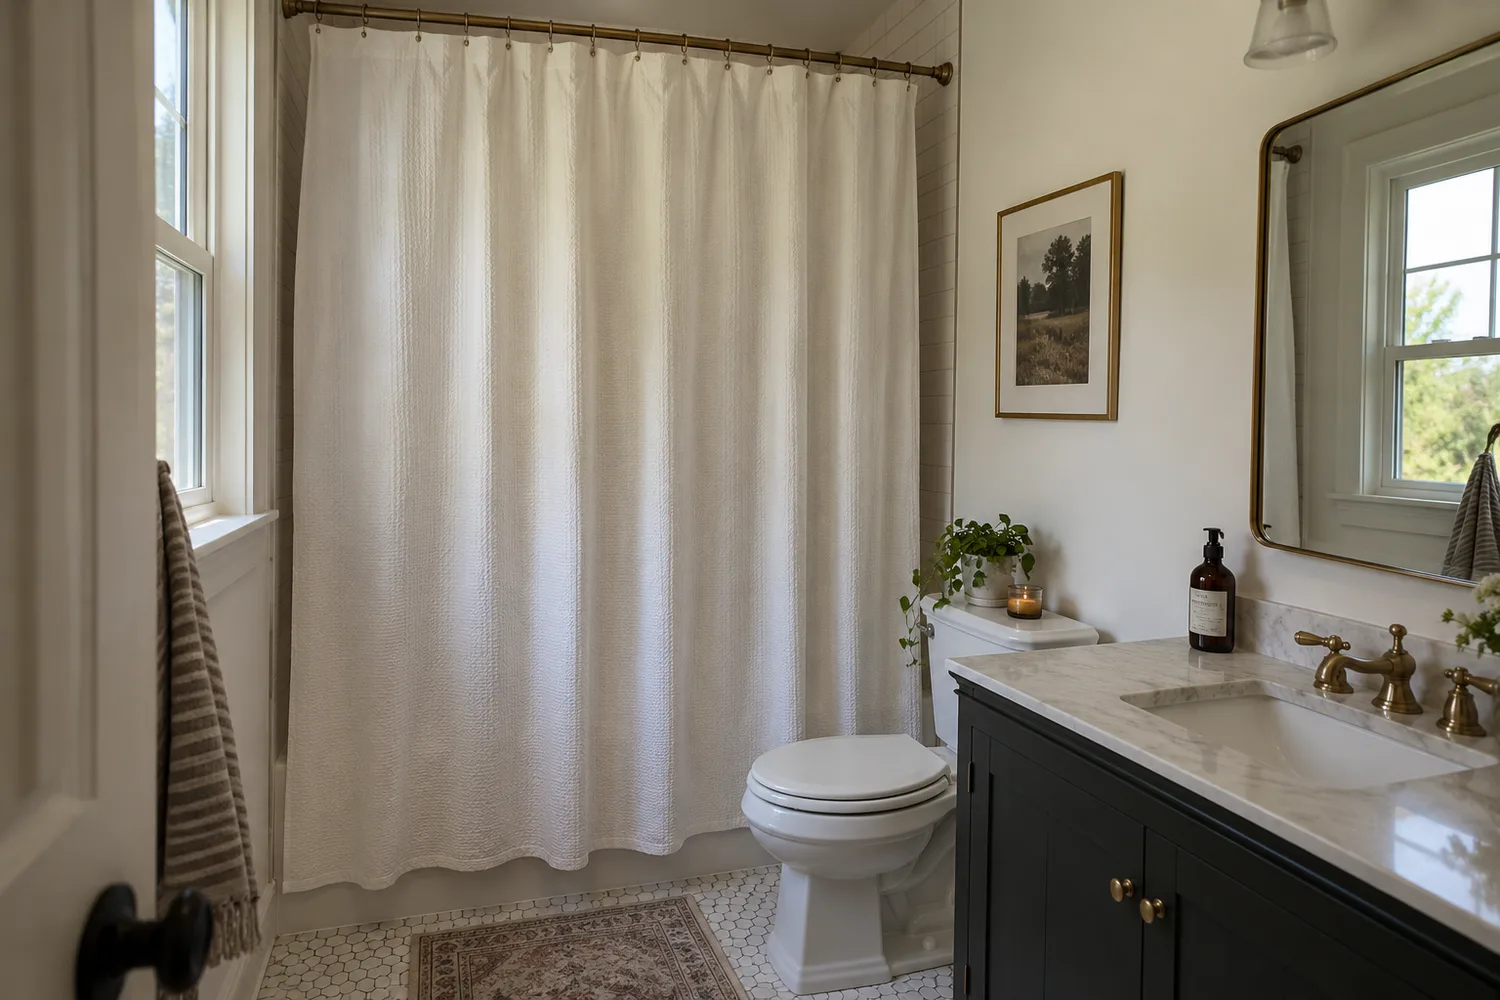
Hang a well-proportioned curtain with a liner that fits the actual shower opening. A subtle stripe, textured white fabric, or bold print can change the room without replacing tile. Keep the outer fabric clear of puddles, and use our waterproof shower curtain liner guide to plan the practical layer behind it.
40. Add Greenery Beside the Shower
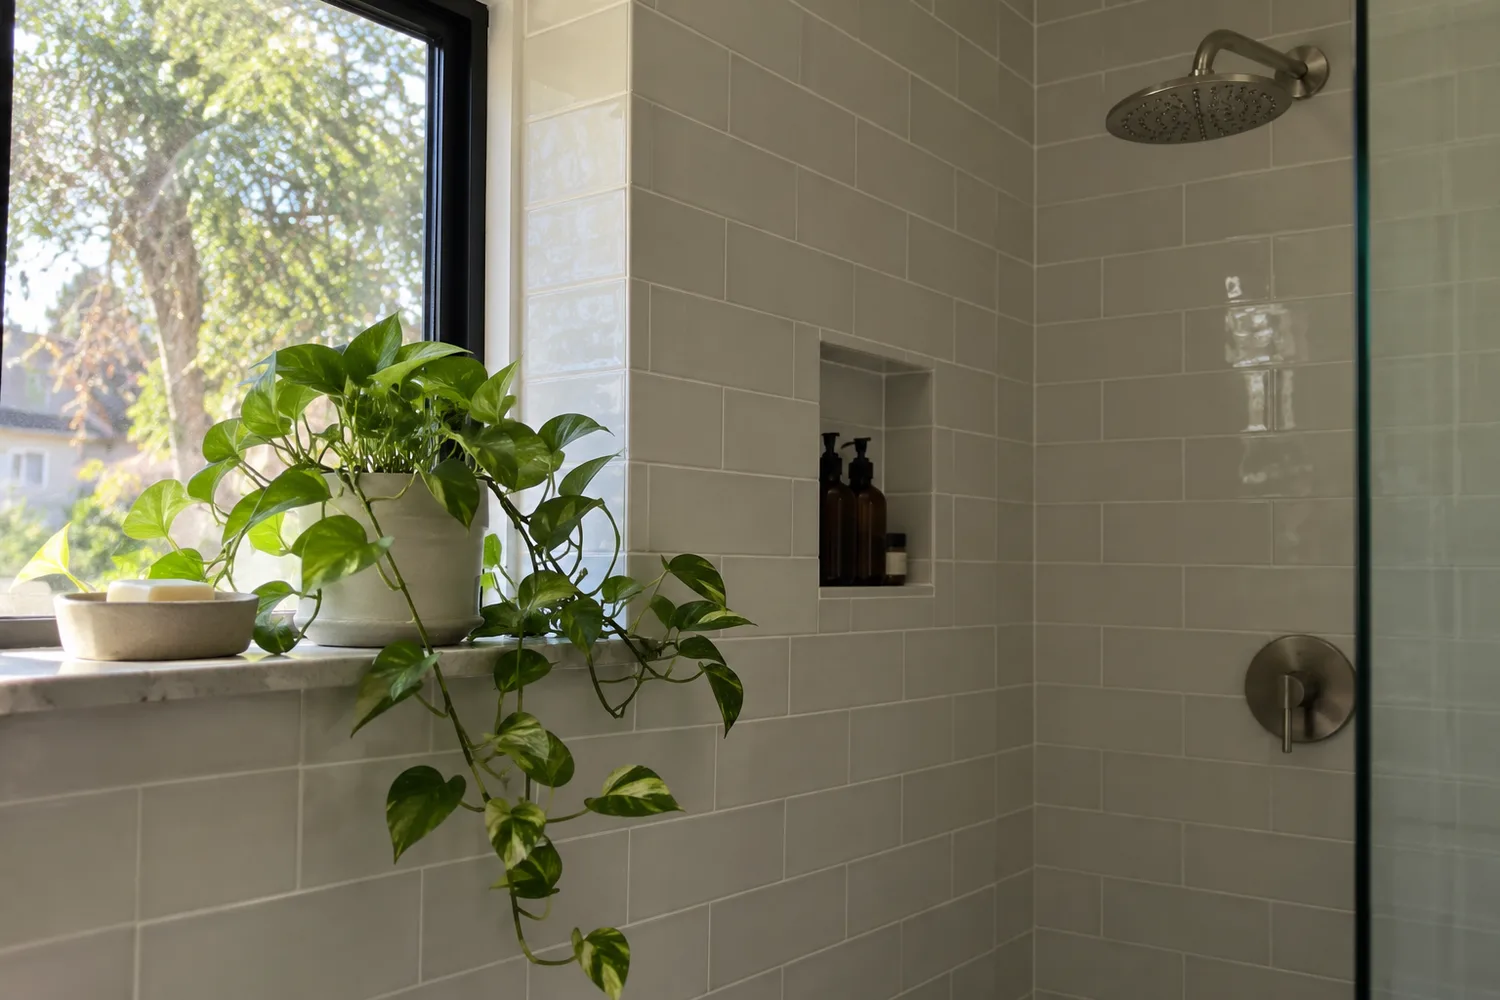
Place a plant near the shower where it gets suitable light and stays out of the walkway. A small shelf outside the spray zone or a bright nearby windowsill can work well. Humidity doesn’t replace daylight, so choose the plant for the conditions your bathroom actually provides.
Quick checklist before you commit:
- Can the shower door open without hitting anything?
- Are the controls, toiletries, and towel easy to reach?
- Is the chosen flooring suitable for a shower?
- Can you clean around the seat, screens, and shelves?
- Are the drainage, waterproofing, lighting, and ventilation included in the renovation plan?
Shop the Details
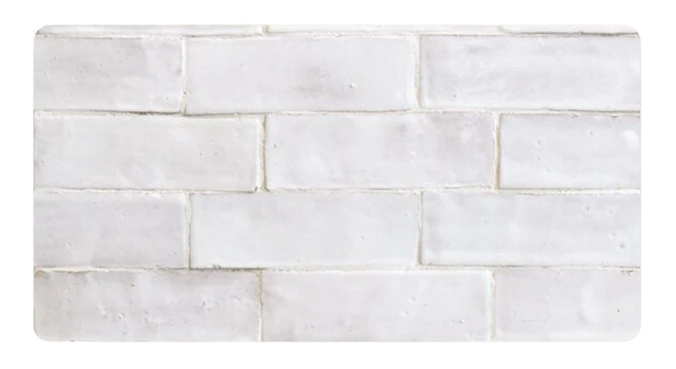 Emery & Cie Zellige TilesHandmade tile with subtle shifts in glaze and texture for a shower feature wall.
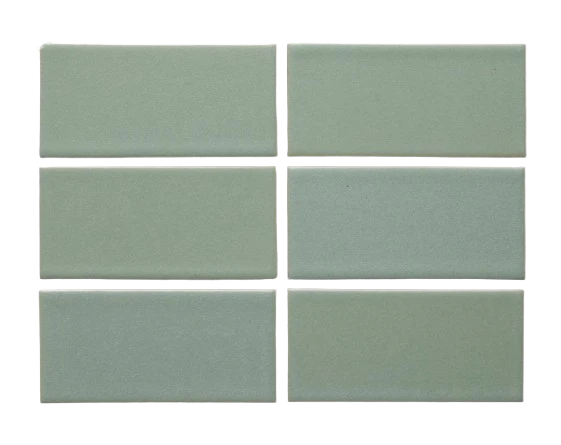 Heath Ceramics M119 Ogawa Green ManganeseA muted green tile sample to view in your own bathroom light.
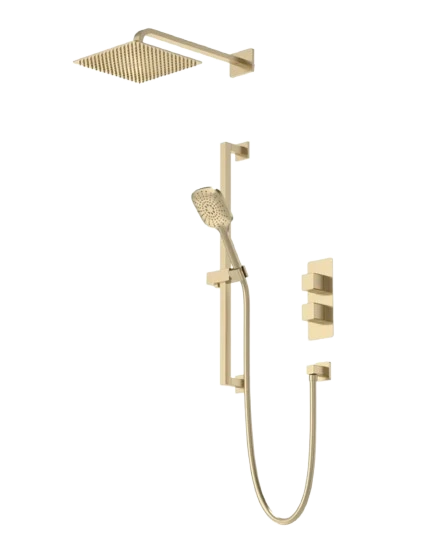 Roper Rhodes Recite Dual Function Concealed Shower SystemA brushed brass overhead shower and separate handset for flexible rinsing.